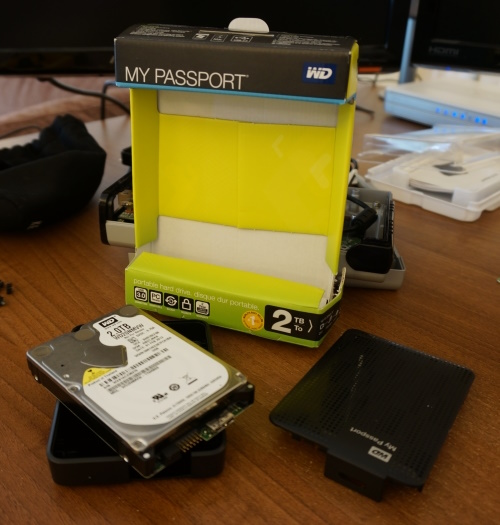
Trying to figure out how to shuck/dismantle your Western Digital My Passport Drive (specifically model WDBY8L0020BBK-NESN), then here’s your guide. One thing to mention up front is that the micro USB 3.0 port is soldered directly to these drives; there is no SATA port which, for example, would allow you plug the drive internally into a laptop. Also note that this particular model is an older one, pushing 10+ years at this point, so newer drives may or may not be as easily shuckable or have the microusb port soldered on!
The case is held together only with plastic clips
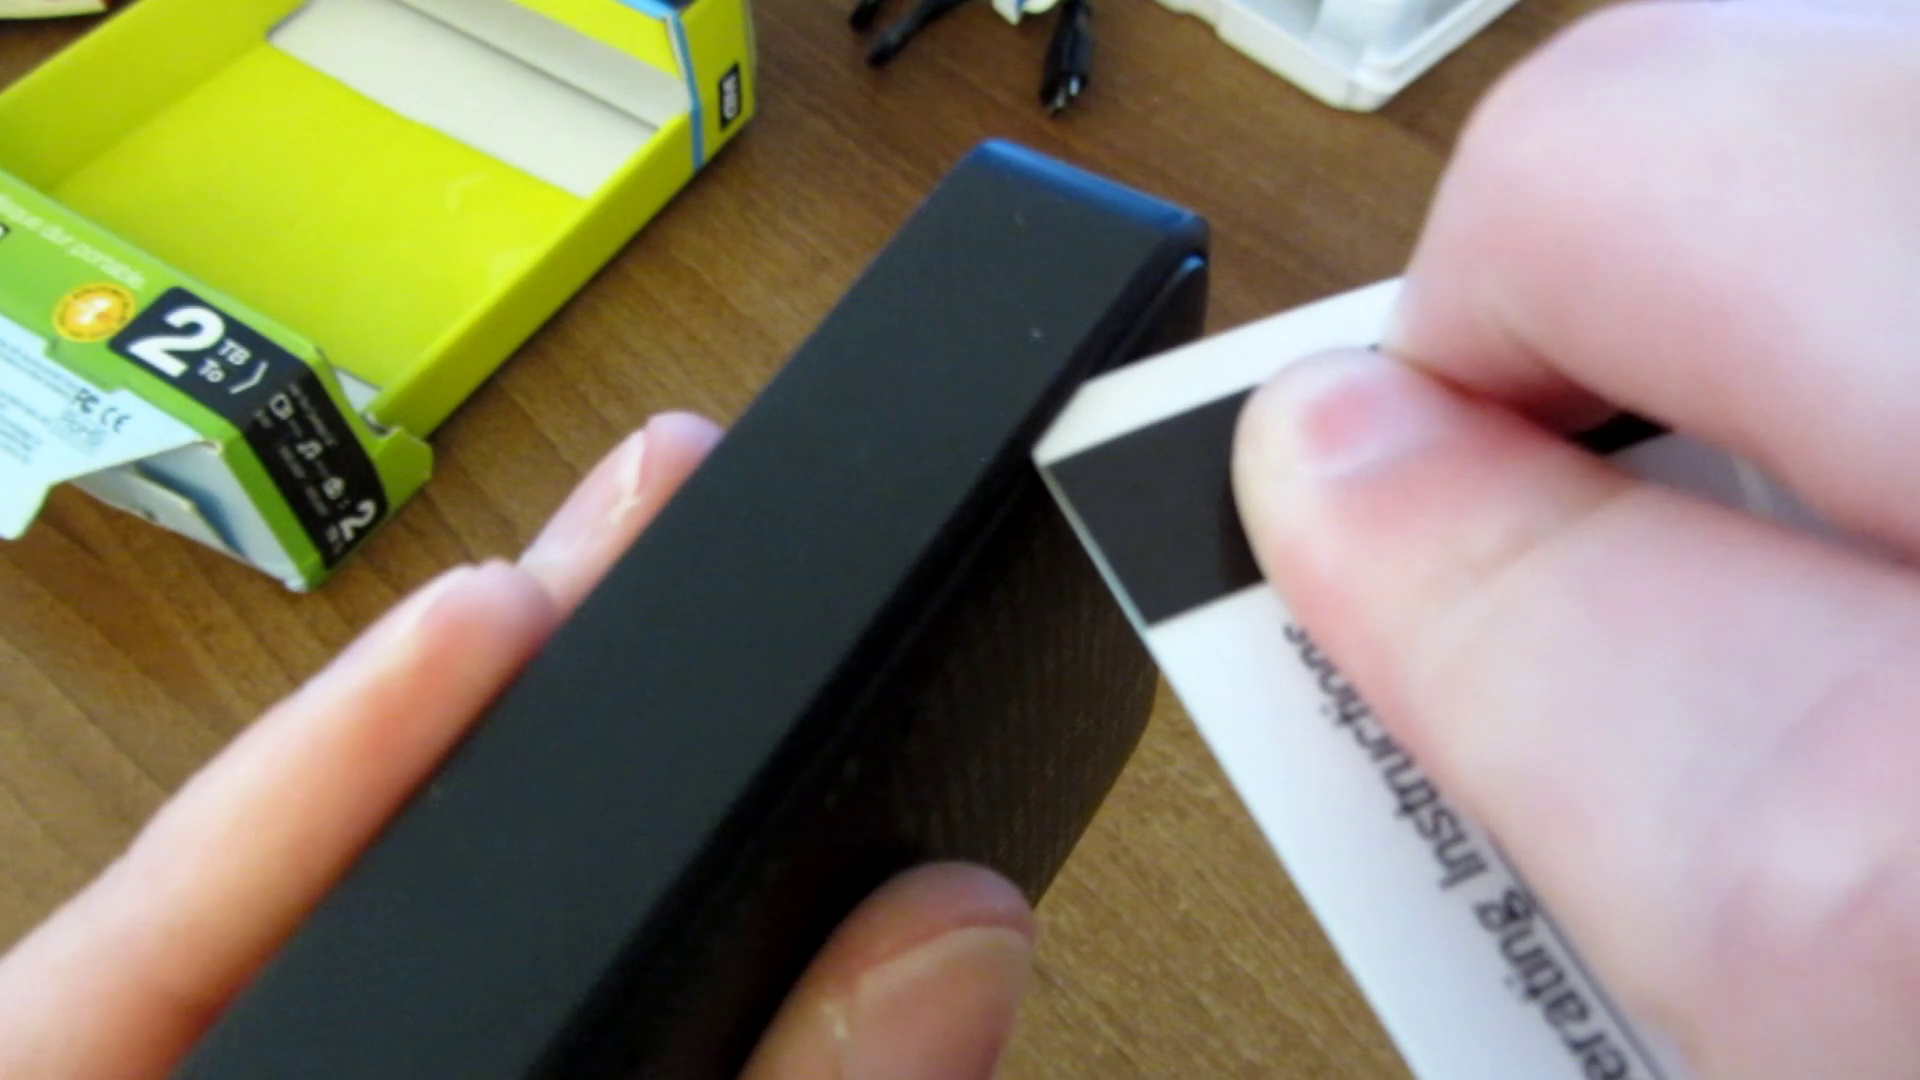
Start by sticking an old credit card or plastic scribe between the lid and the chassis:
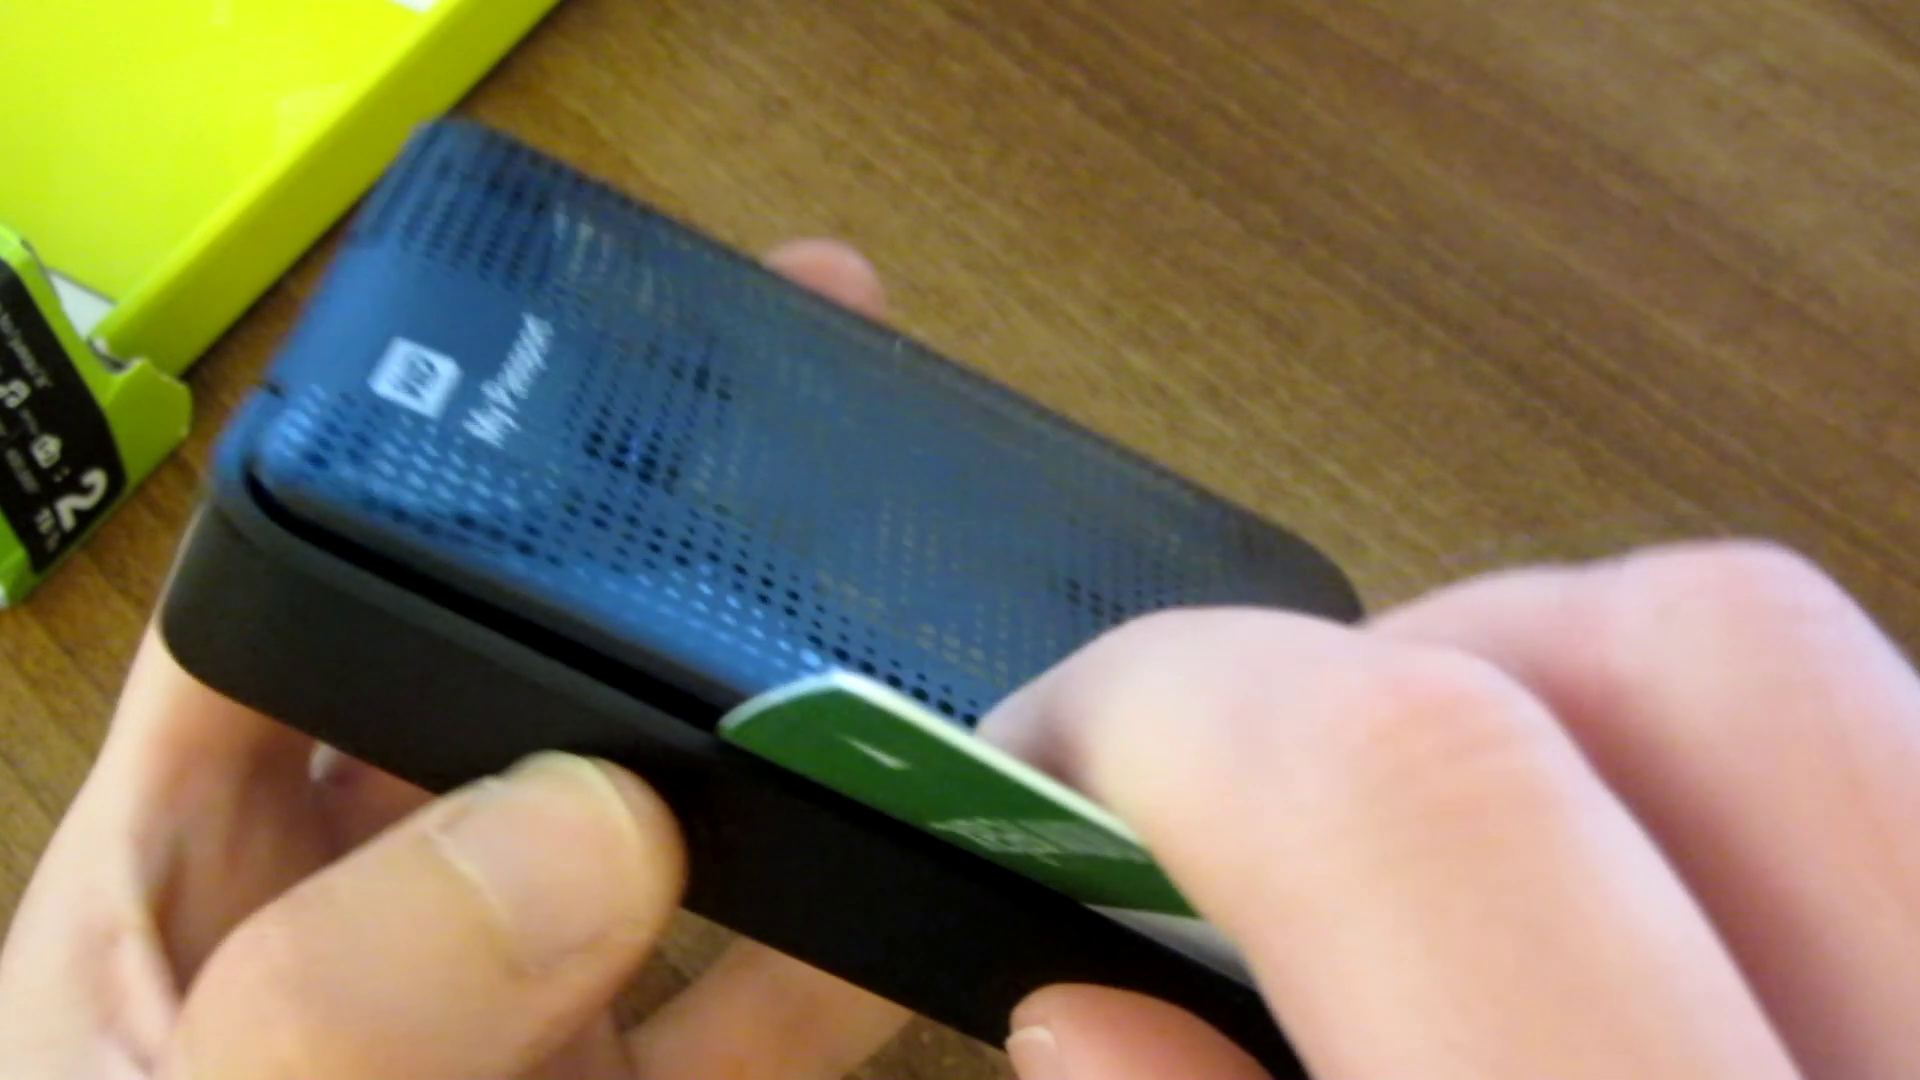
Then, start to wiggle the card left and right along all the edge(s) in order to pry apart all the clips that are holding the lid to the bottom chassis:
Continue to do this until the whole lid is loose:
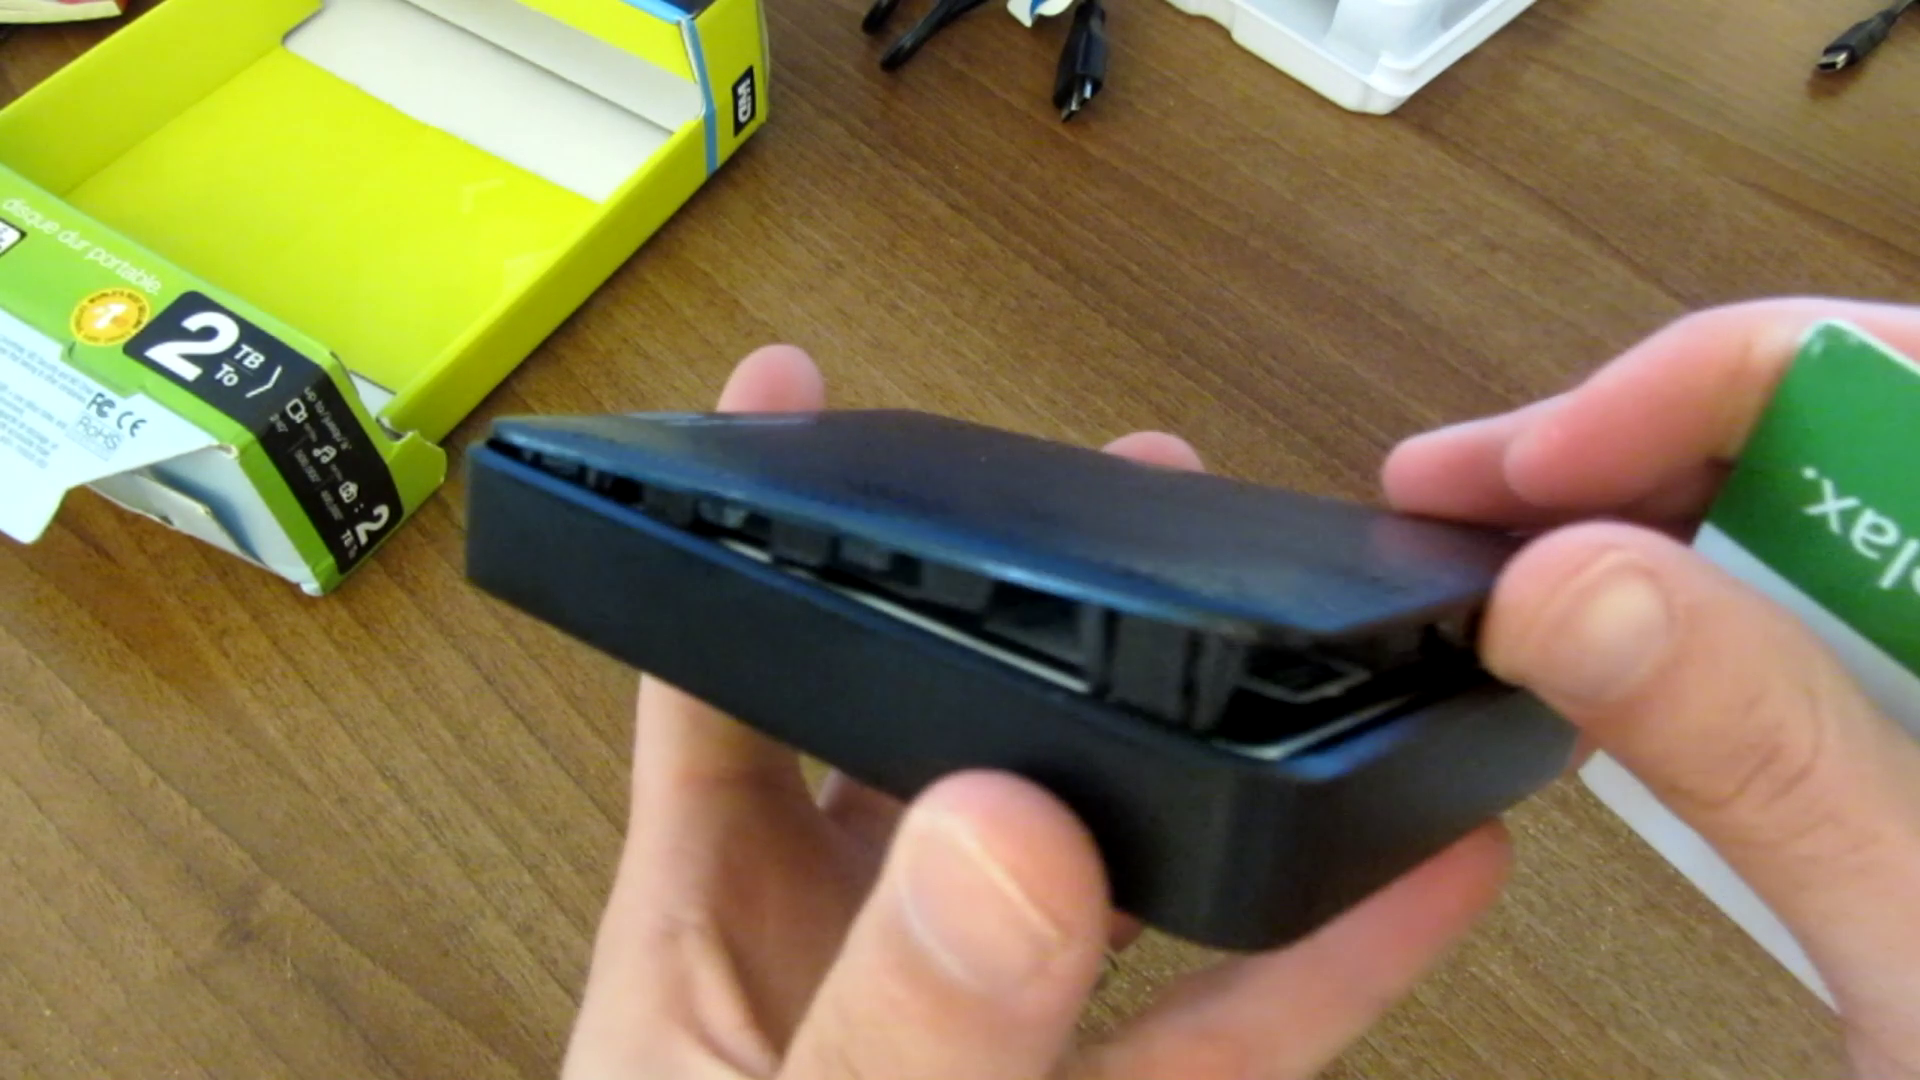
Remove the lid, and use the card to pull out the drive (or turn it up side down and shake the drive out), and you’re done!:

TL;DR: Use a credit card to pry apart the case
And that’s it, to shuck/dismantle a Western Digital My Passport Drive, you can simply pry open the case with a credit card and you have your drive! Note, again, that the micro USB 3.0 port is soldered directly to this particular model drive, so you won’t be able to plug it into a SATA port on your computer. Also note that these 2TB drives are 12.5mm height (specifically model WD20NMVW in my case) and the 1TB models are 9.5mm

Hi James, I have the same external drive and it doesn’t work anymore. After disassembling it I see there’s another set of connectors to the side of the main USB-port of the drive. Do you know if there is any way to connect those connectors to a USB-port or so?