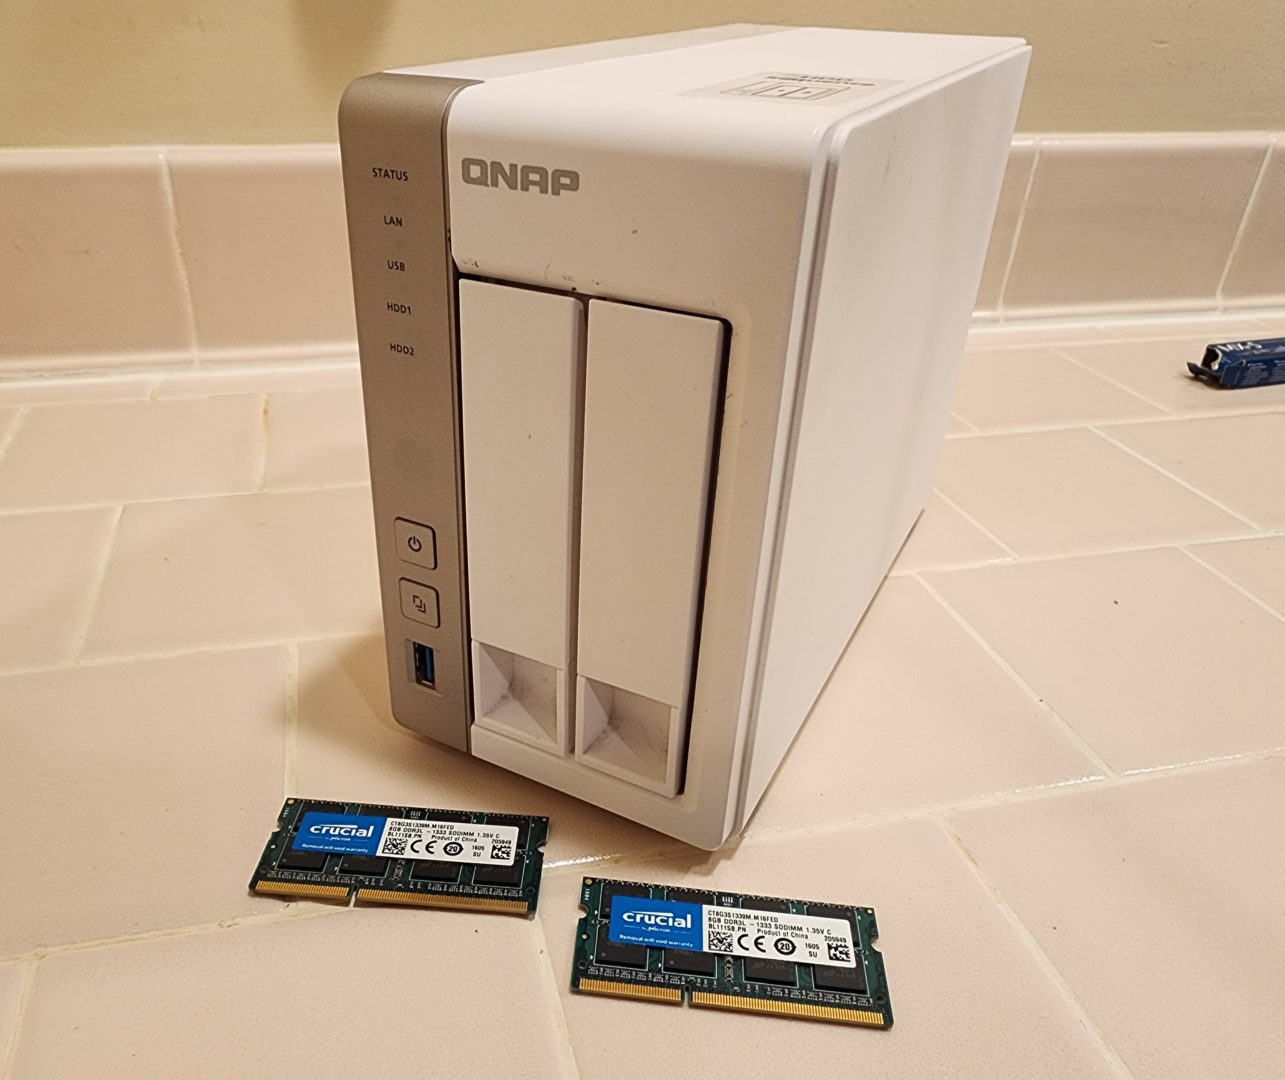
Do you have a QNAP TS-251 NAS and wish to upgrade the memory? Chances are, it only has 1GB of DDR3L memory occupying one of the two memory slots. Follow the video or written guide below to learn how to add more!
Remove the outer case
First step is to remove the outer case. Start by removing the two drive trays in the front. For each, depress the release mechanism, lift up the flap, and pull it straight out:
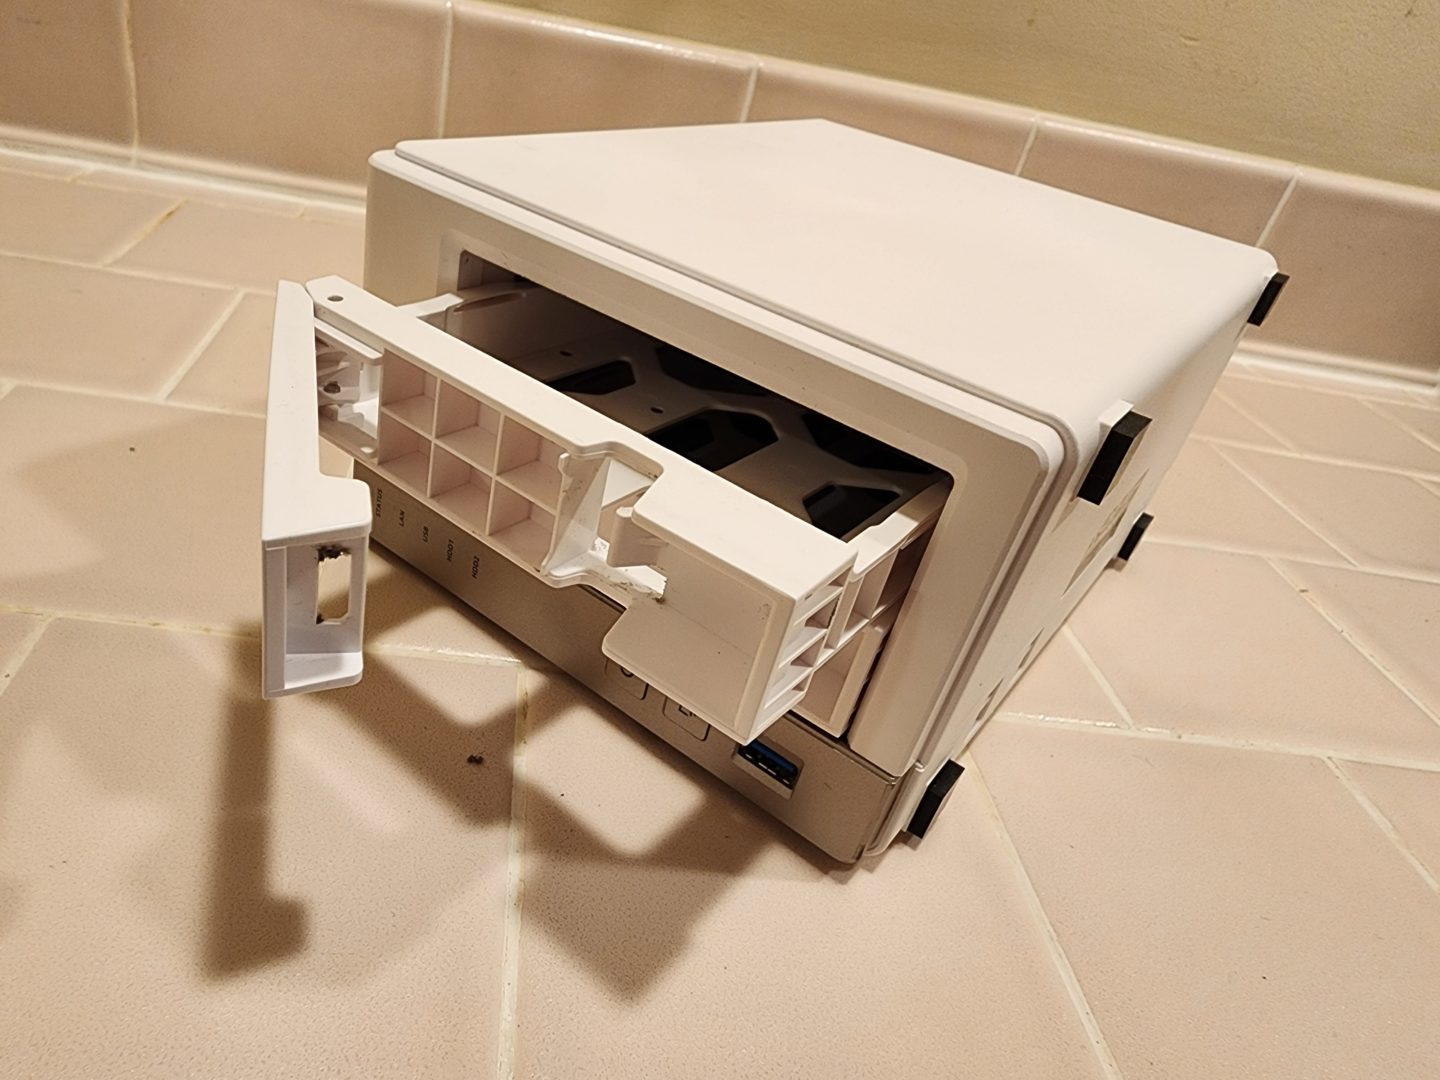
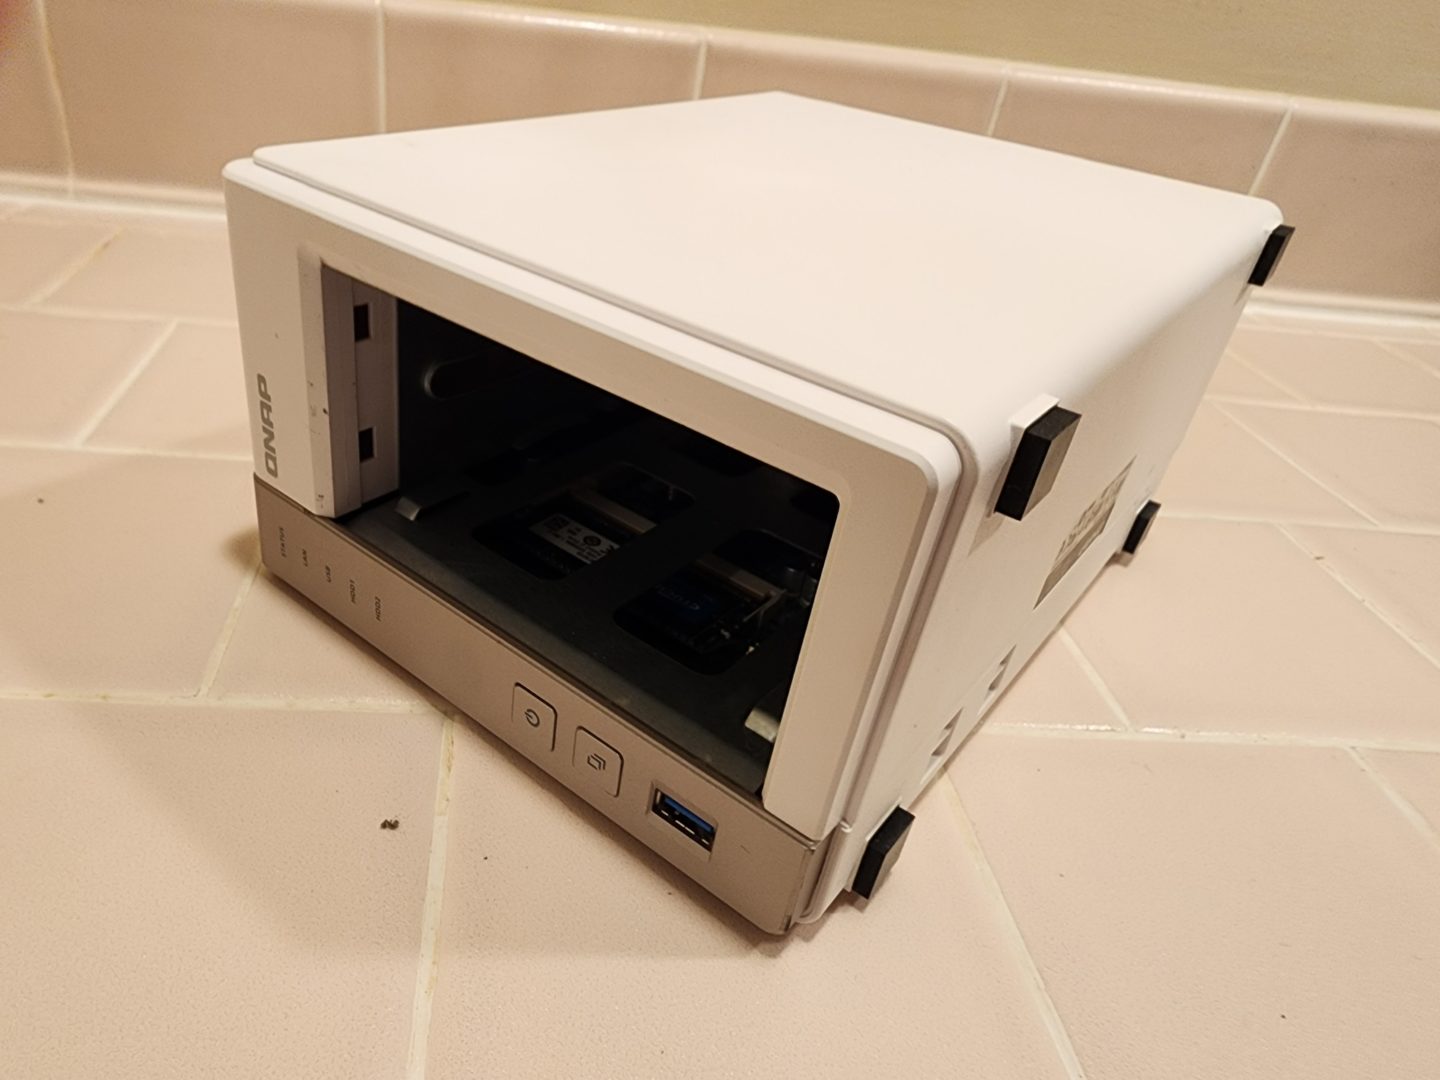
Then, remove the two screws on that back that are securing the outer case to the chassis:
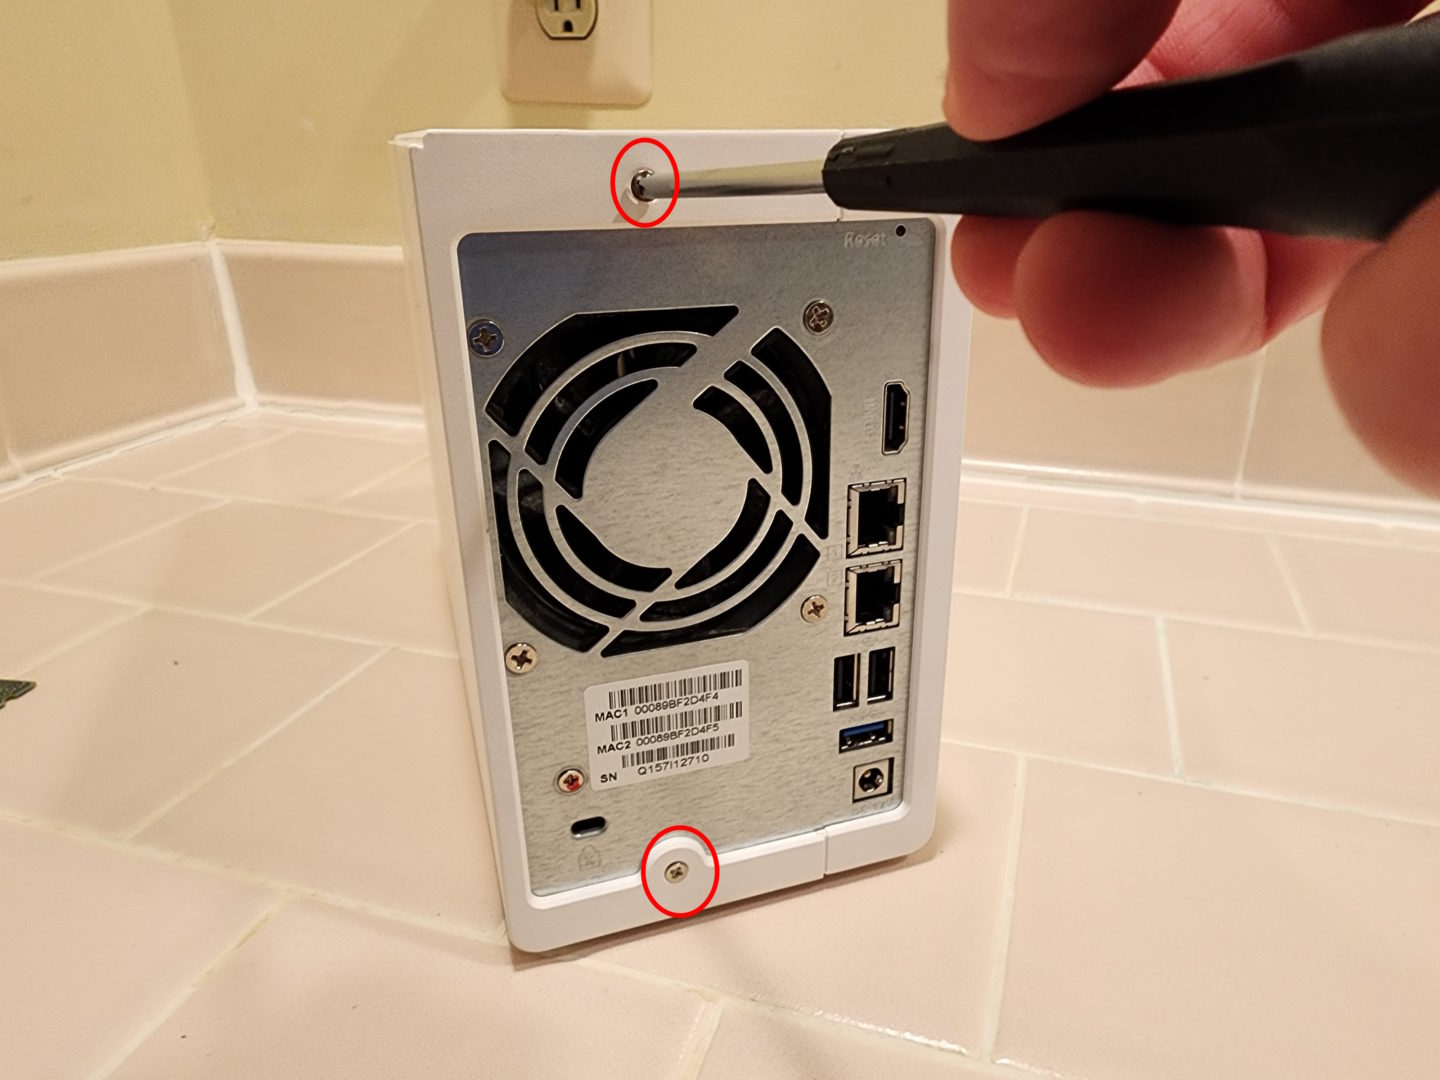
With the screws removed, you can now slide the cover off. Put the NAS down on it’s left side, and slide the cover toward it’s back. With it laying on it’s left side, you can see the “Locked” and “Unlocked” icons imprinted on the bottom. Once you slide it to the unlock position, you can simply lift off the cover:
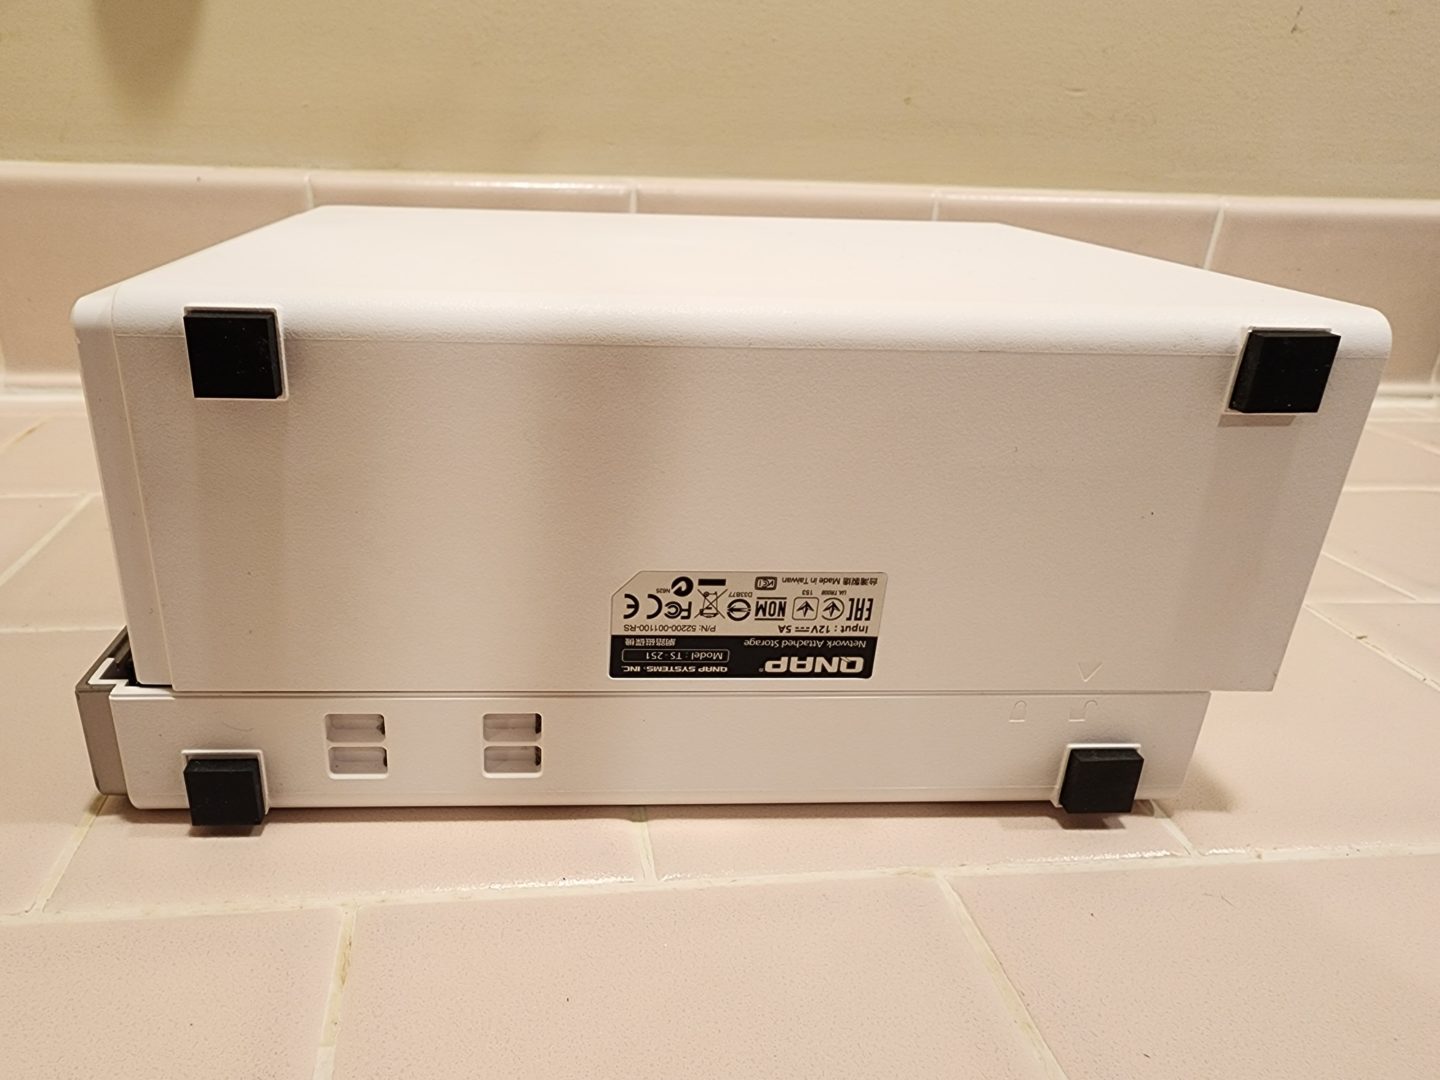
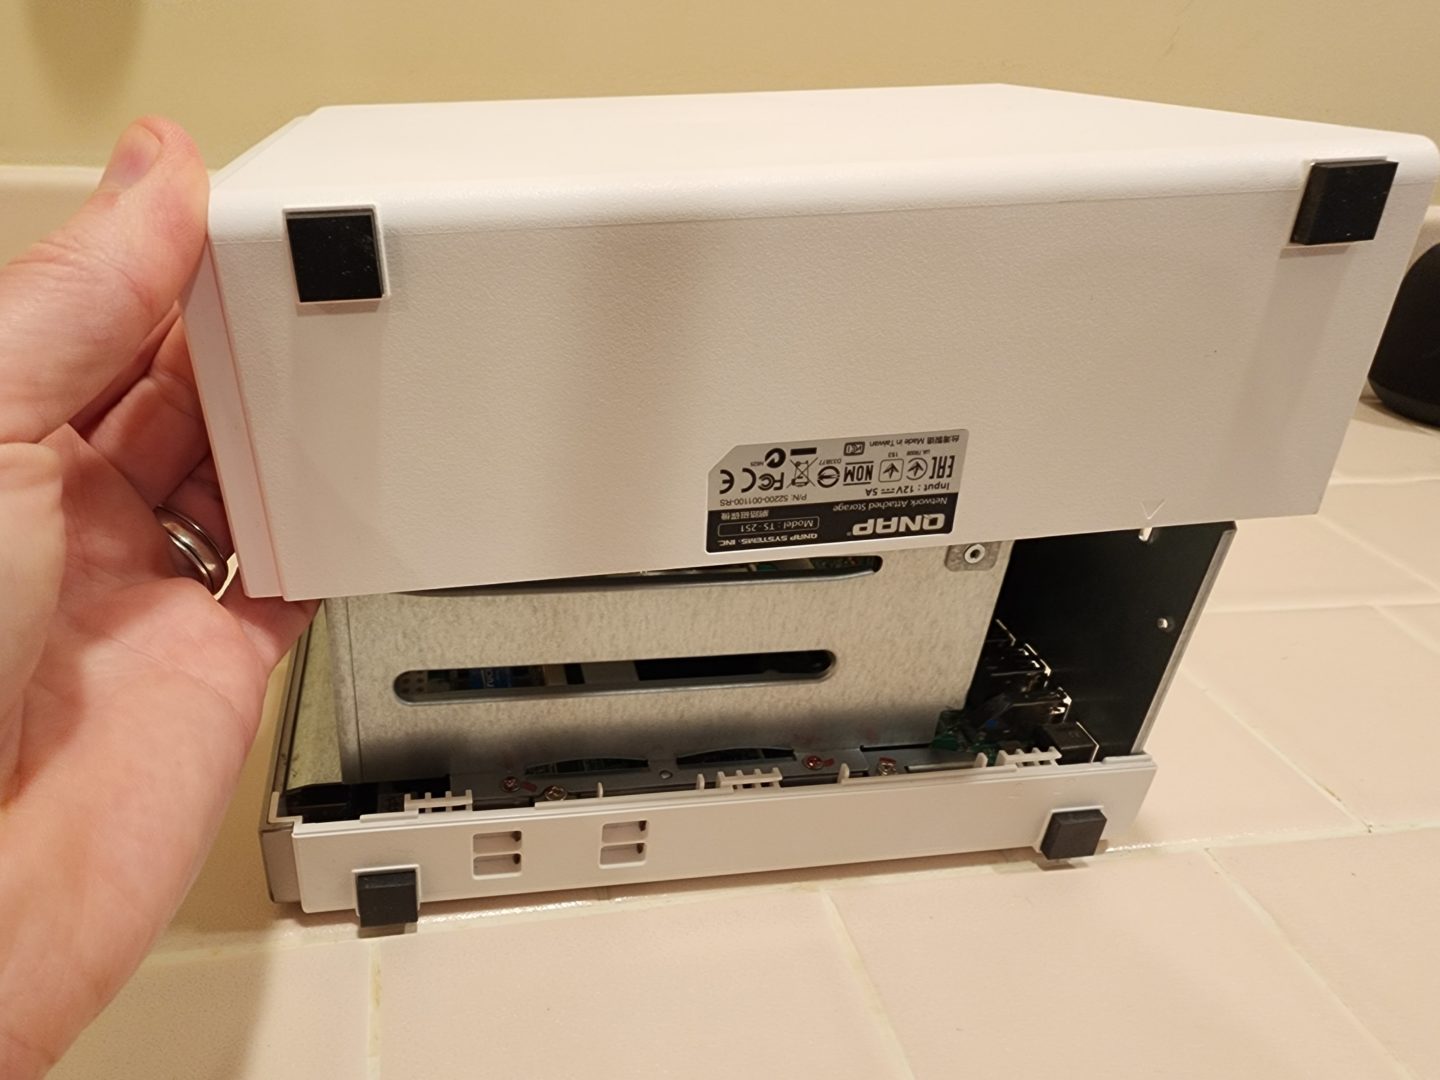
Remove the drive cage
You can now see the metal drive cage and the two memory slots are underneath it, so the next step is to remove it:
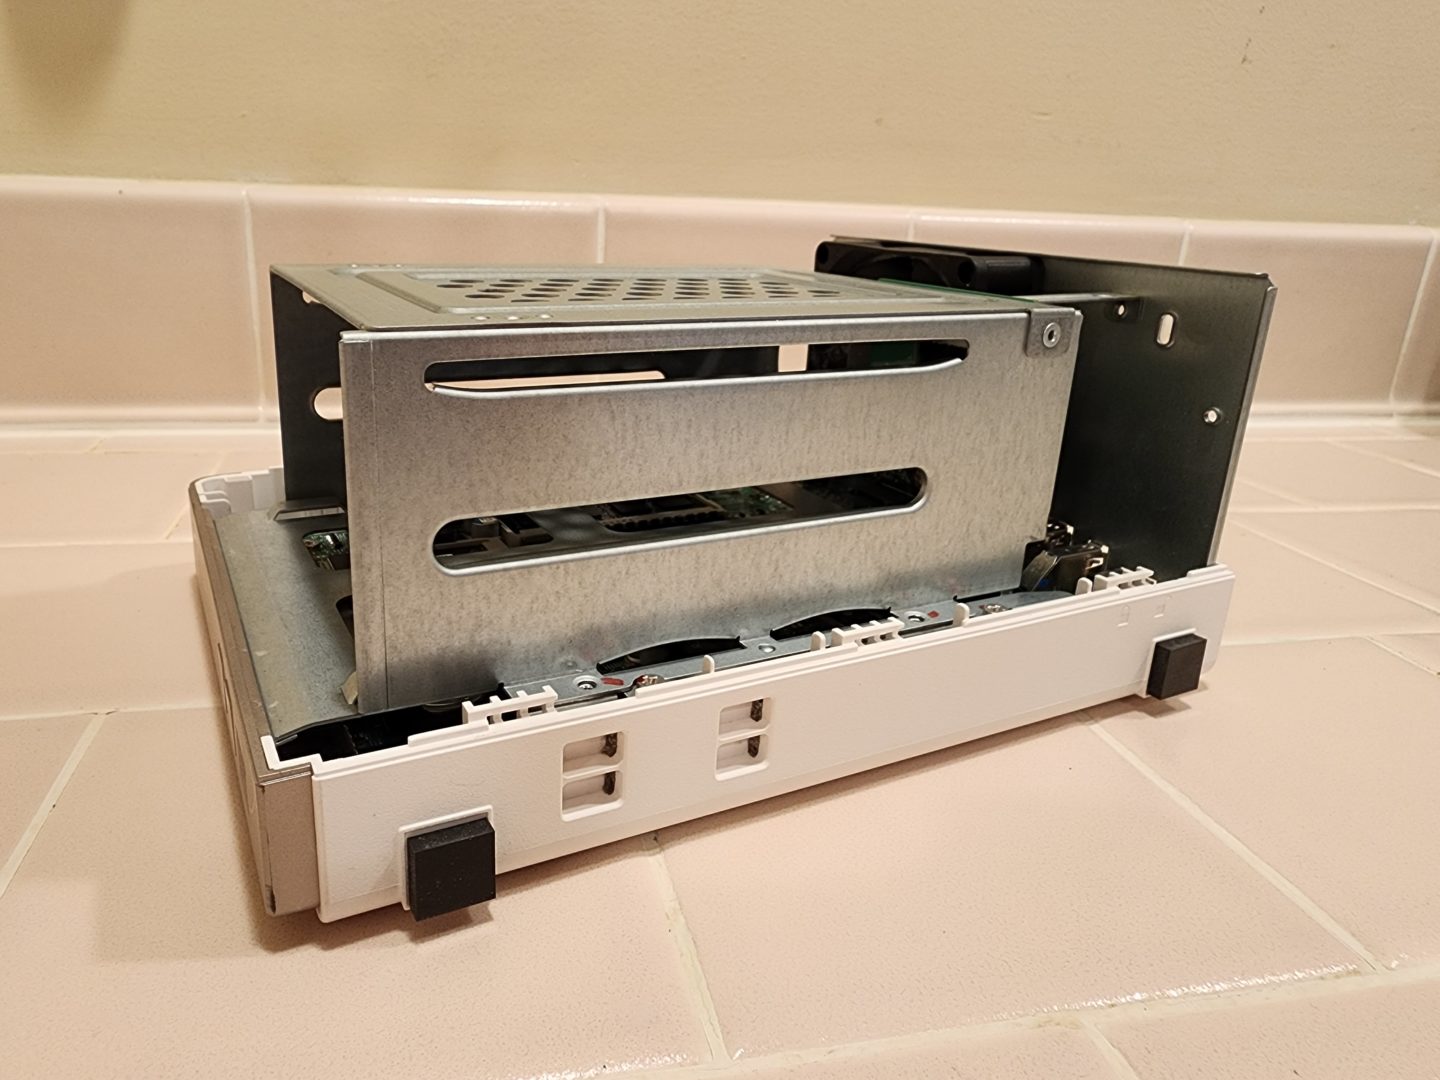
There are five screws securing the cage to the NAS – one on the back of the whole unit, and two on either side:
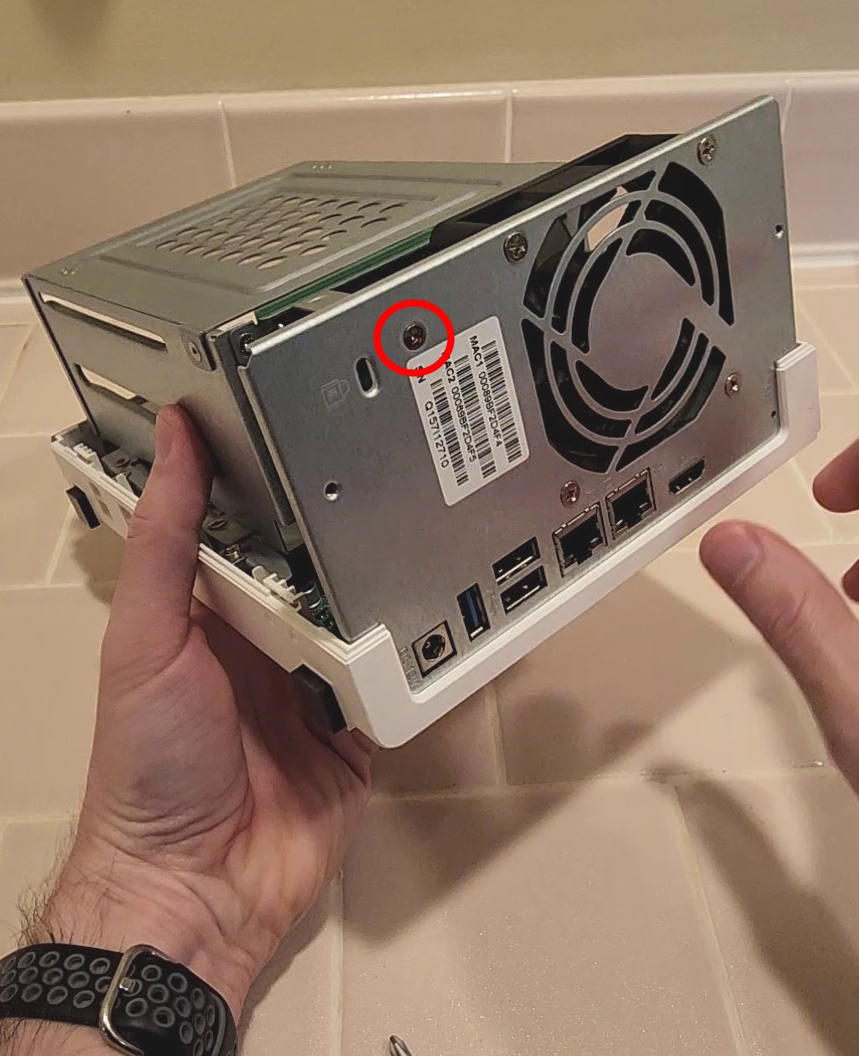
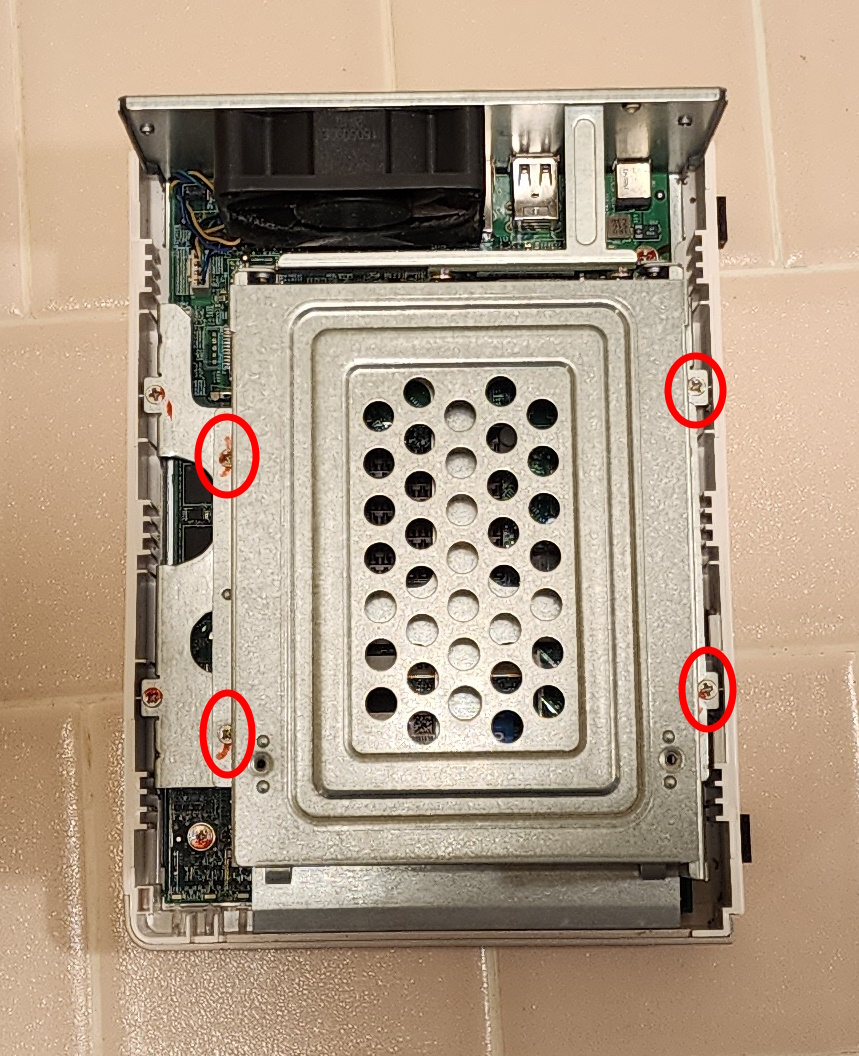
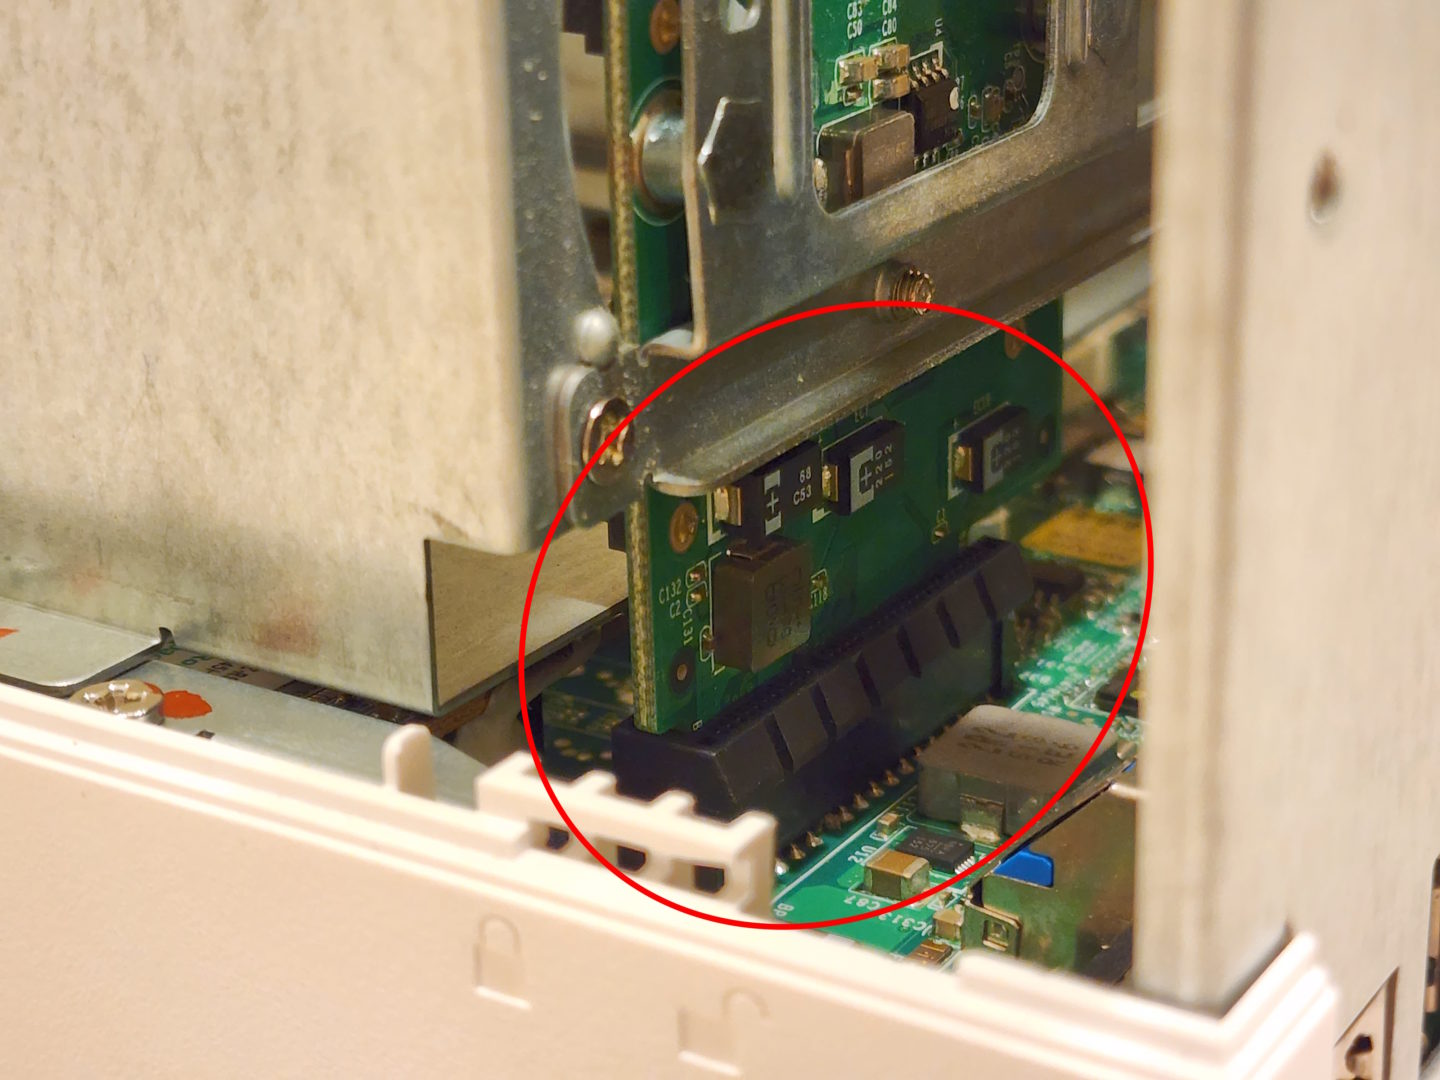
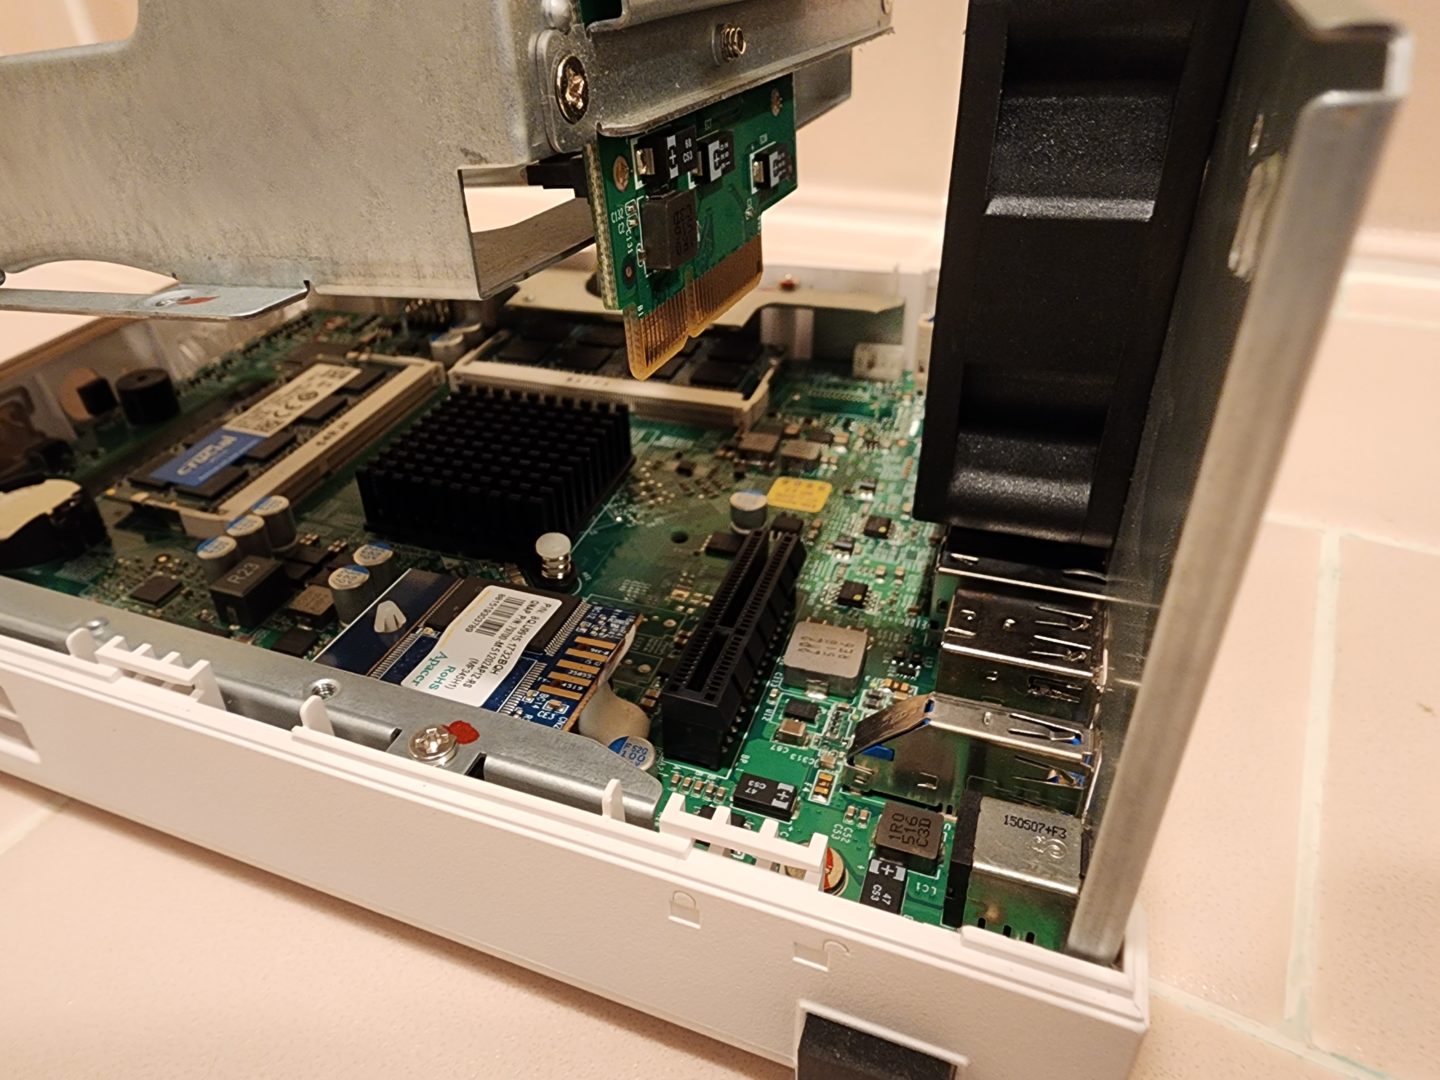
With the screws removed, the cage basically just lifts up and out. Note that the cage actually has a small connector plugged into main board, so as you’re removing it, take care to lift it straight up until that’s unplugged:
Upgrade the memory
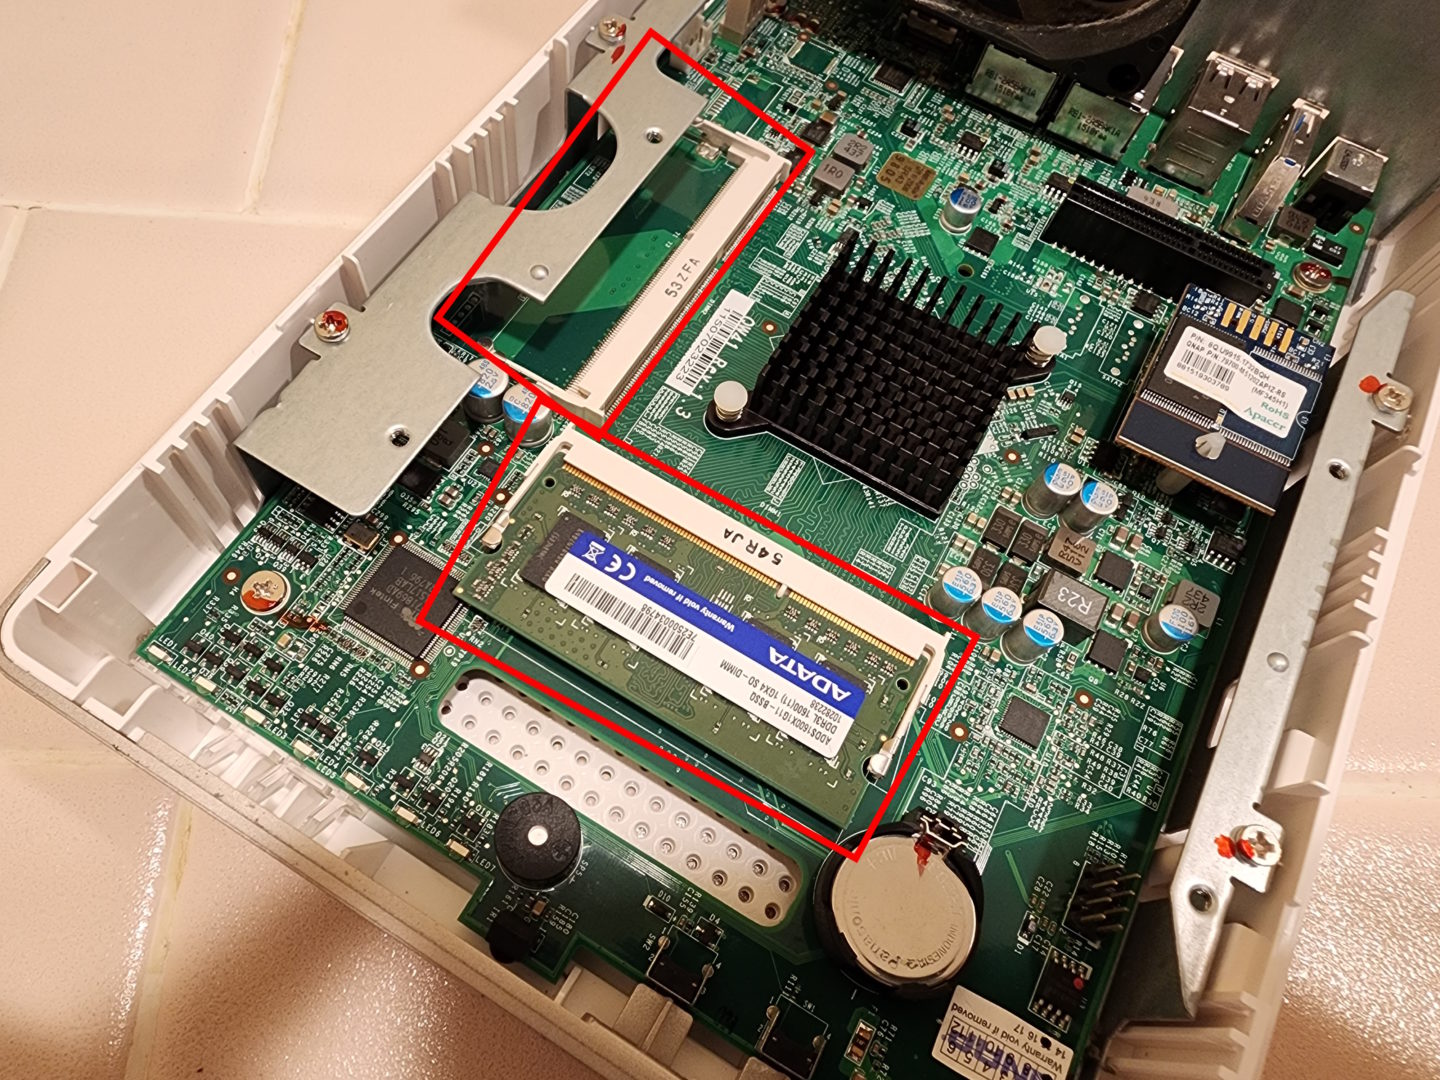
With the cage removed, you now have access to the two memory slots. One is easily accessible, which is the one that may already be populated, and the other’s under a metal bracket:
You’re done!
And there you go, that’s how you upgrade the memory in a QNAP TS-251! Note that the QNAP specs state that the max it accepts is 8GB. Once you’ve upgraded the memory, do it all in reverse to finish up – reinstall the drive cage (making sure to plug the connector back into the main board), put in it’s screws, replace the cover (and it’s own screws), slide back in the drives/bays, and you’re done!
