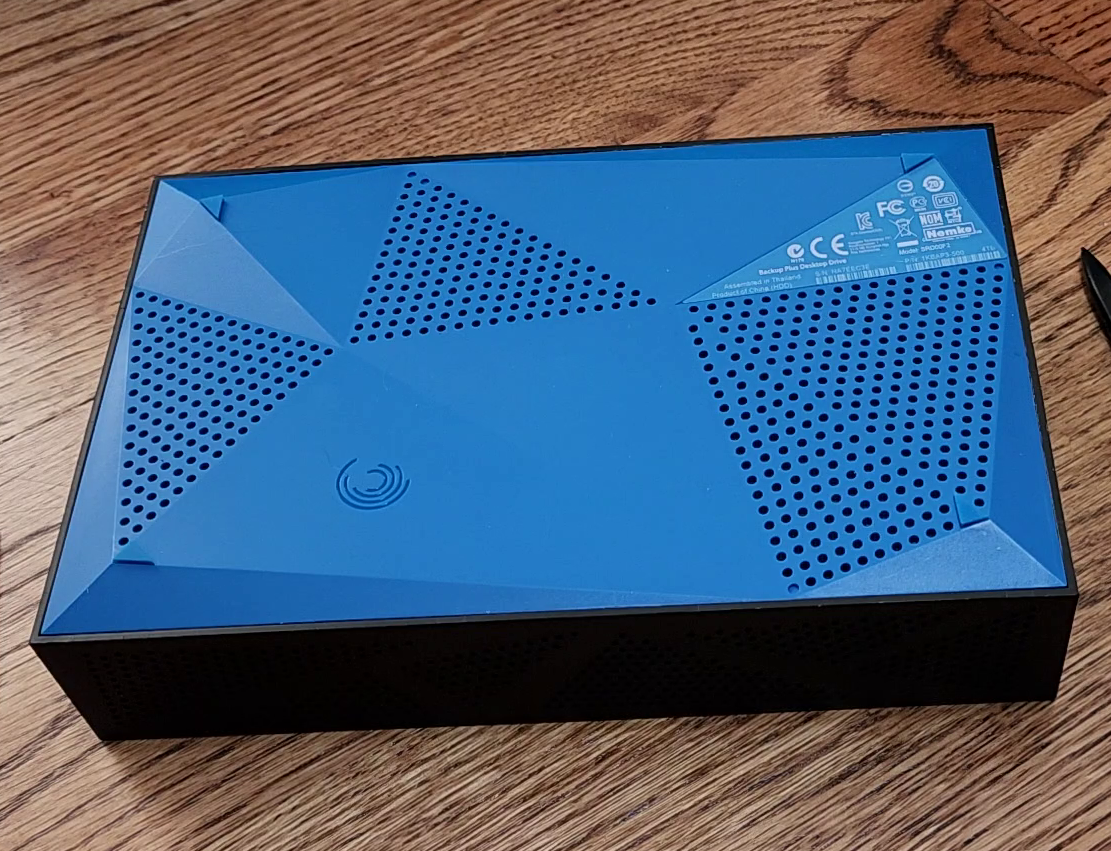
I’ve been slowly upgrading my Synology Diskstation DS418, and in the process, I’ve been looking for ways to find cheap drives. One such way is to get external drives and shuck them, meaning, remove the 3.5″ drive inside them. This is a guide on how to dismantle a Seagate Backup Plus Desktop drive (specifically, model SRD00F2) – watch the video or read the written guide below!
Remove the bottom cover
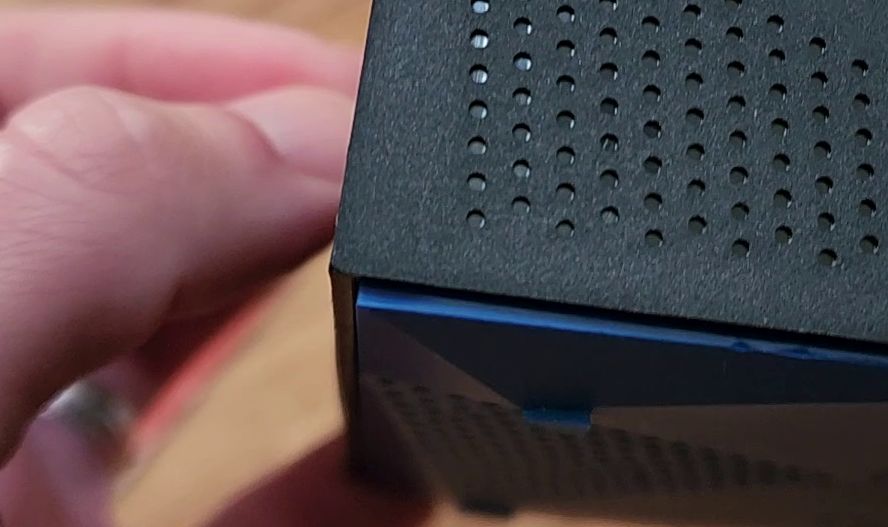
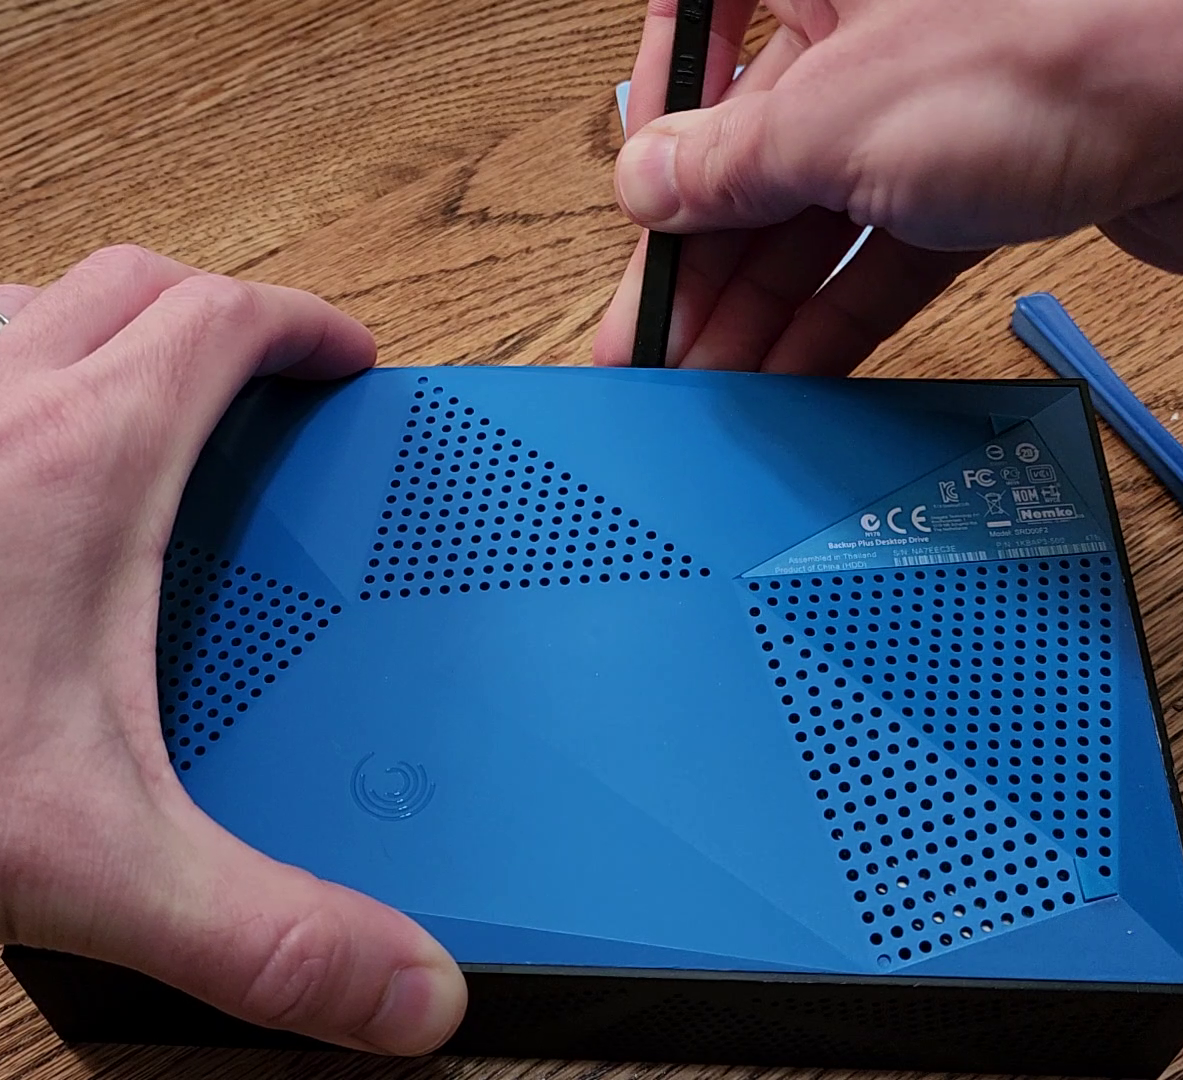
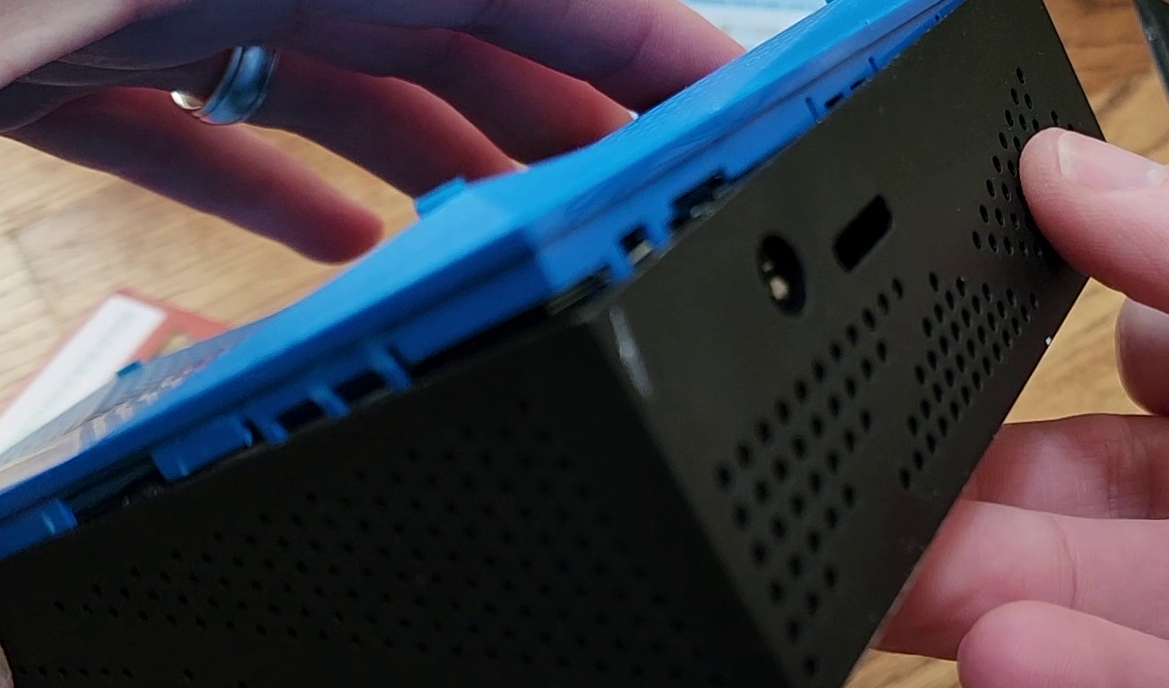
The first step is the remove the bottom cover, which is held on by 12 clips, three on each side. I chose to use two old credit cards to wedge them into two adjacent sides, starting with one along a long side and just wriggling it in there:
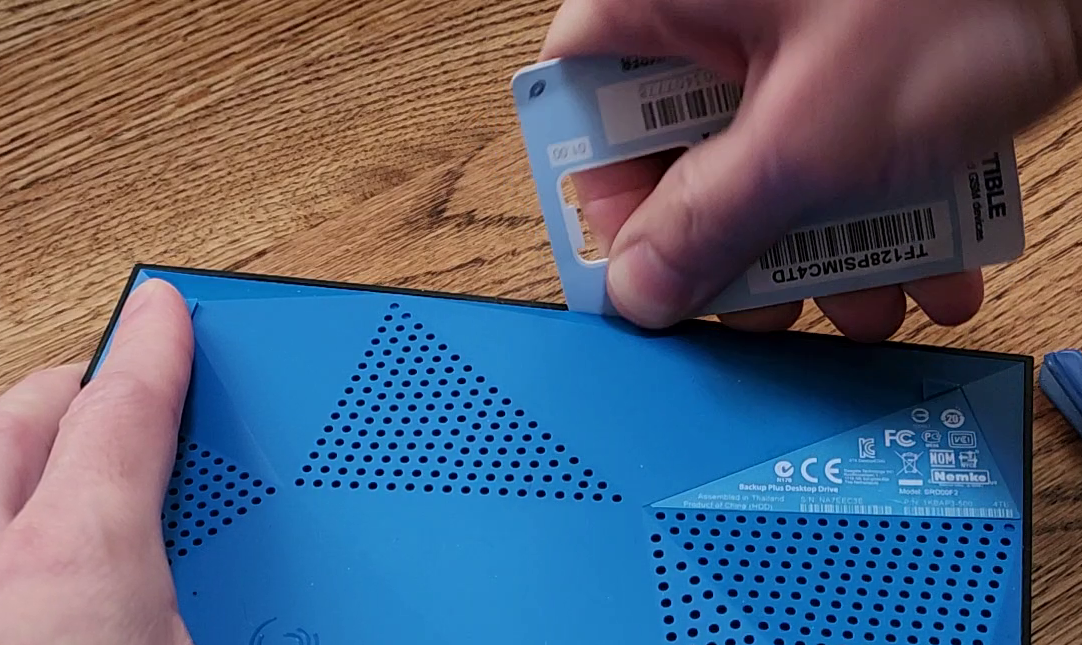
Then the other, from the adjacent side, and slide them to meet at a corner. Push down on both of them until the corner of the cover is released.
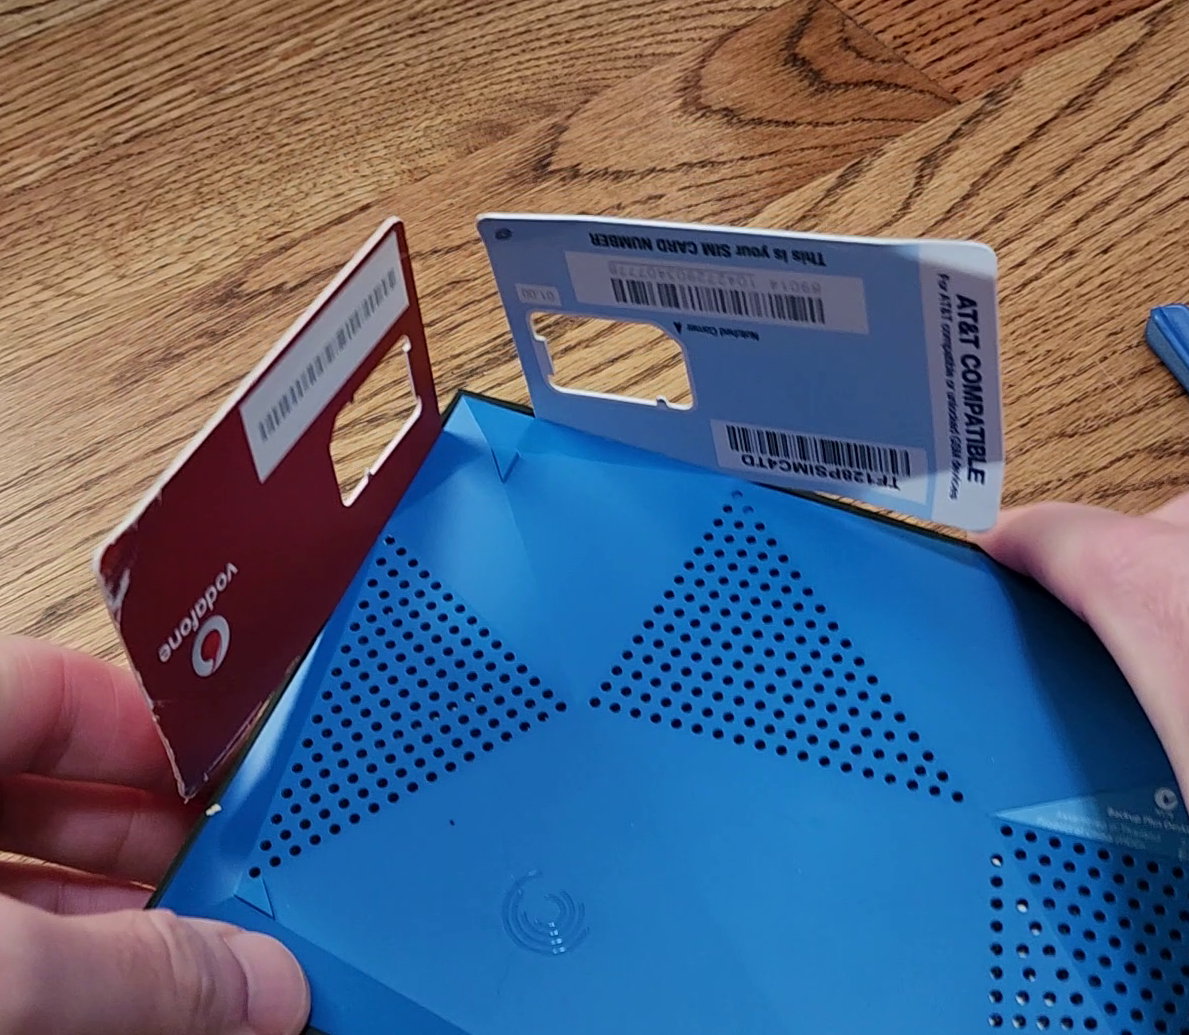
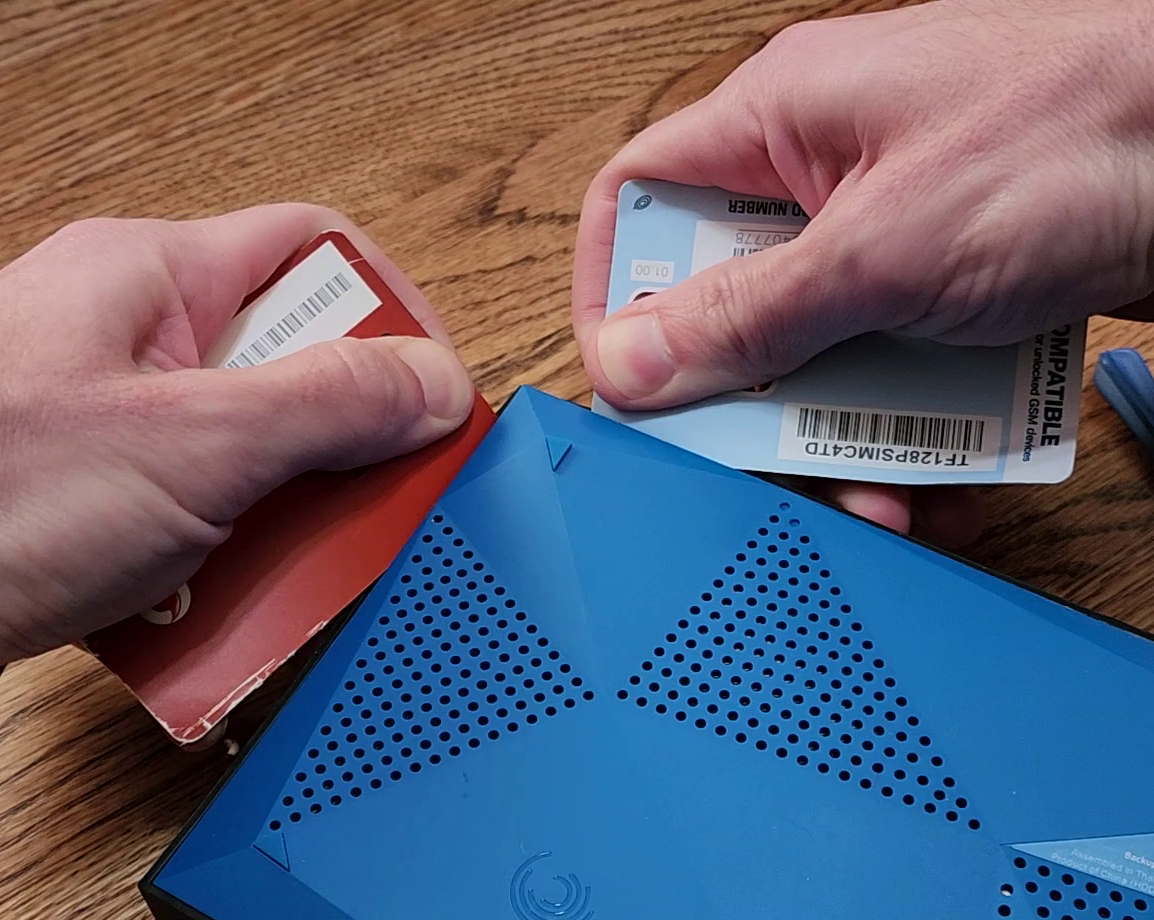
Note that ultimately what you need to do is release the 3 clips on each side. The way to start is toto get the first corner slightly out:
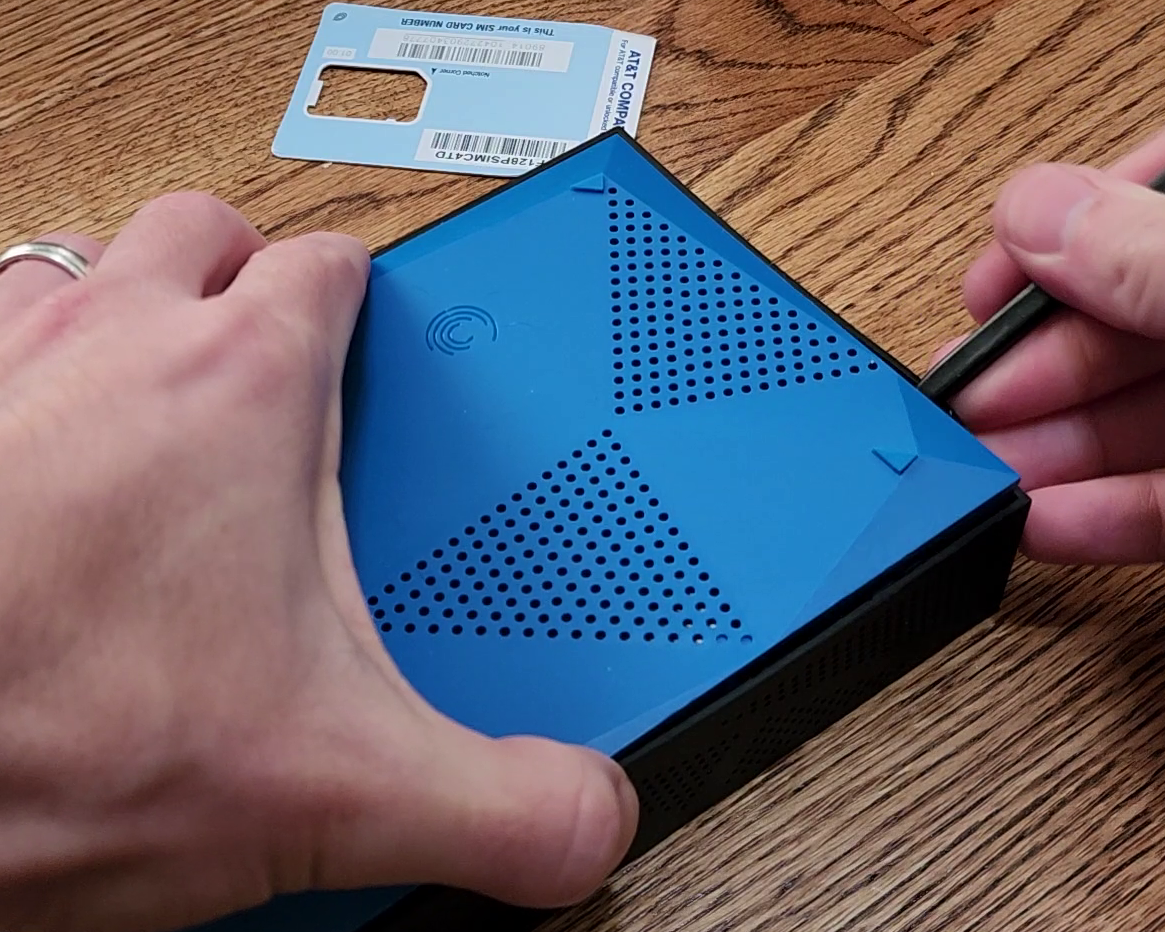
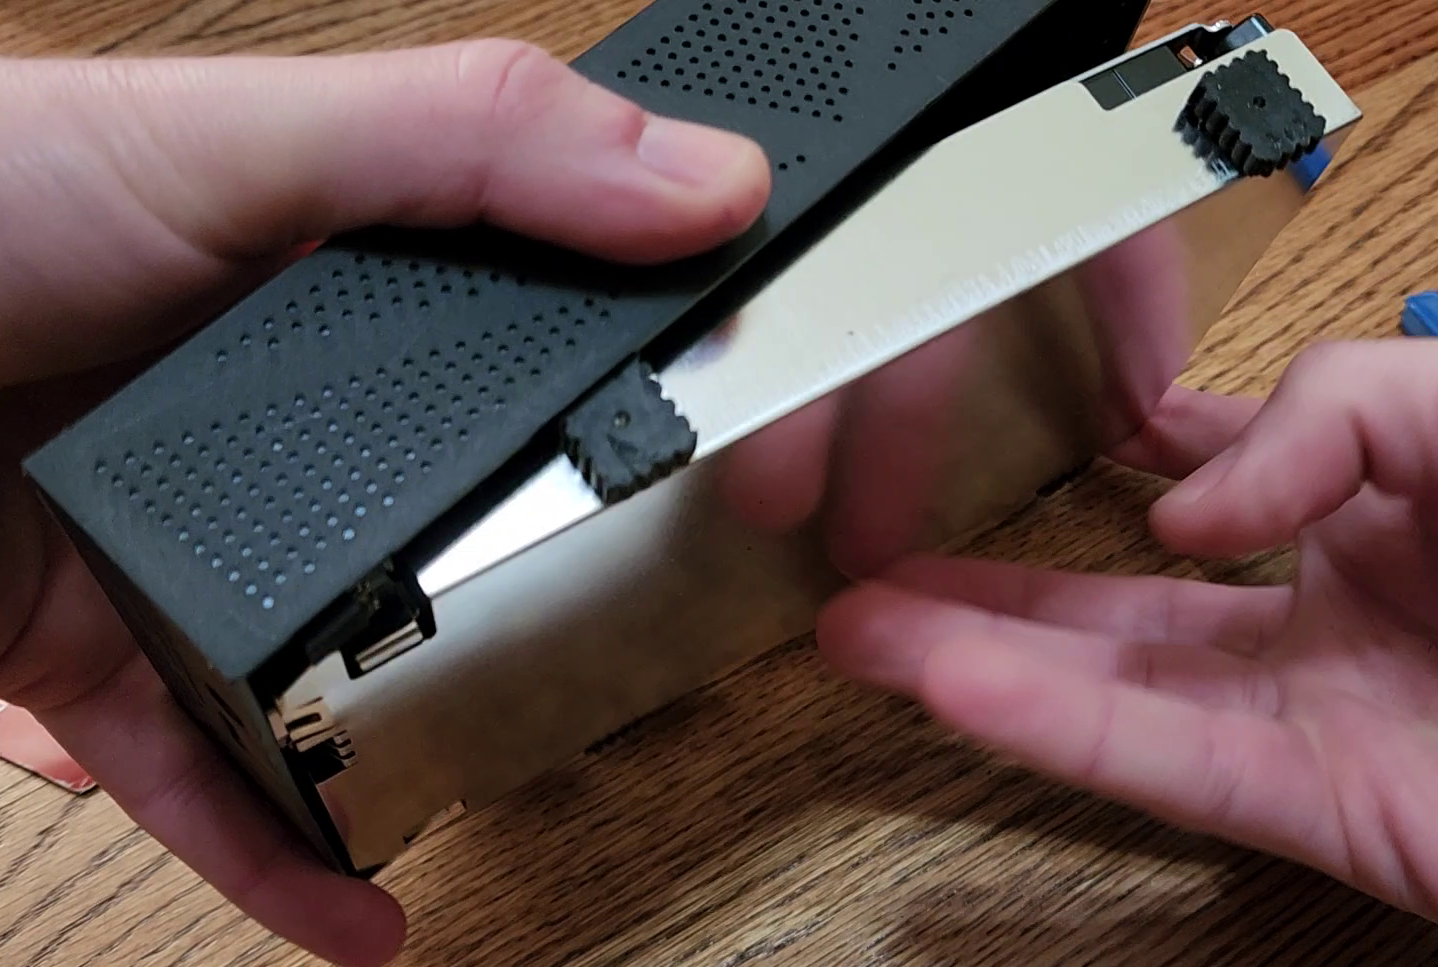
Then, with a corner loose, you can continue using a credit card to pry the rest of the clips -or – I found using a plastic scribe (pry tool) to be perfect. Just stick it between the bottom cover and the case, and just start prying it out along each edge:
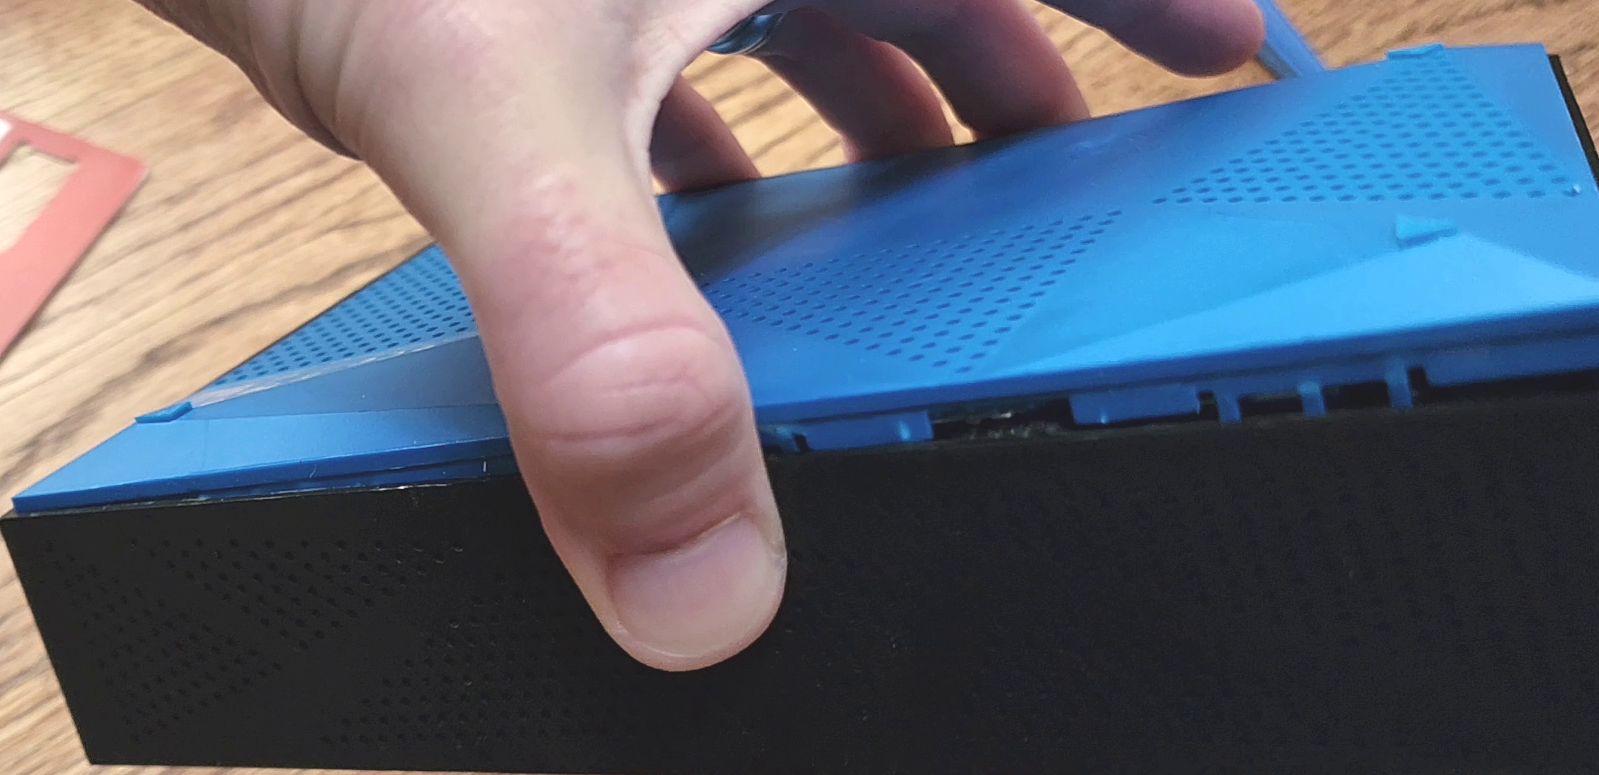
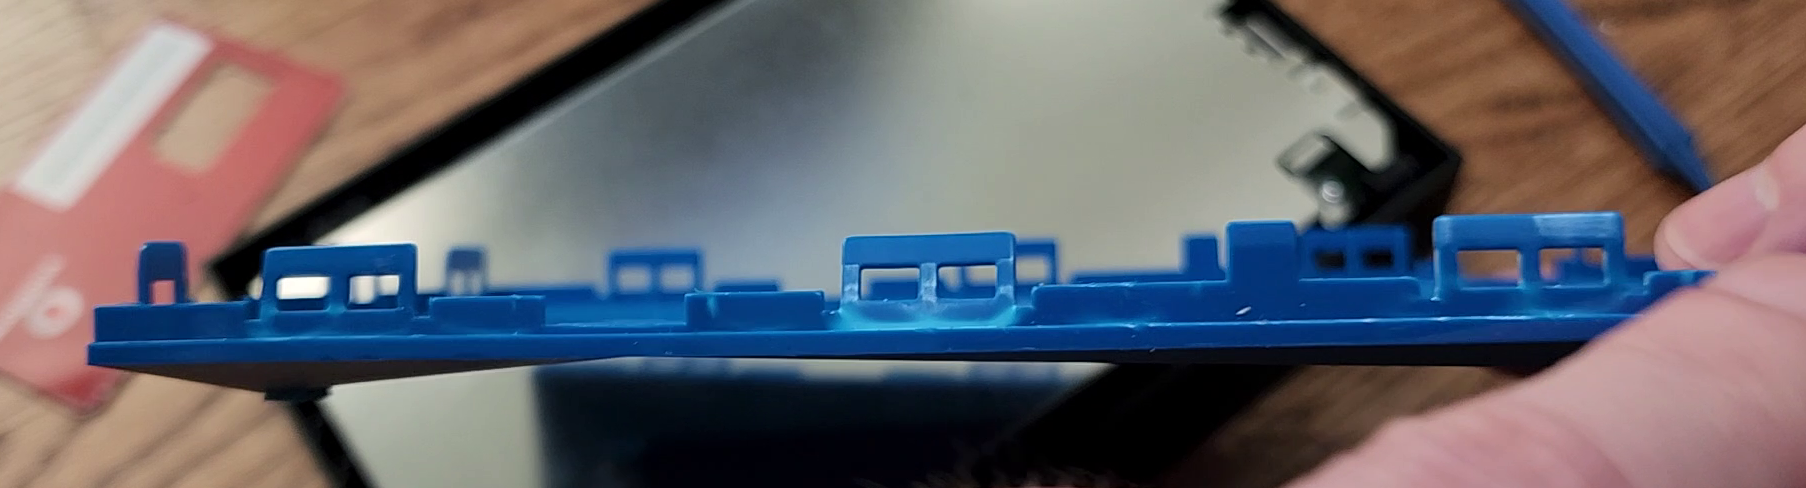
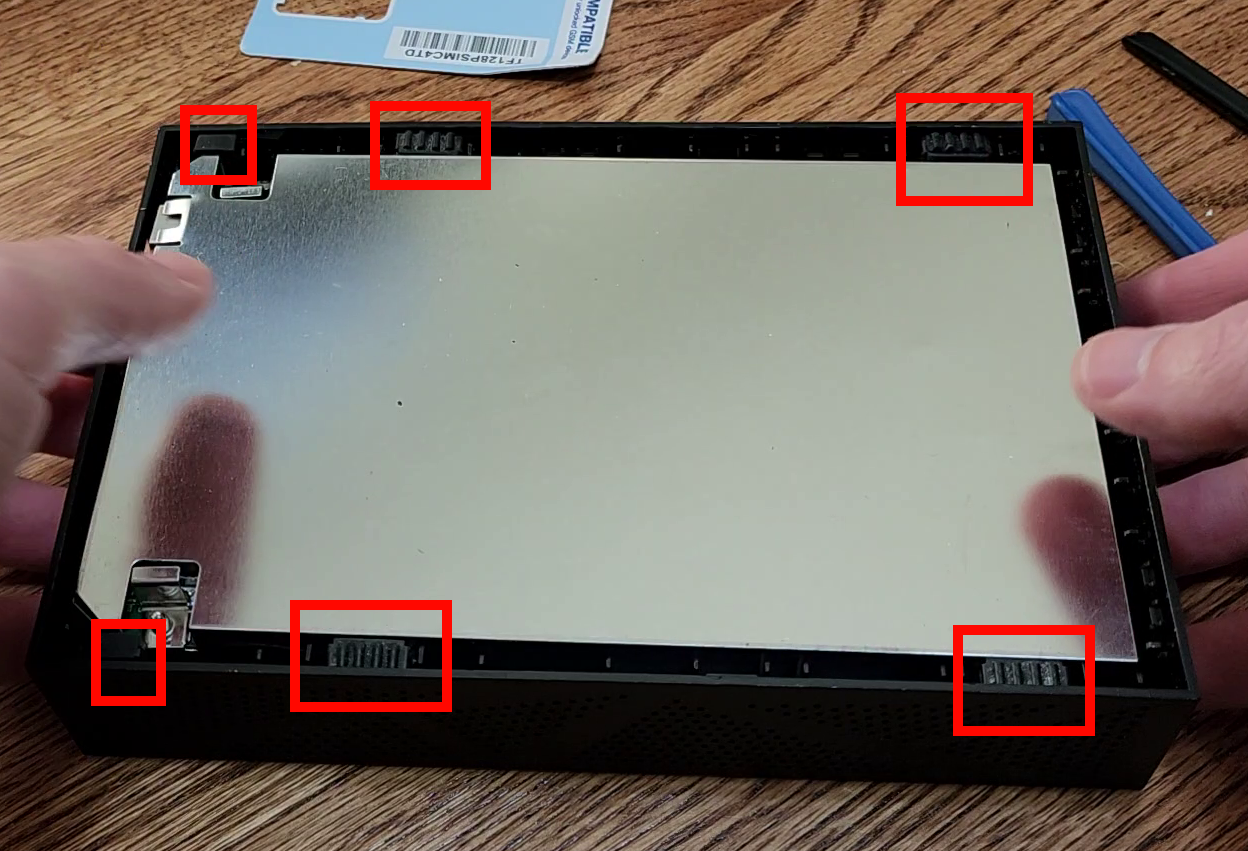
Here’s what the bottom cover looks once it’s removed so you can get a feel for what the clips look like and what you’re trying to pry apart:
Shuck the drive
With the cover off, the internal drive and cage will mostly fall out if you turn it upside down.Iit’s only held in by six rubber bumpers, and the weight of the drive will allow it to fall out once turned over):
With the cage out, simply pull off the four rubber bumpers hiding the screws, then remove the four screws themselves:
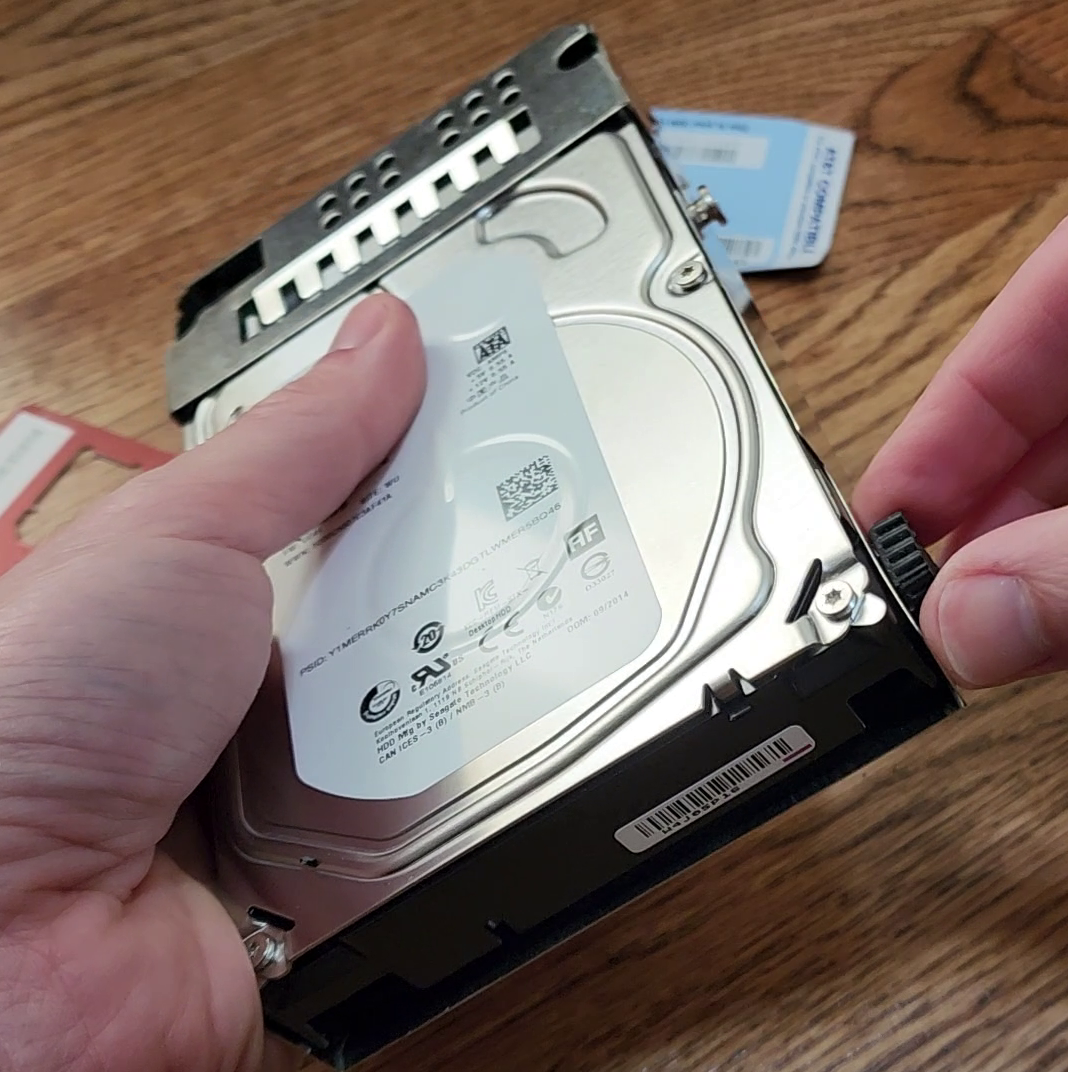
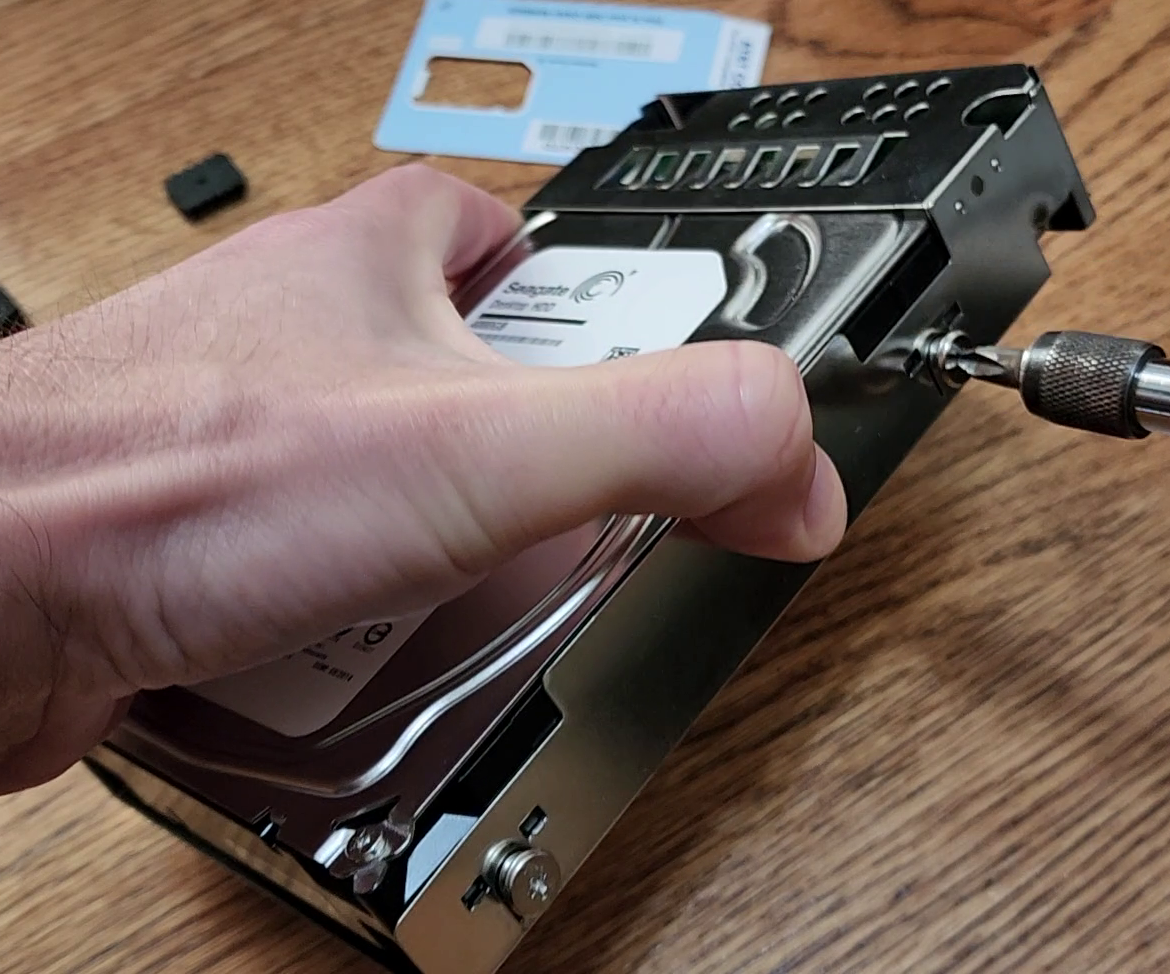
All you need to do now is simply slide the drive out of the drive cage; push it away from the side of the cage with the board and you will have shucked the drive out of the enclosure!

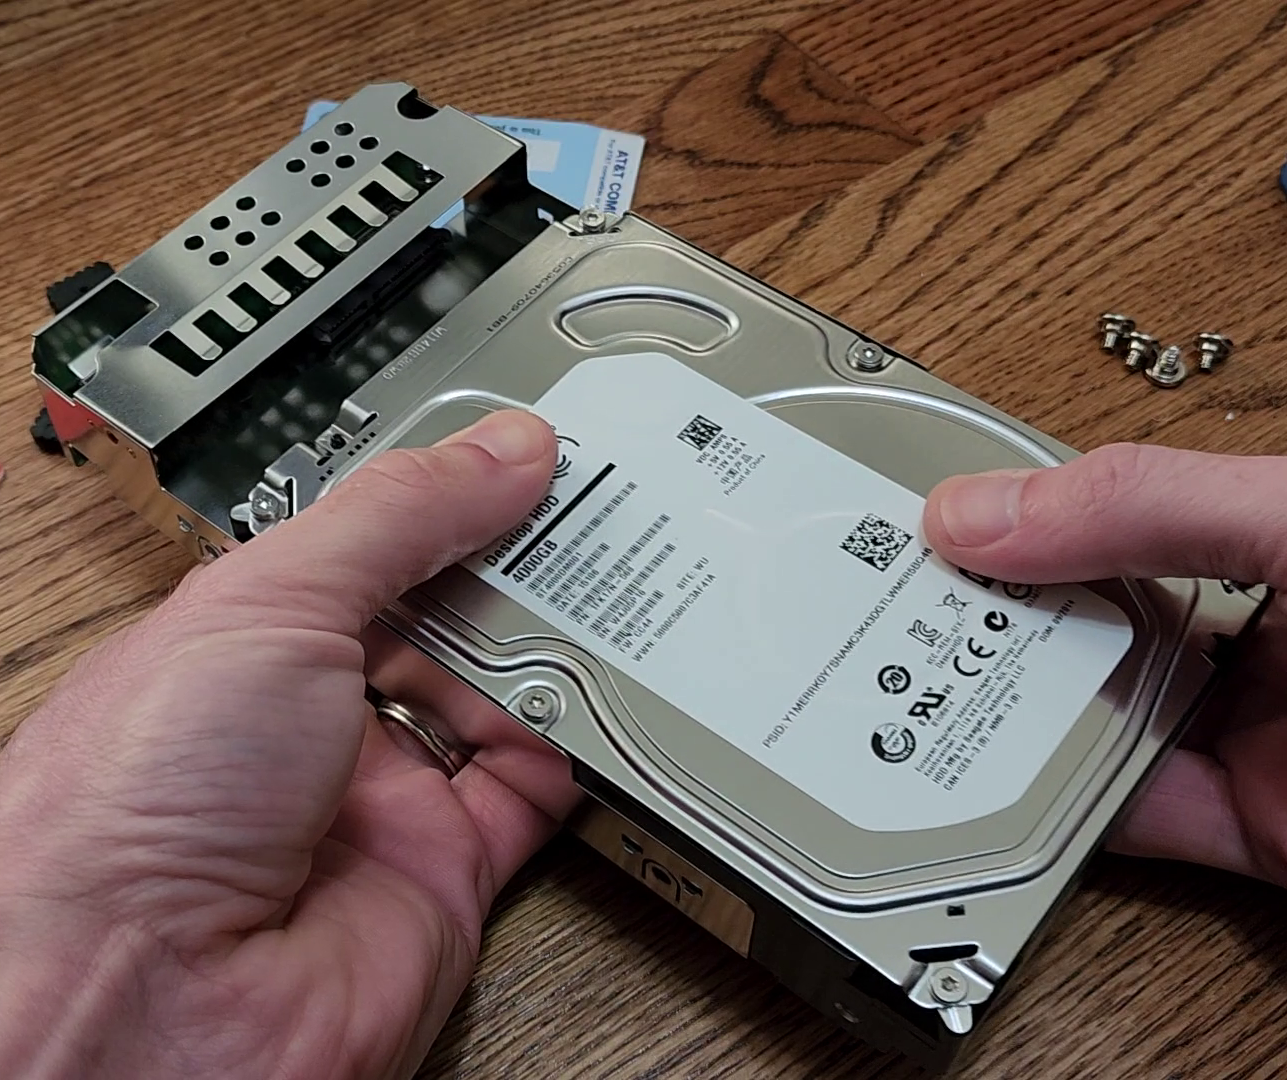
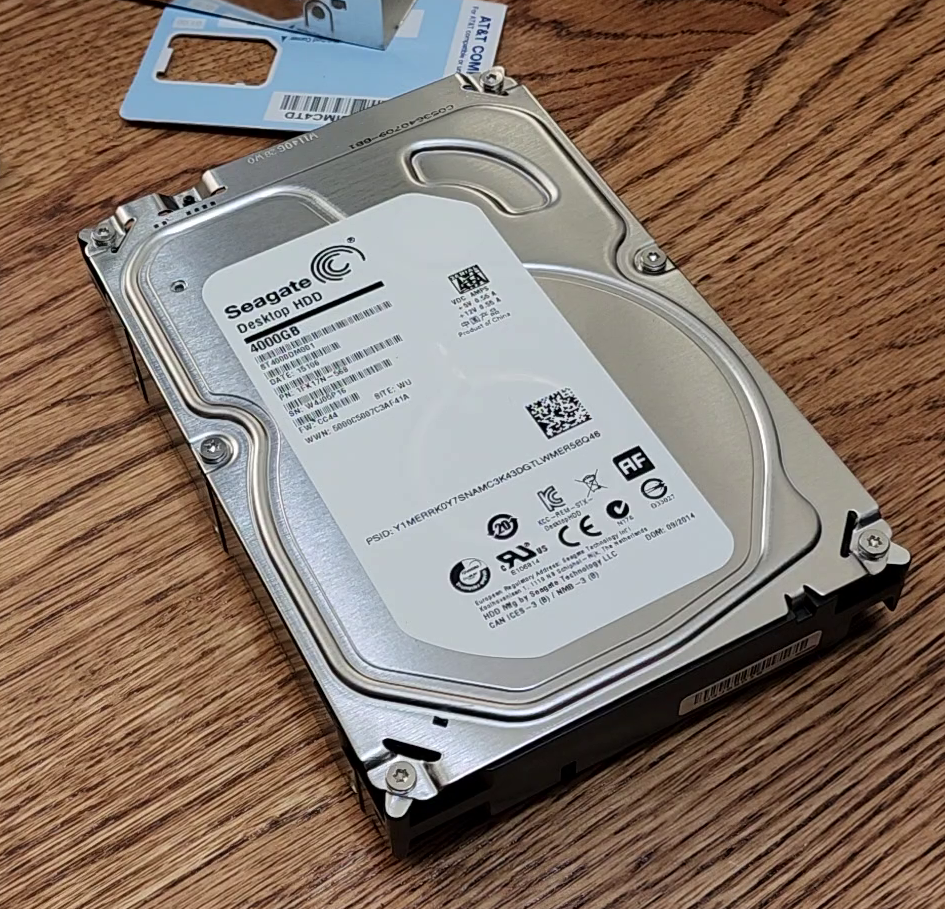
The hard drive inside
It’s possible you’ll have a different drive than what was in mine. For me, mine ended up being a Seagate ST4000DM001, which is a SATA III, 5900RPM drive with 128mb cache
Wrap up
In short, to dismantle a Seagate Backup Plus Desktop Drive, you need to:
- pry off the bottom cover (3 clips on each edge),
- remove rubber screw bumpers and the screws,
- slide the drive out of a cage and your done.
However, be aware that my particular drive was “TGMR” (per Seagate specs), which sounds like it may be a form of SMR according to this post; therefore, so I’ve decided against using in my NAS.