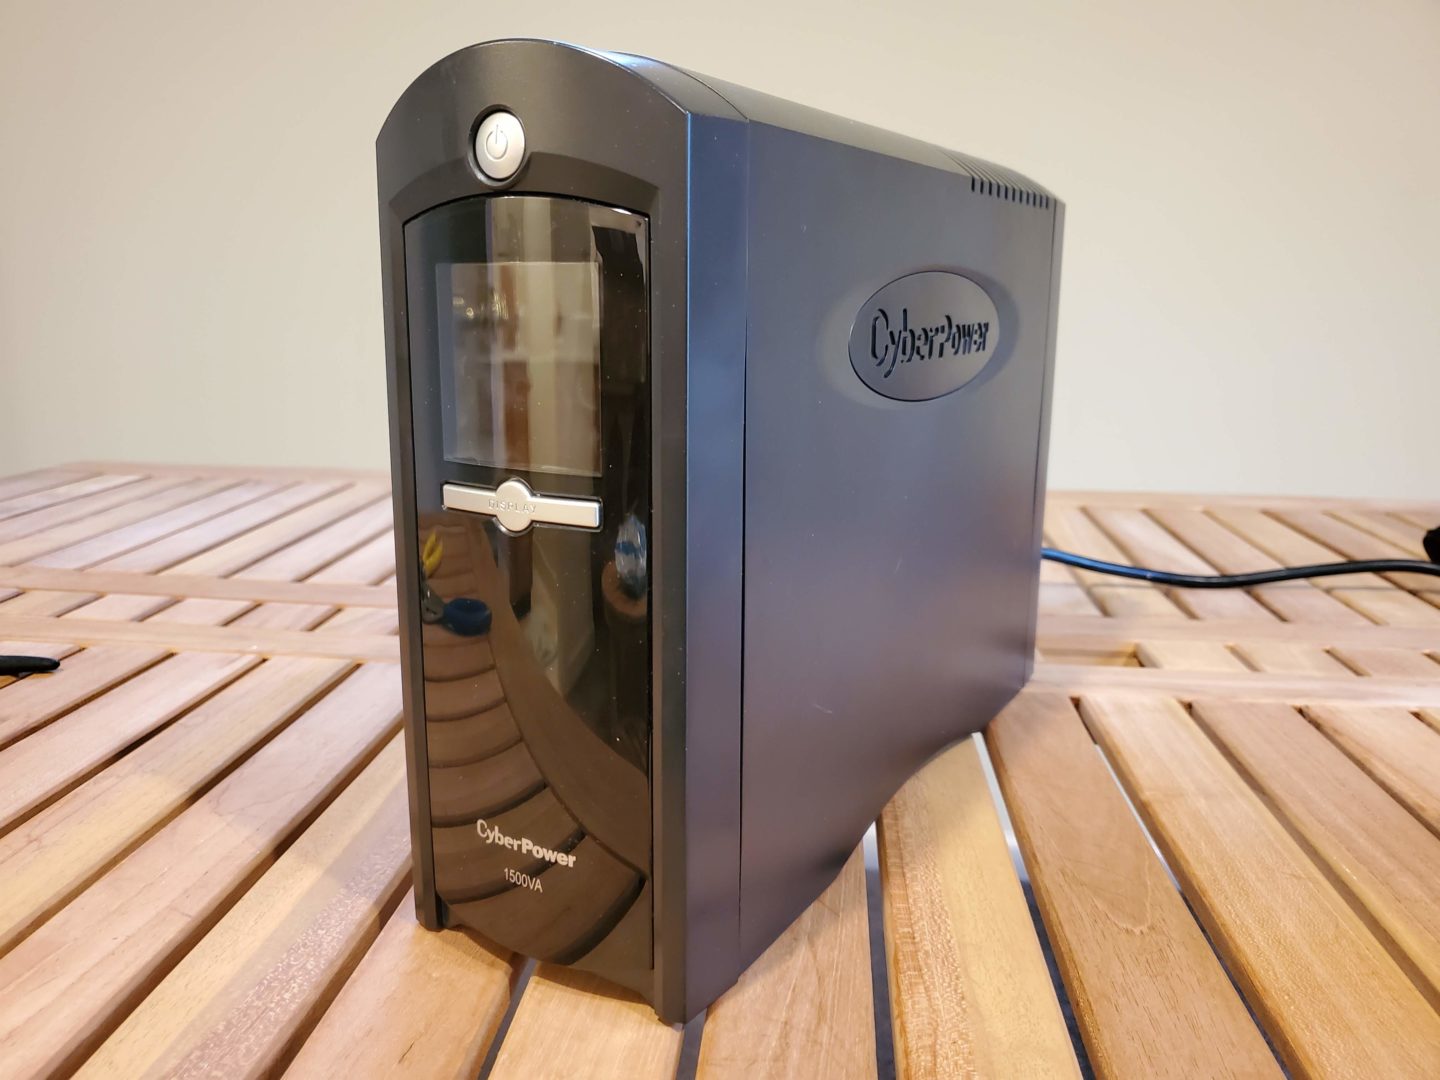
Is your CyberPower 1500VA (CP1500AVR/CP1500C) no longer supplying power to your devices when the power goes out? It may be time to replace the battery! I originally bought one about 4 years ago and during a short power outage a few weeks ago, the batteries no longer provided any power, so I had to replace mine which took about 15 minutes of effort. You can watch how to do it below, or continue reading on for a written guide on replacing a CyberPower 1500VA UPS battery:
Buy a replacement battery
First thing you need to do is buy a replacement battery (actually, it’s two batteries wired together). If you want to buy a CyberPower branded replacement, it comes with the two batteries already “put together”. You can also buy 3rd party replacement batteries considerably cheaper and appear to be just as good.
If you want the CyberPower branded replacement (comes as two batteries already taped/wired together), you’ll want part number RB1280X2A:
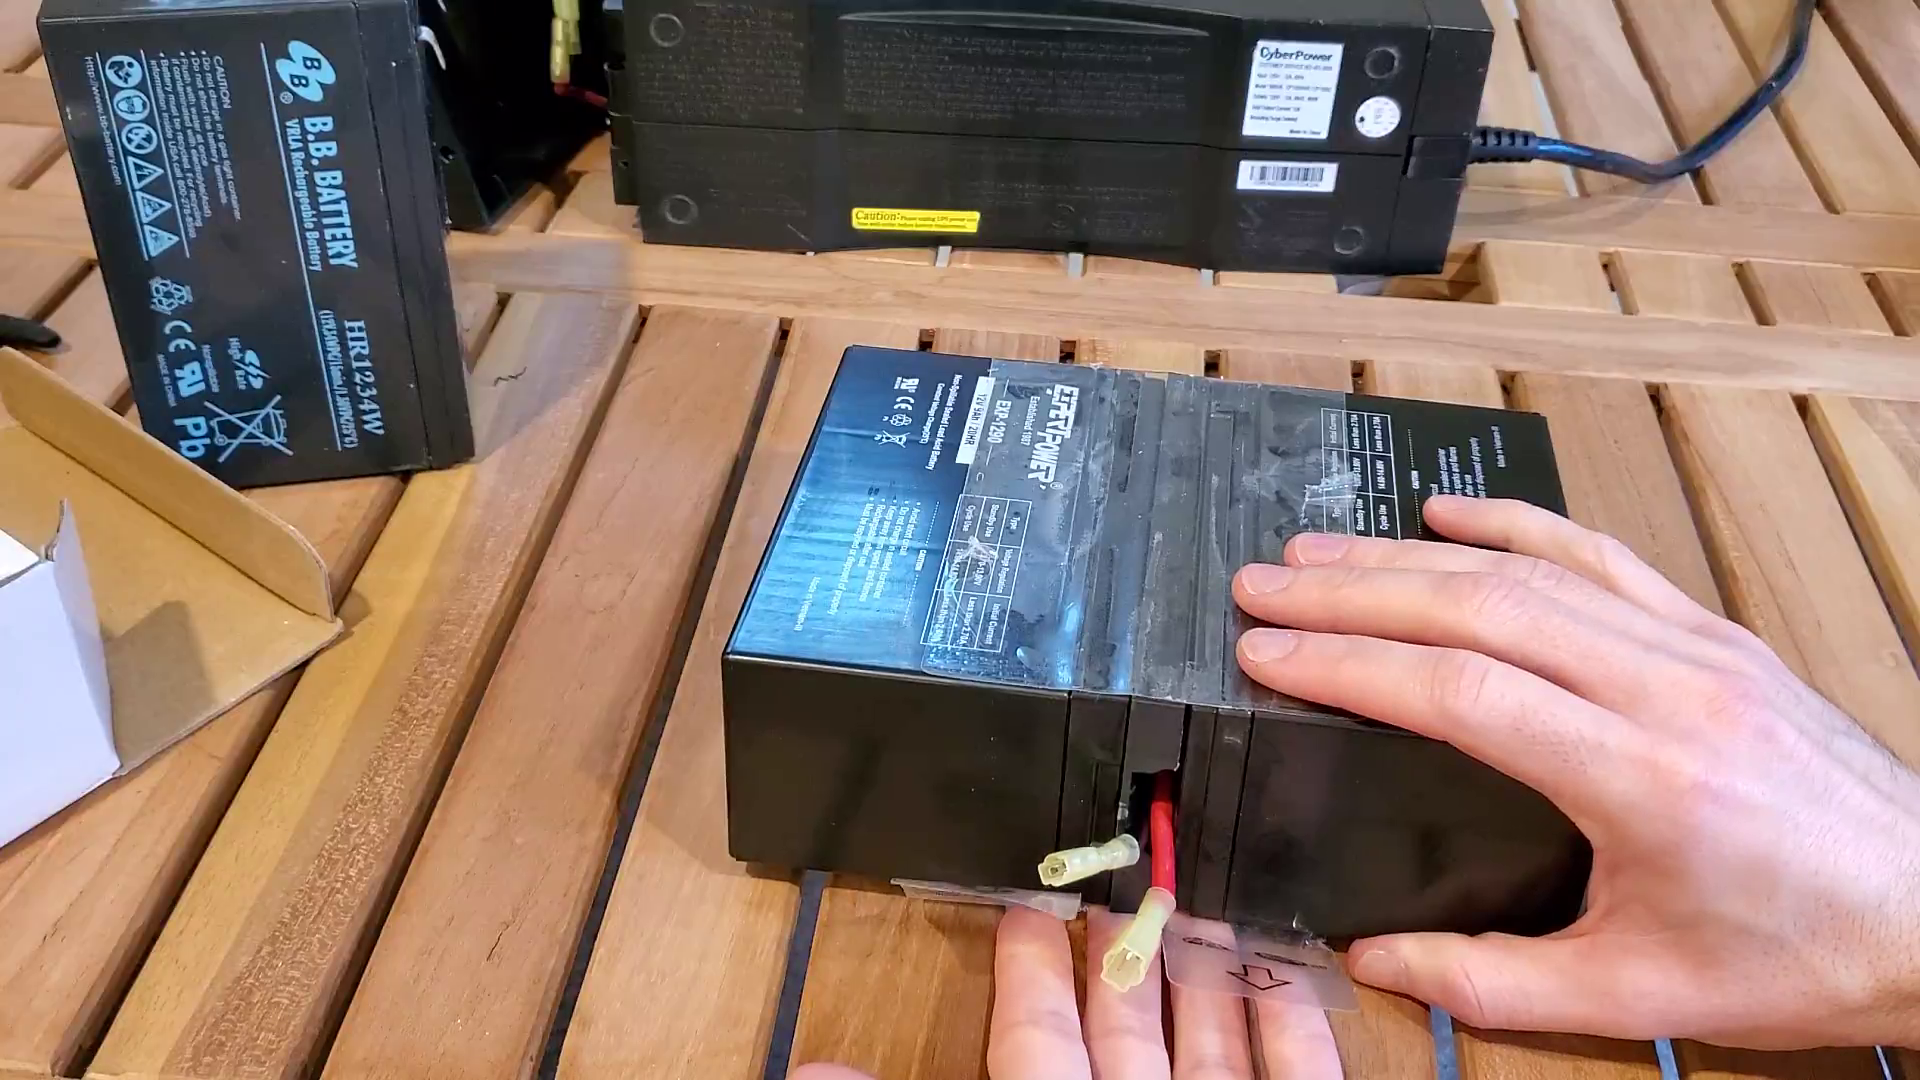
Or, you can save some money (about $30 less at the time of this post) and go with a different brand, such as two of these ExpertPower EXP1290 batteries:
If you buy 3rd party, you’ll need to re-use the tape and other easily removable parts from the old batteries. It’s easy to do and will be explained later in this guide. Also, while I’ve had good luck with ExpertPower branded batteries in the past for use in some PowerWheels and Verizon FIOS ONT boxes, this is my first time using them in a UPS. While I don’t expect any issues, I’ve only been using them for a few days, but general reviews on amazon appear to be favorable!
Remove the front cover
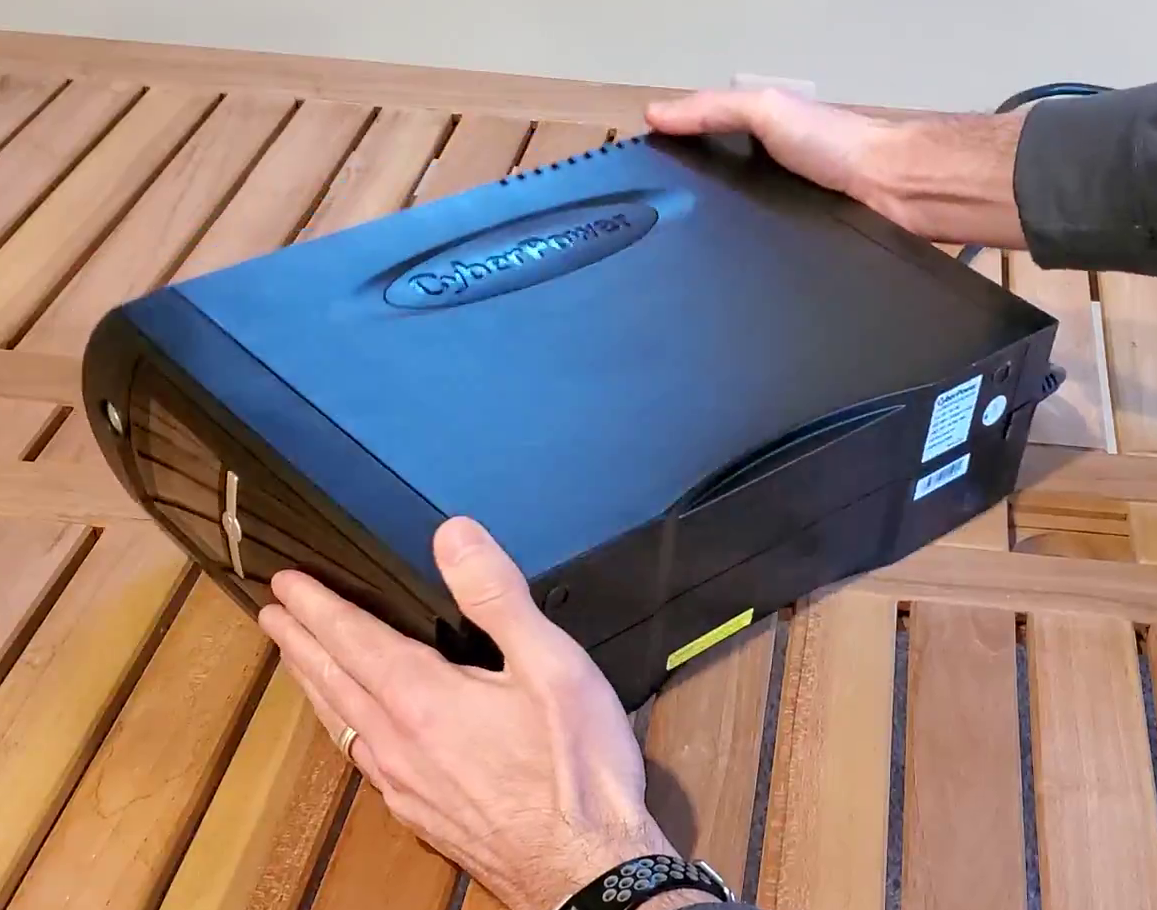
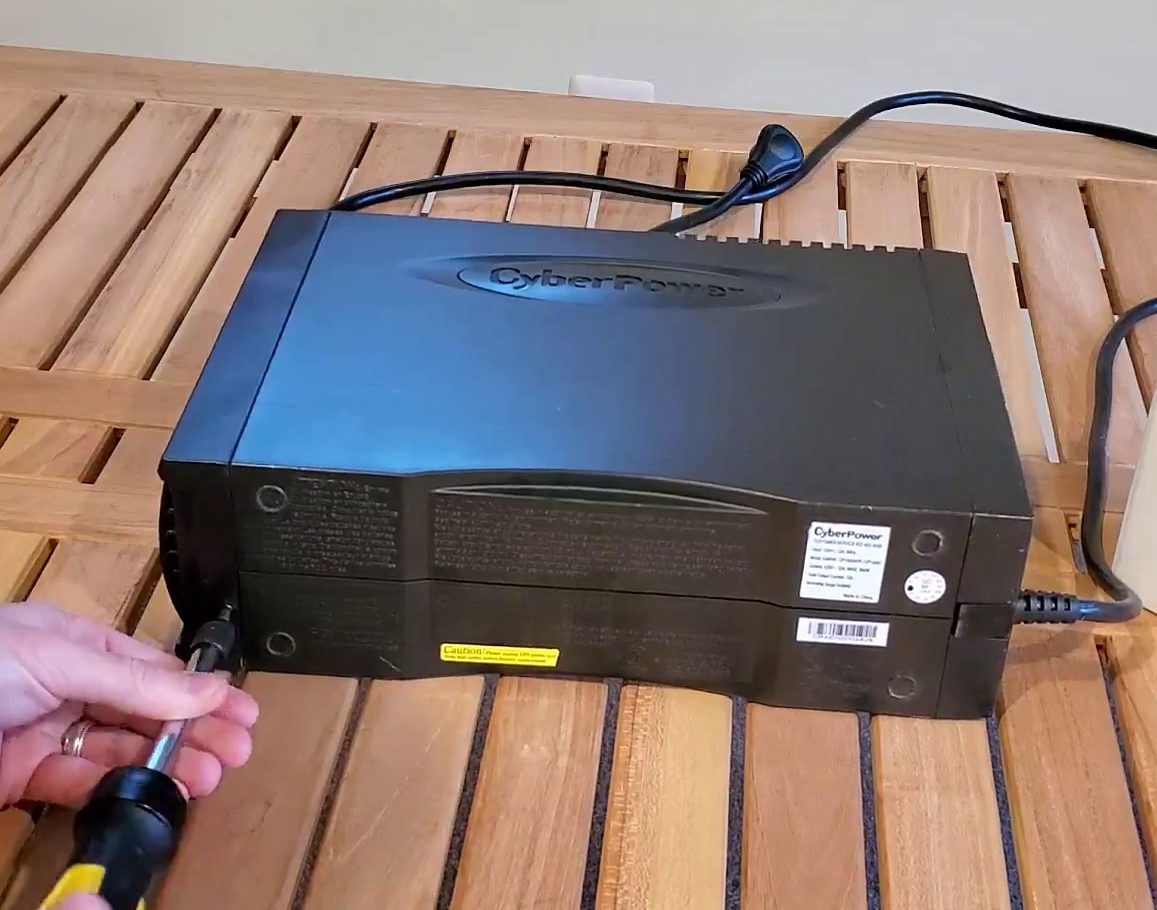
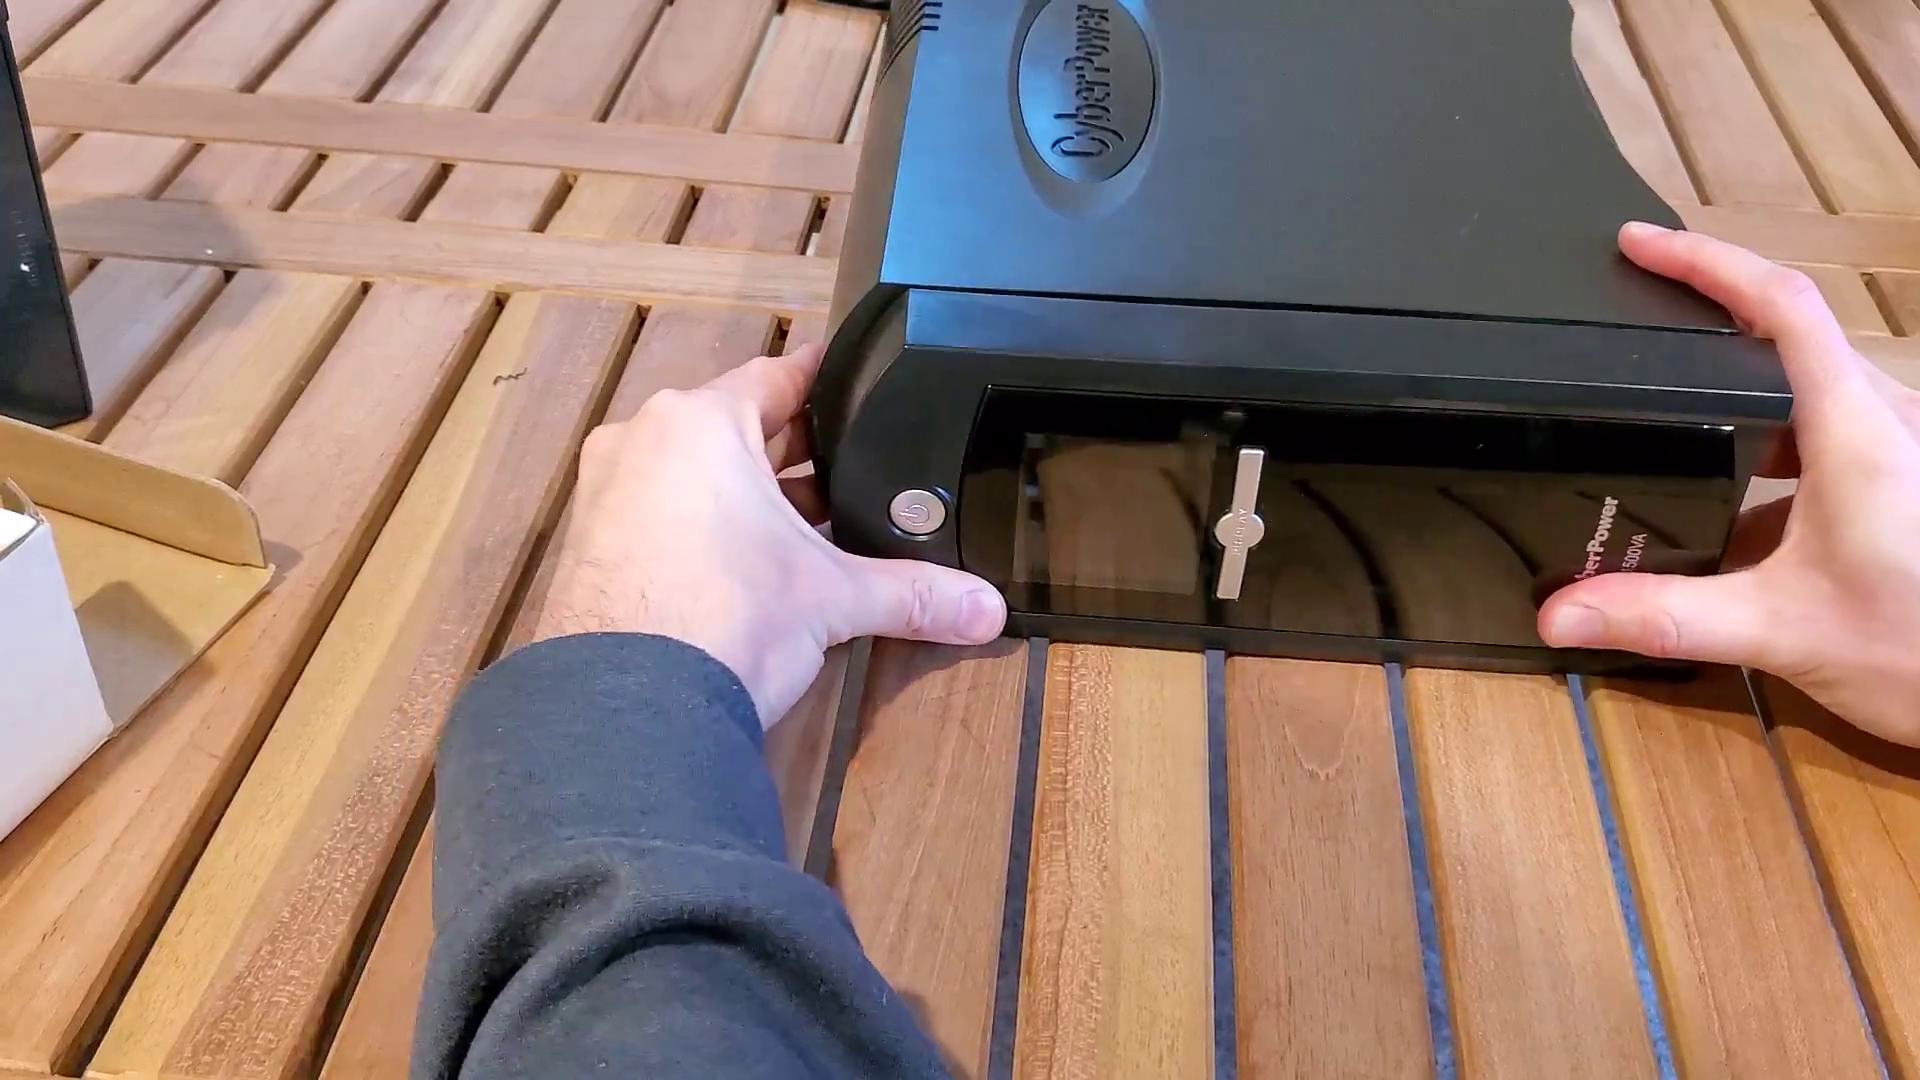
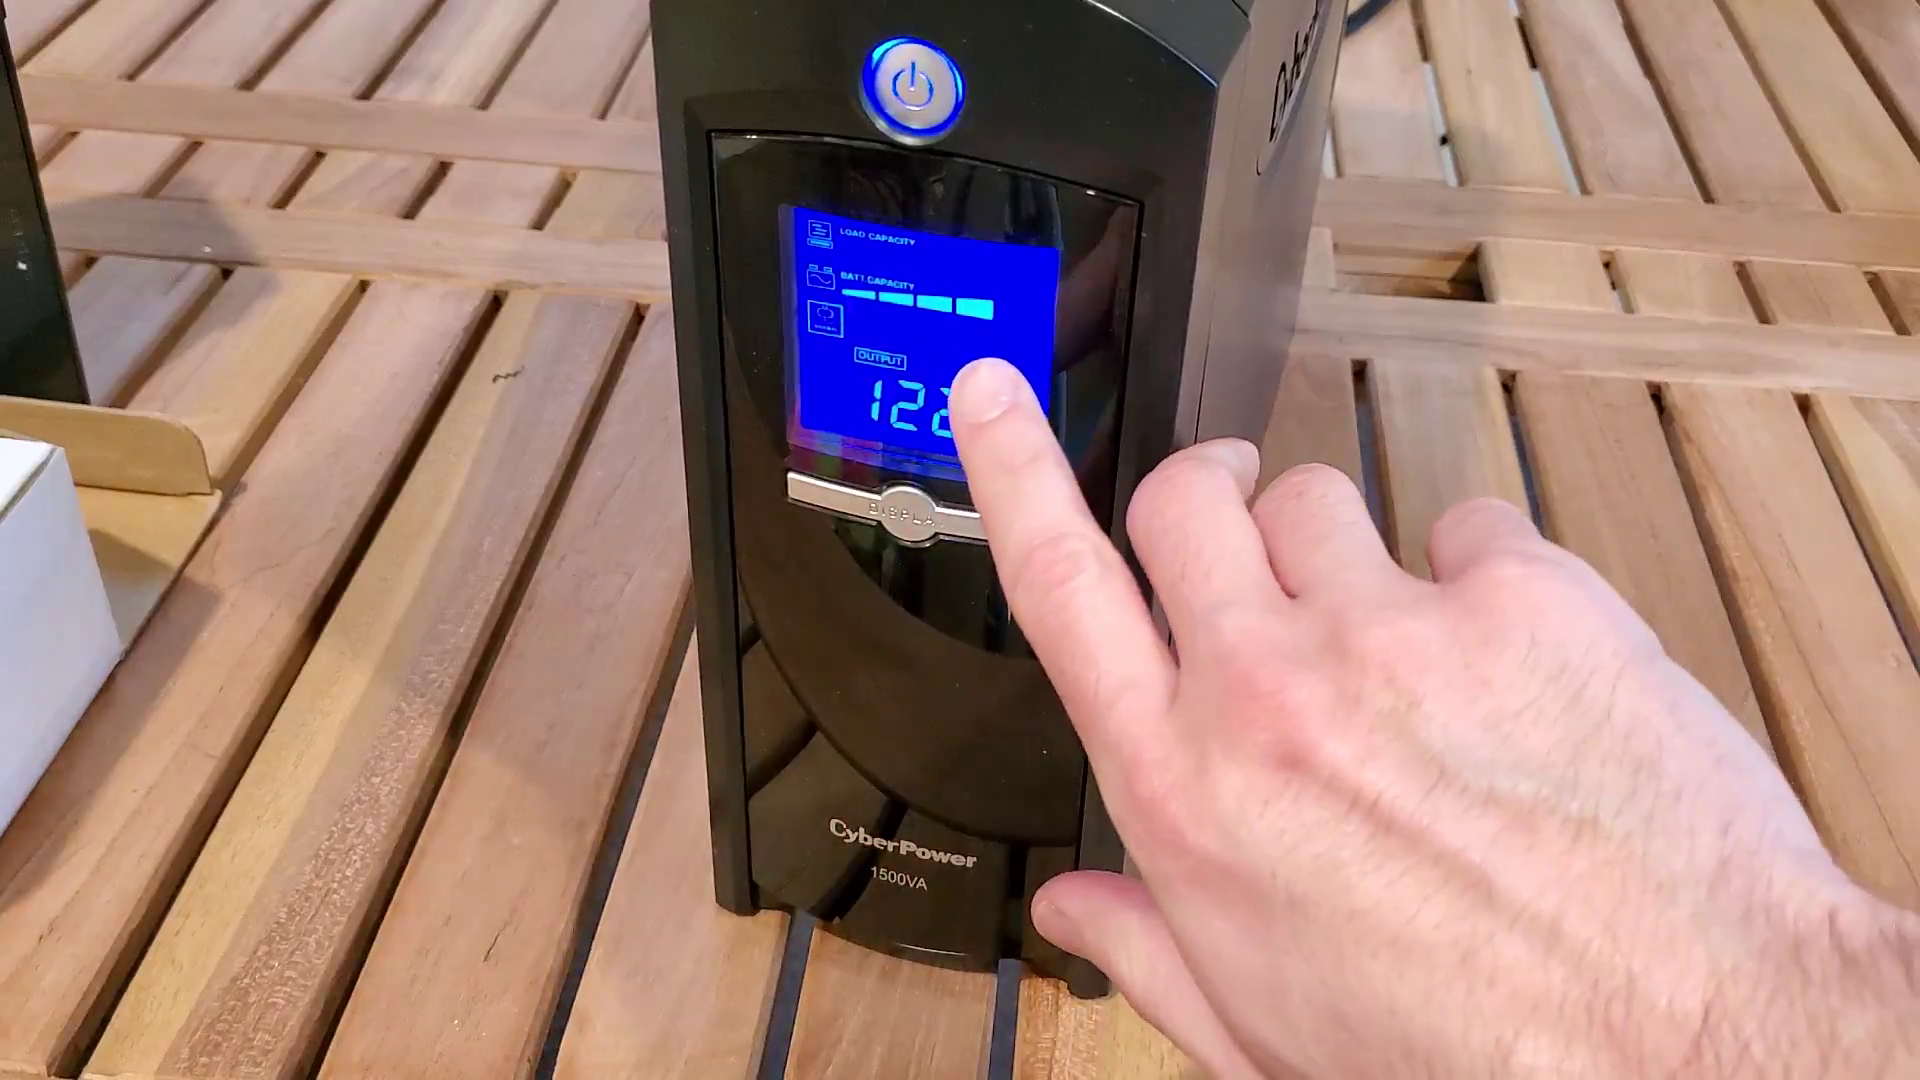
Once you have your replacement batteries, you need to first remove the front cover to get access to the old ones. Start off by turning off the UPS. To do so, press the main button on the top of the front panel, and go ahead and unplug it from the wall. Next, place the UPS on it’s left side (when looking at the front) and remove the single philips screw on the bottom of the front cover:
Then, slide the front cover down about an inch, and “rotate” it upwards as if there was a hinge at the top; the panel is connected by wires at the top, so you don’t want to simply pull the panel completely off:
Remove the old batteries
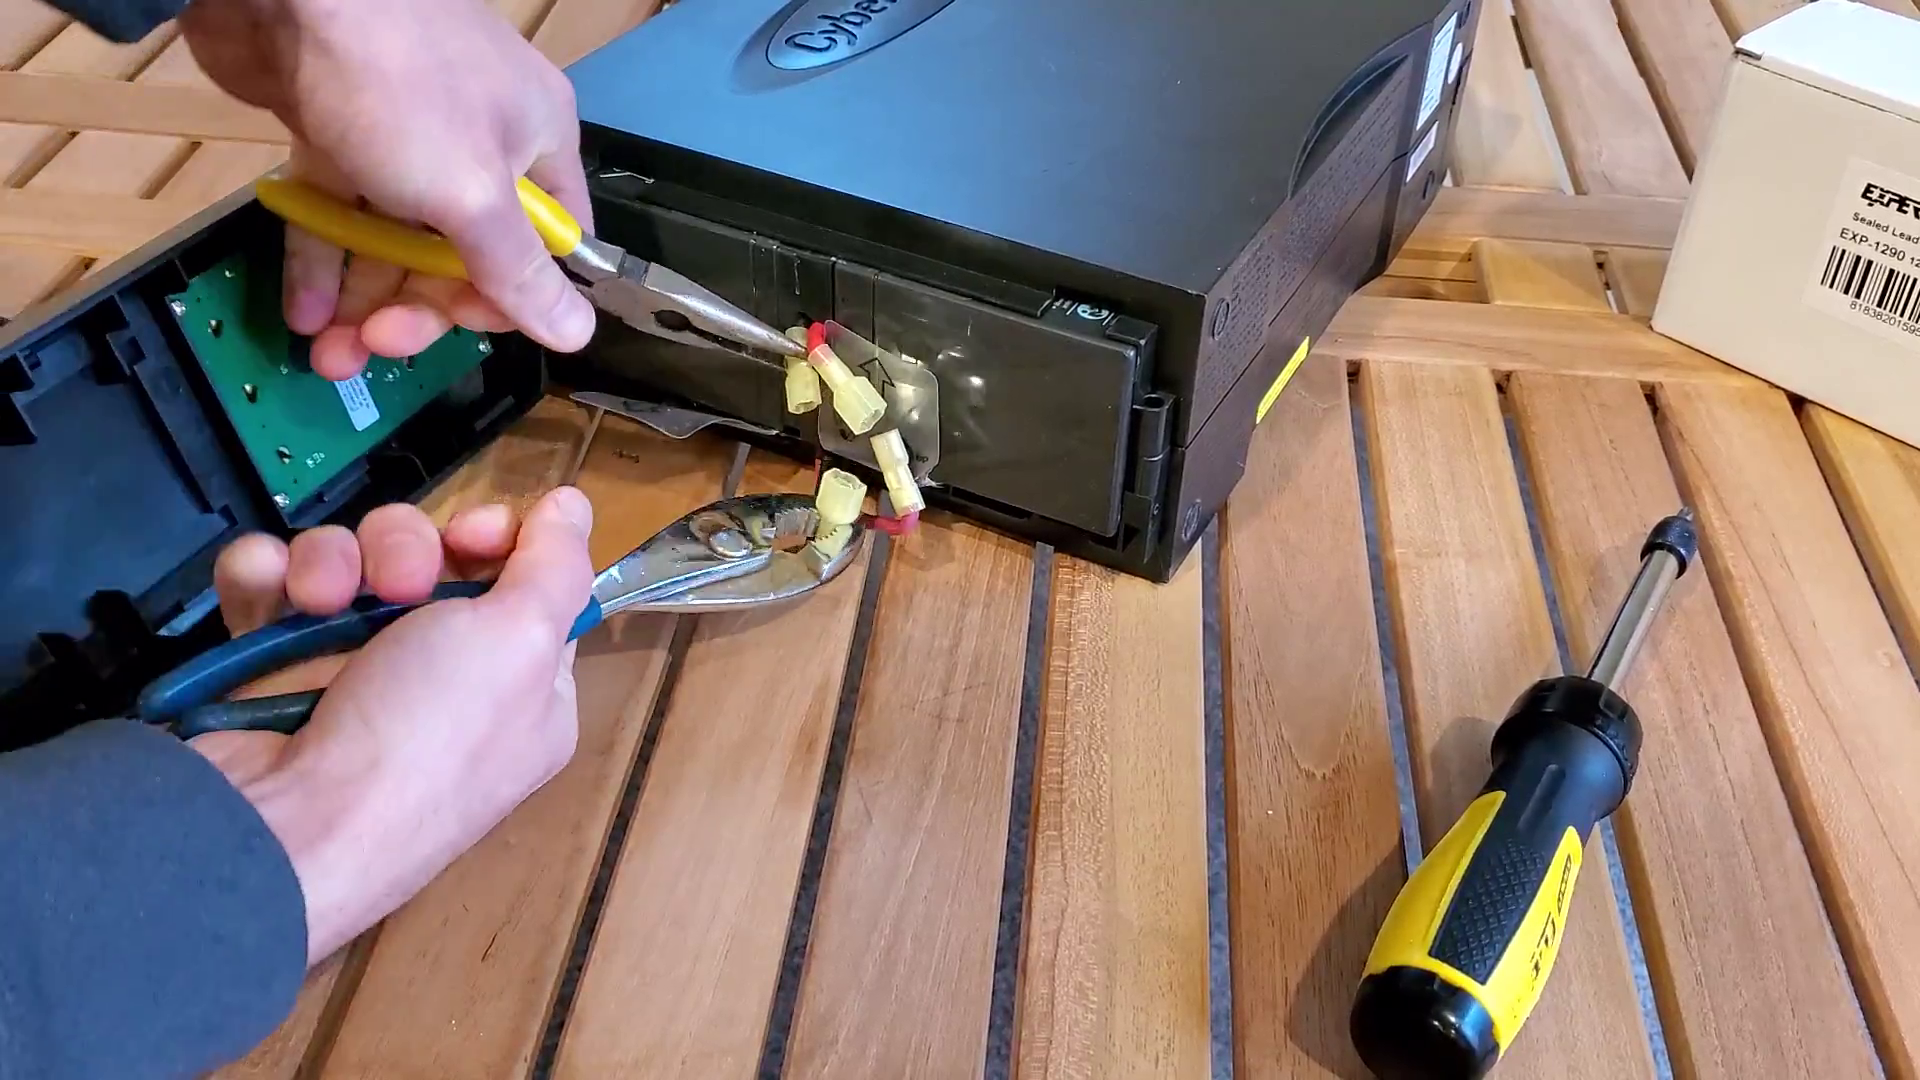
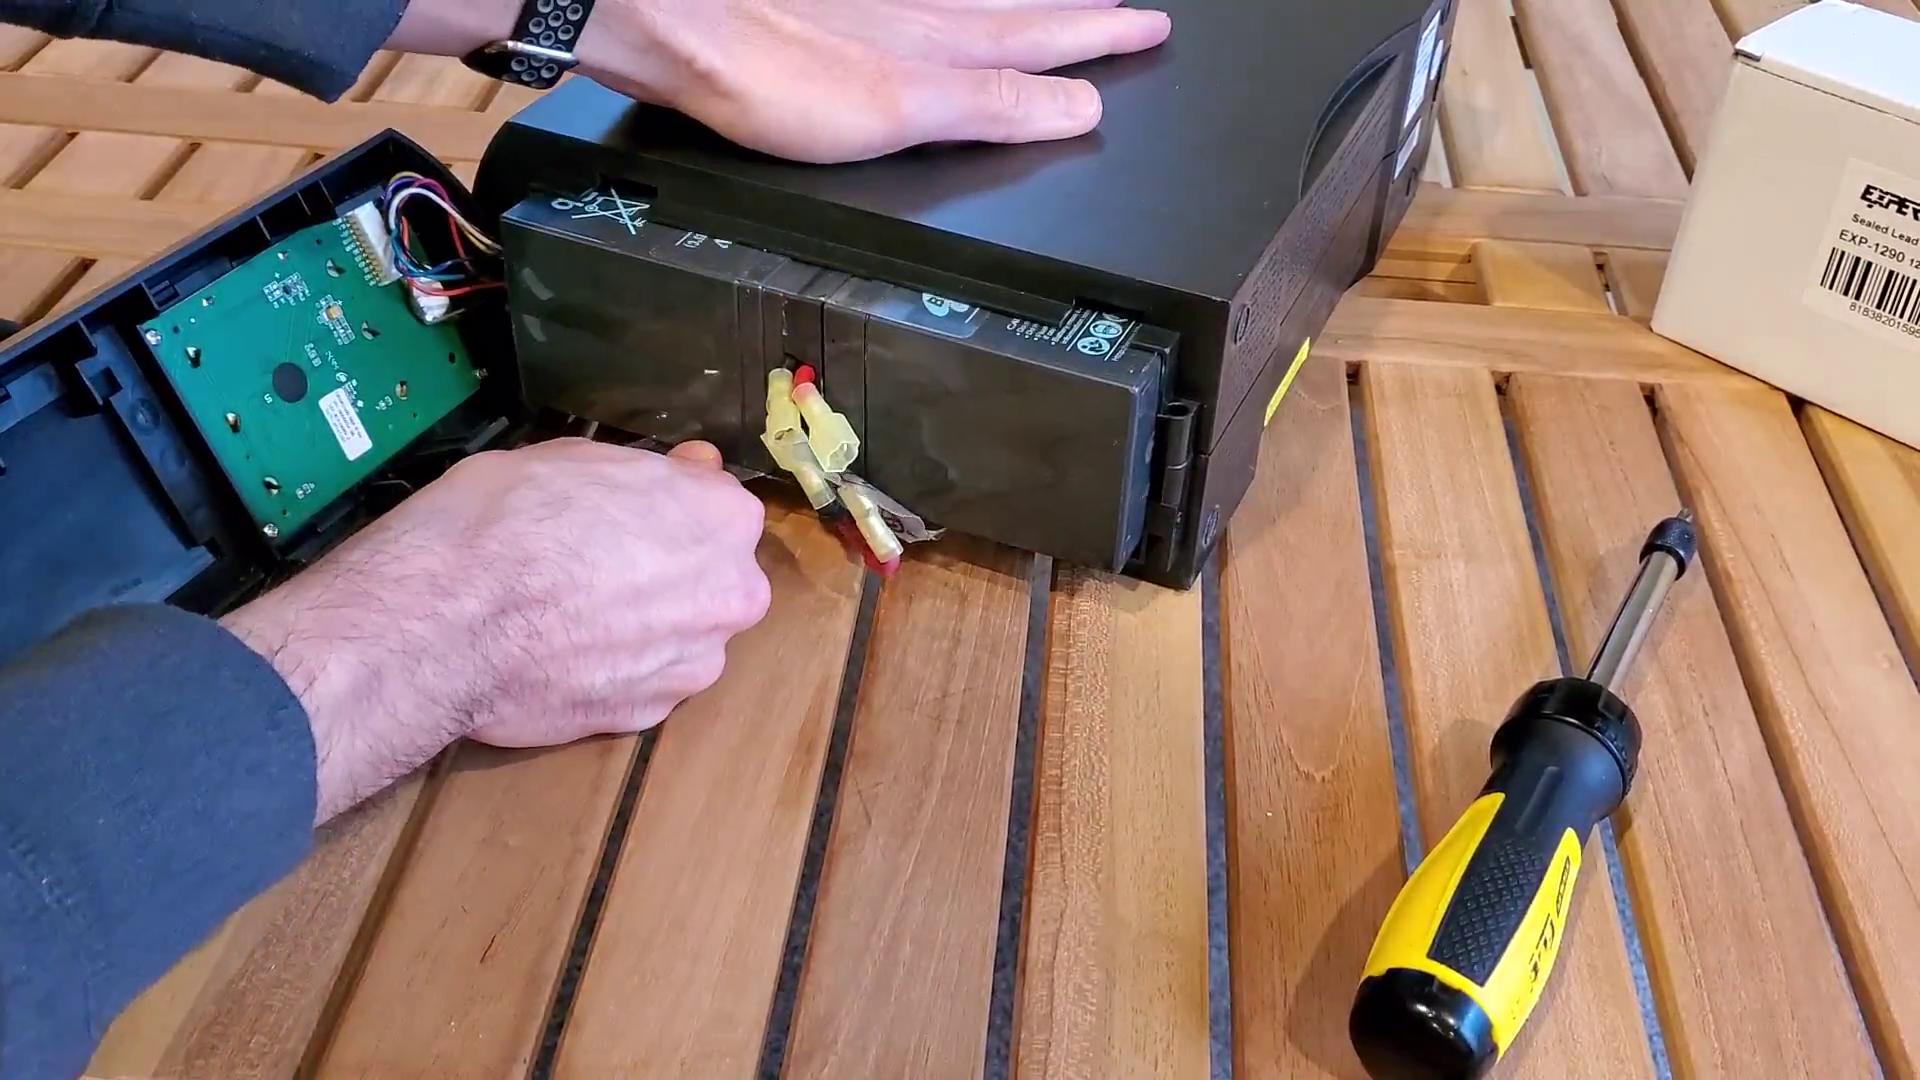
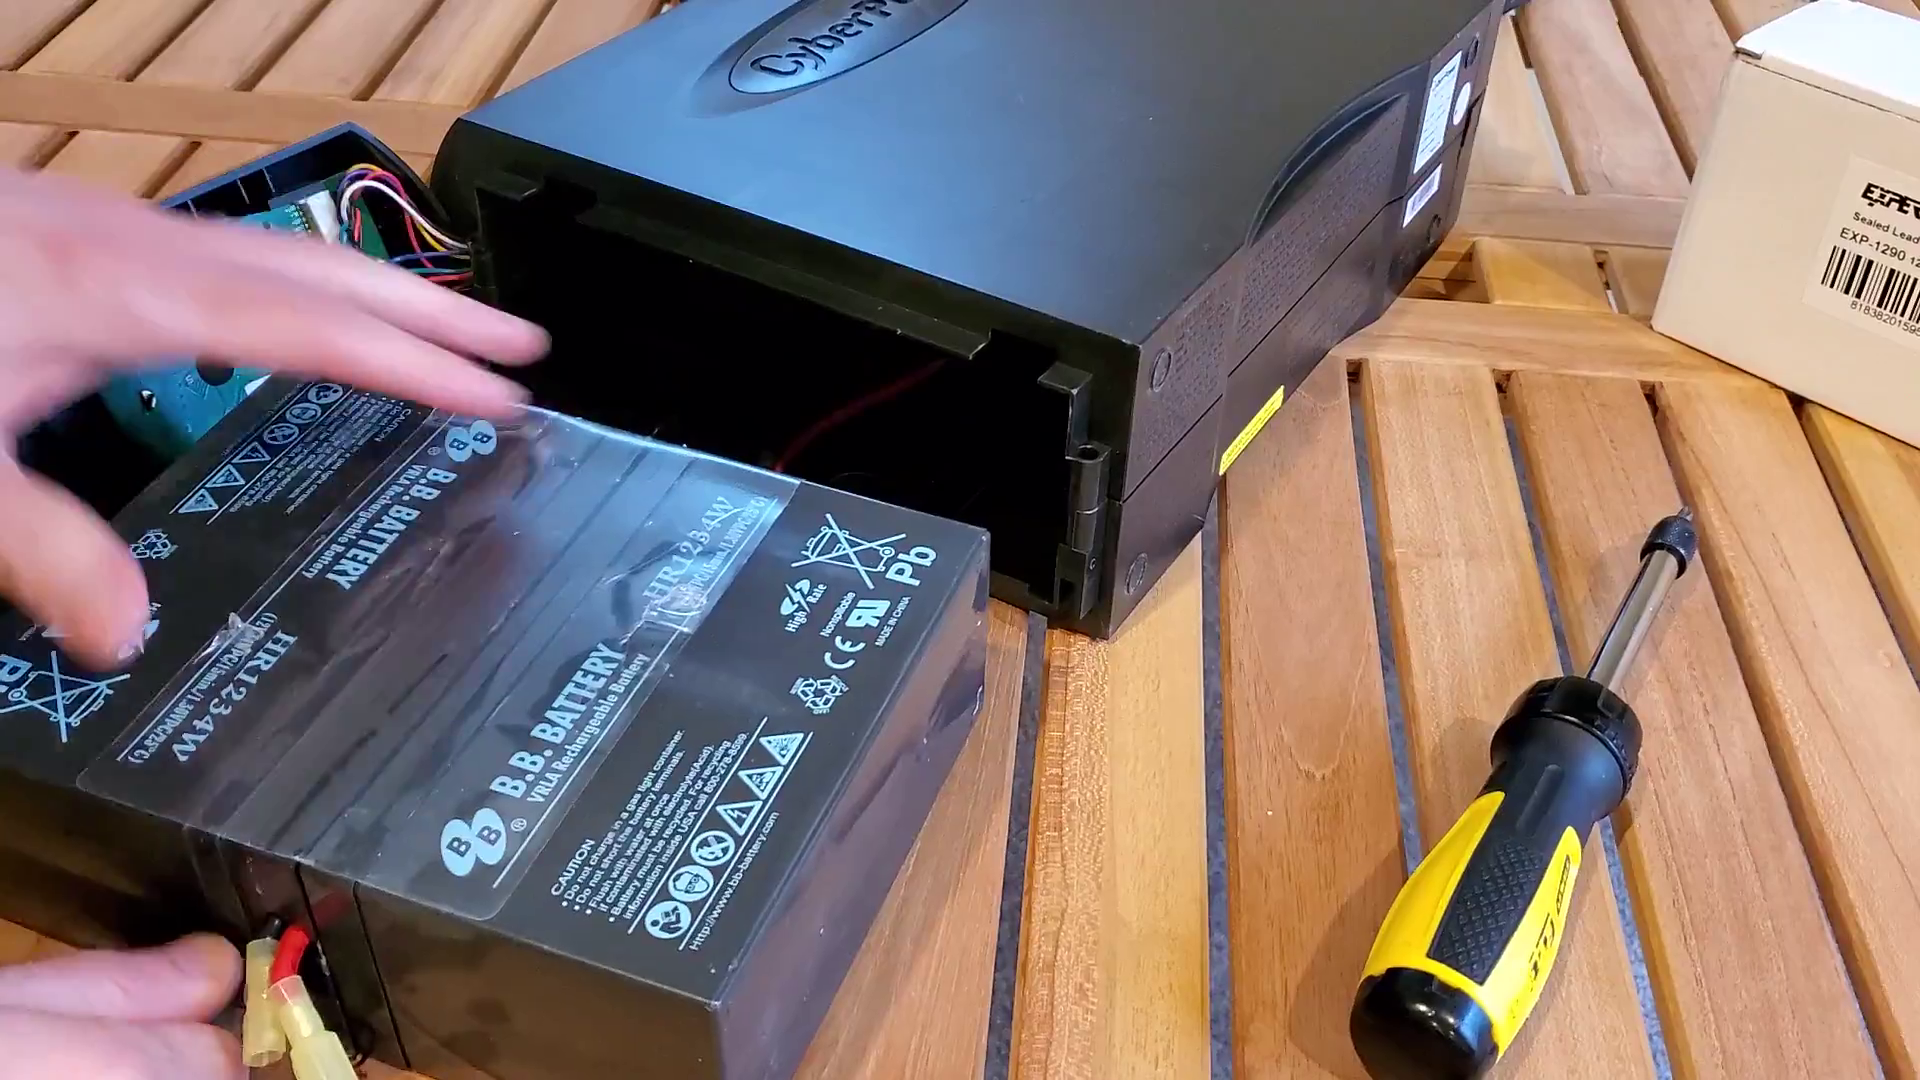
With the front cover out of the way, it’s time to remove the old batteries. First, unplug the positive (red) and negative (black) wires:


For me, I wasn’t able to get a good enough grip on the connectors. Therefore, I used two pairs of pliers to help pull them apart:

Reuse the tape, wires, and plastic separator
If you decided to use CyberPower branded replacement batteries, you can skip this step since the new batteries are already joined together. If not, you’ll need to reuse the tape, wires, and plastic joiner from the old batteries.
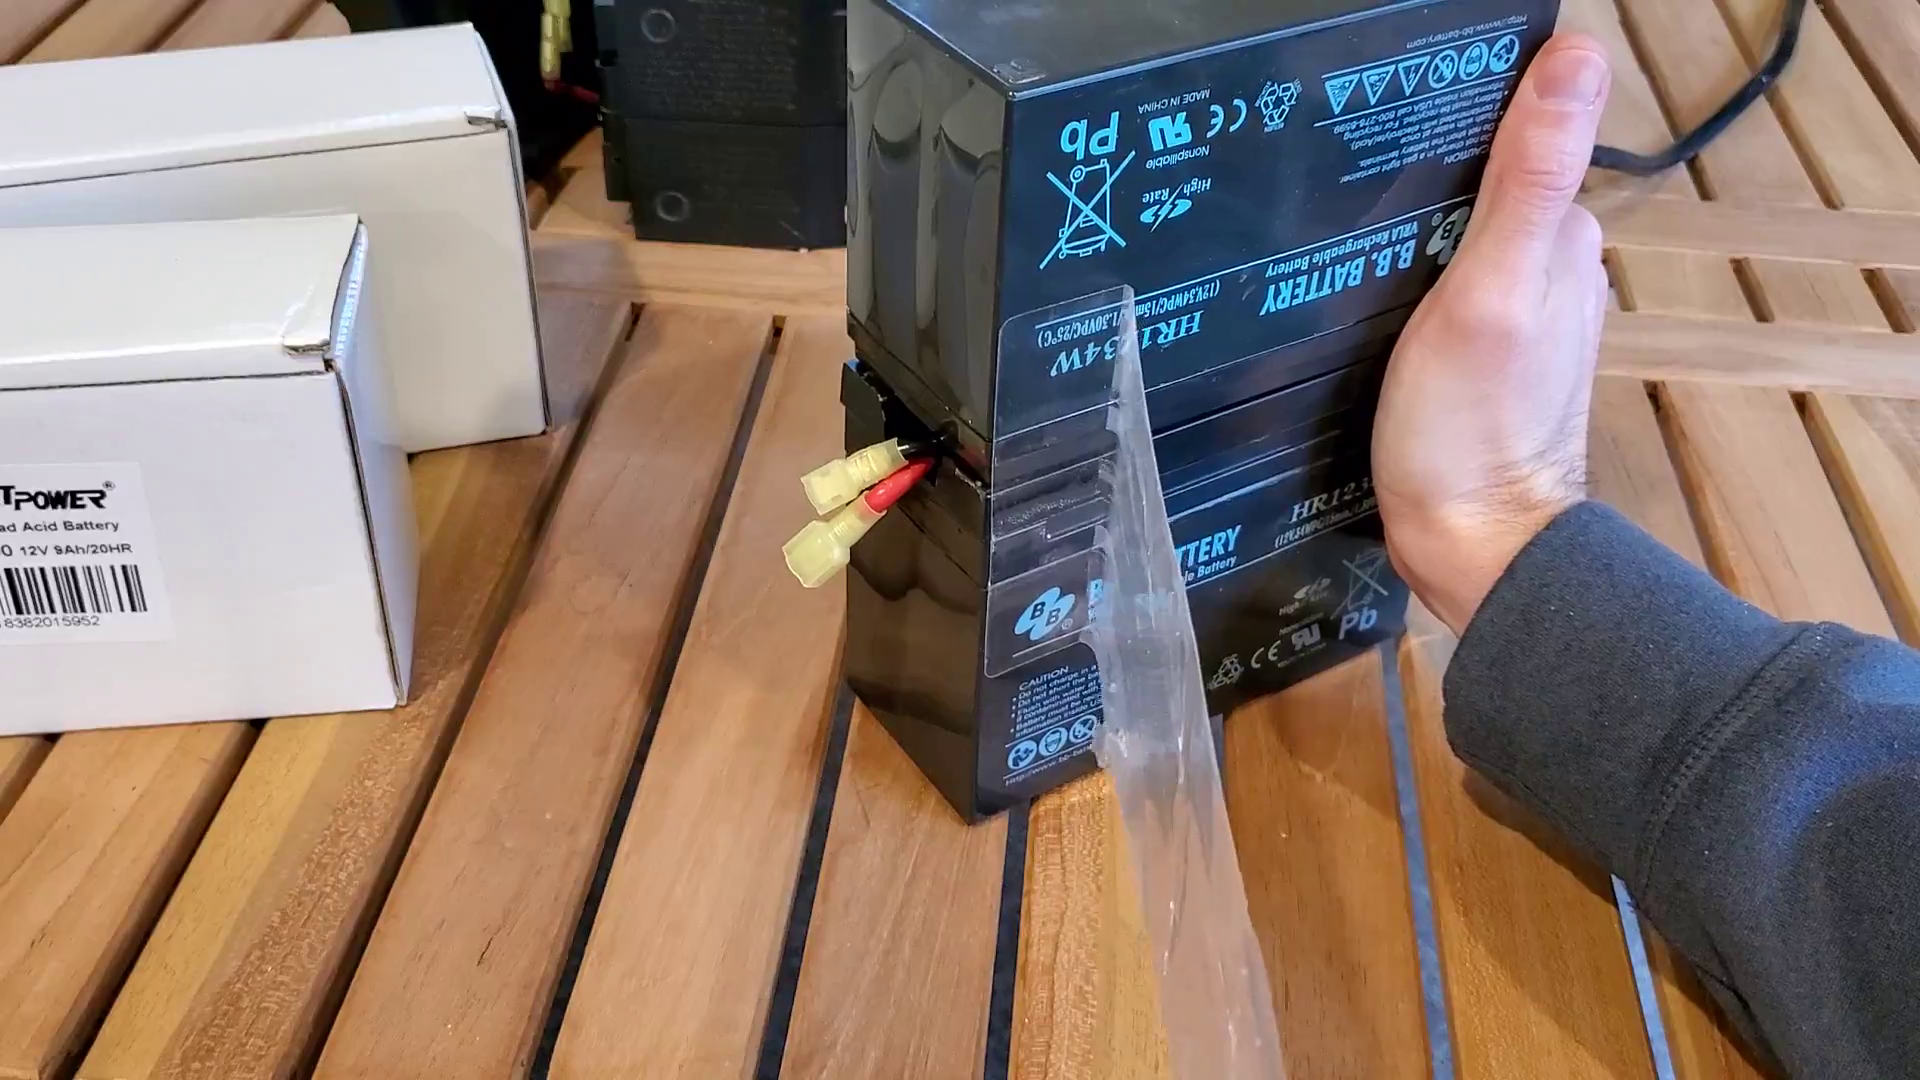
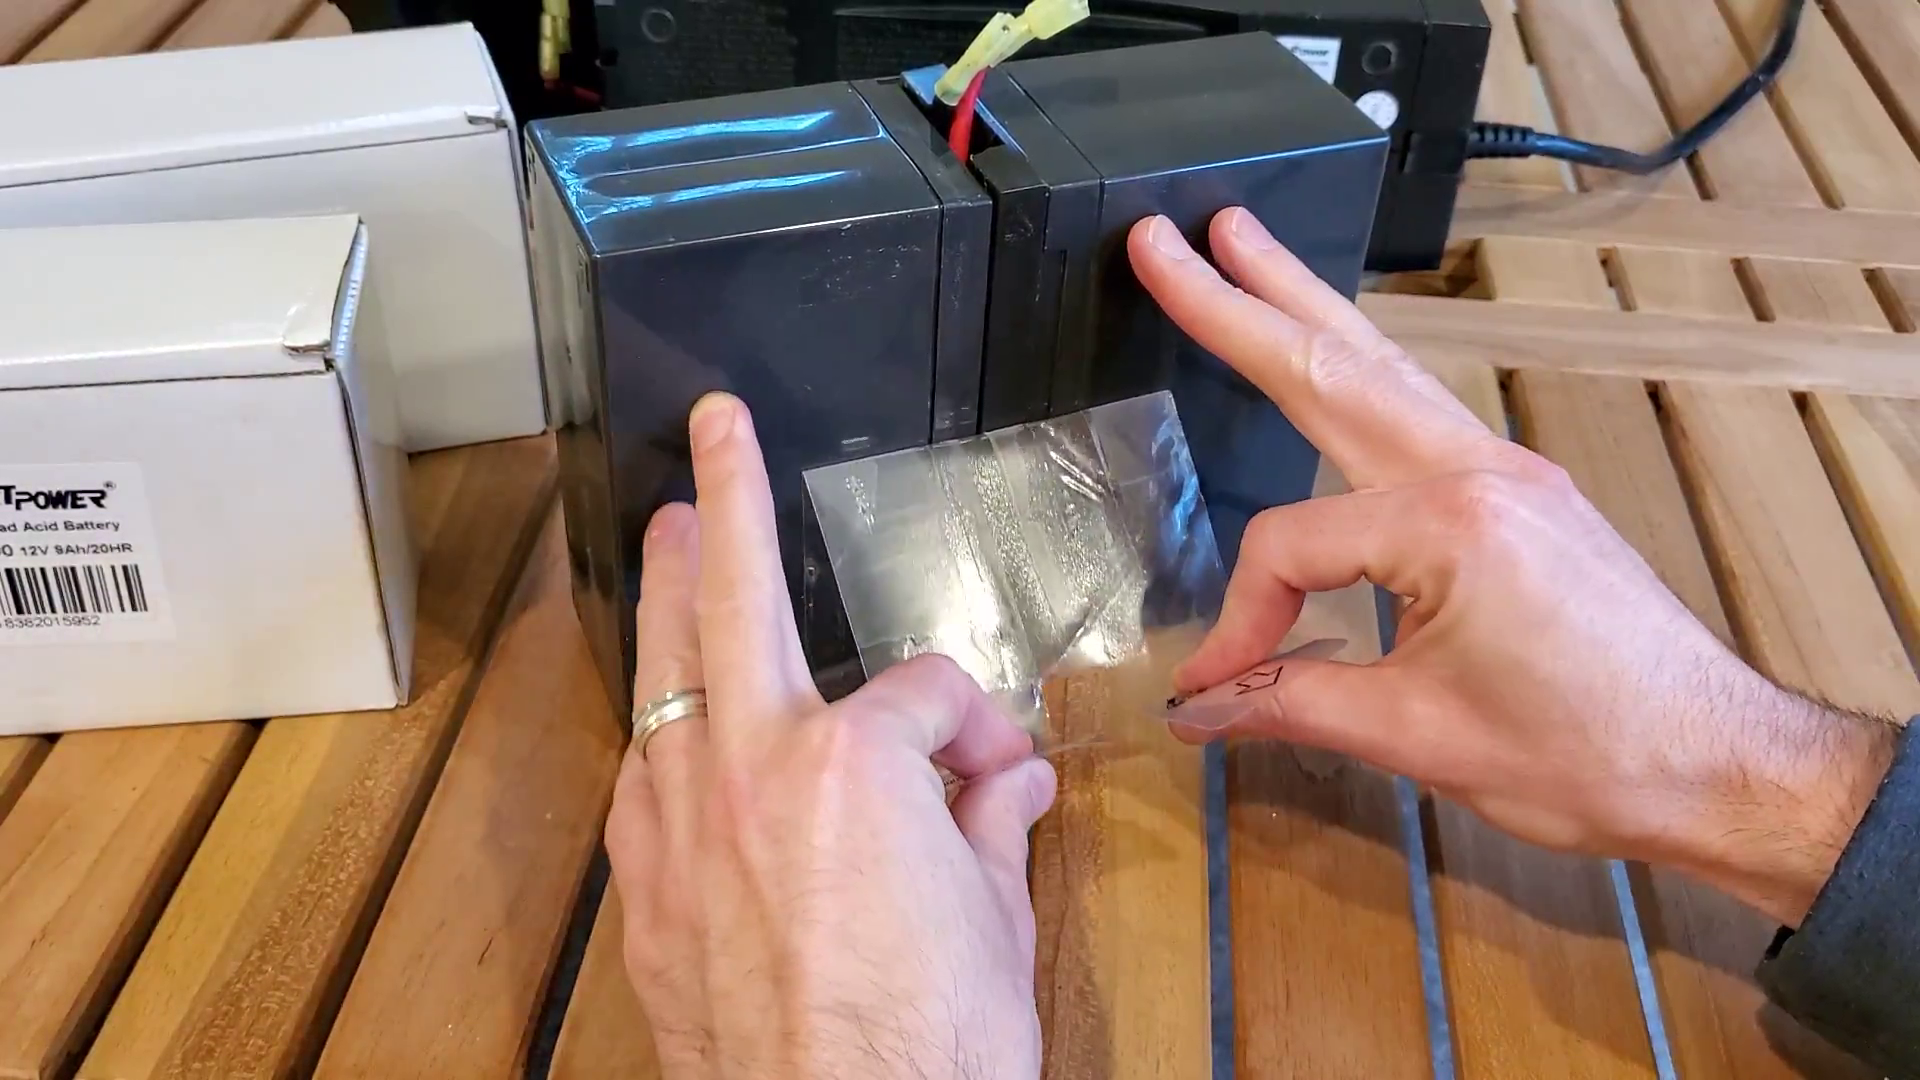
Remove the tape
The tape on mine wasn’t particularly sticky or hard to remove, so it should peel right off. For what it’s worth, I started by peeling off at the tabs and then continued all around:
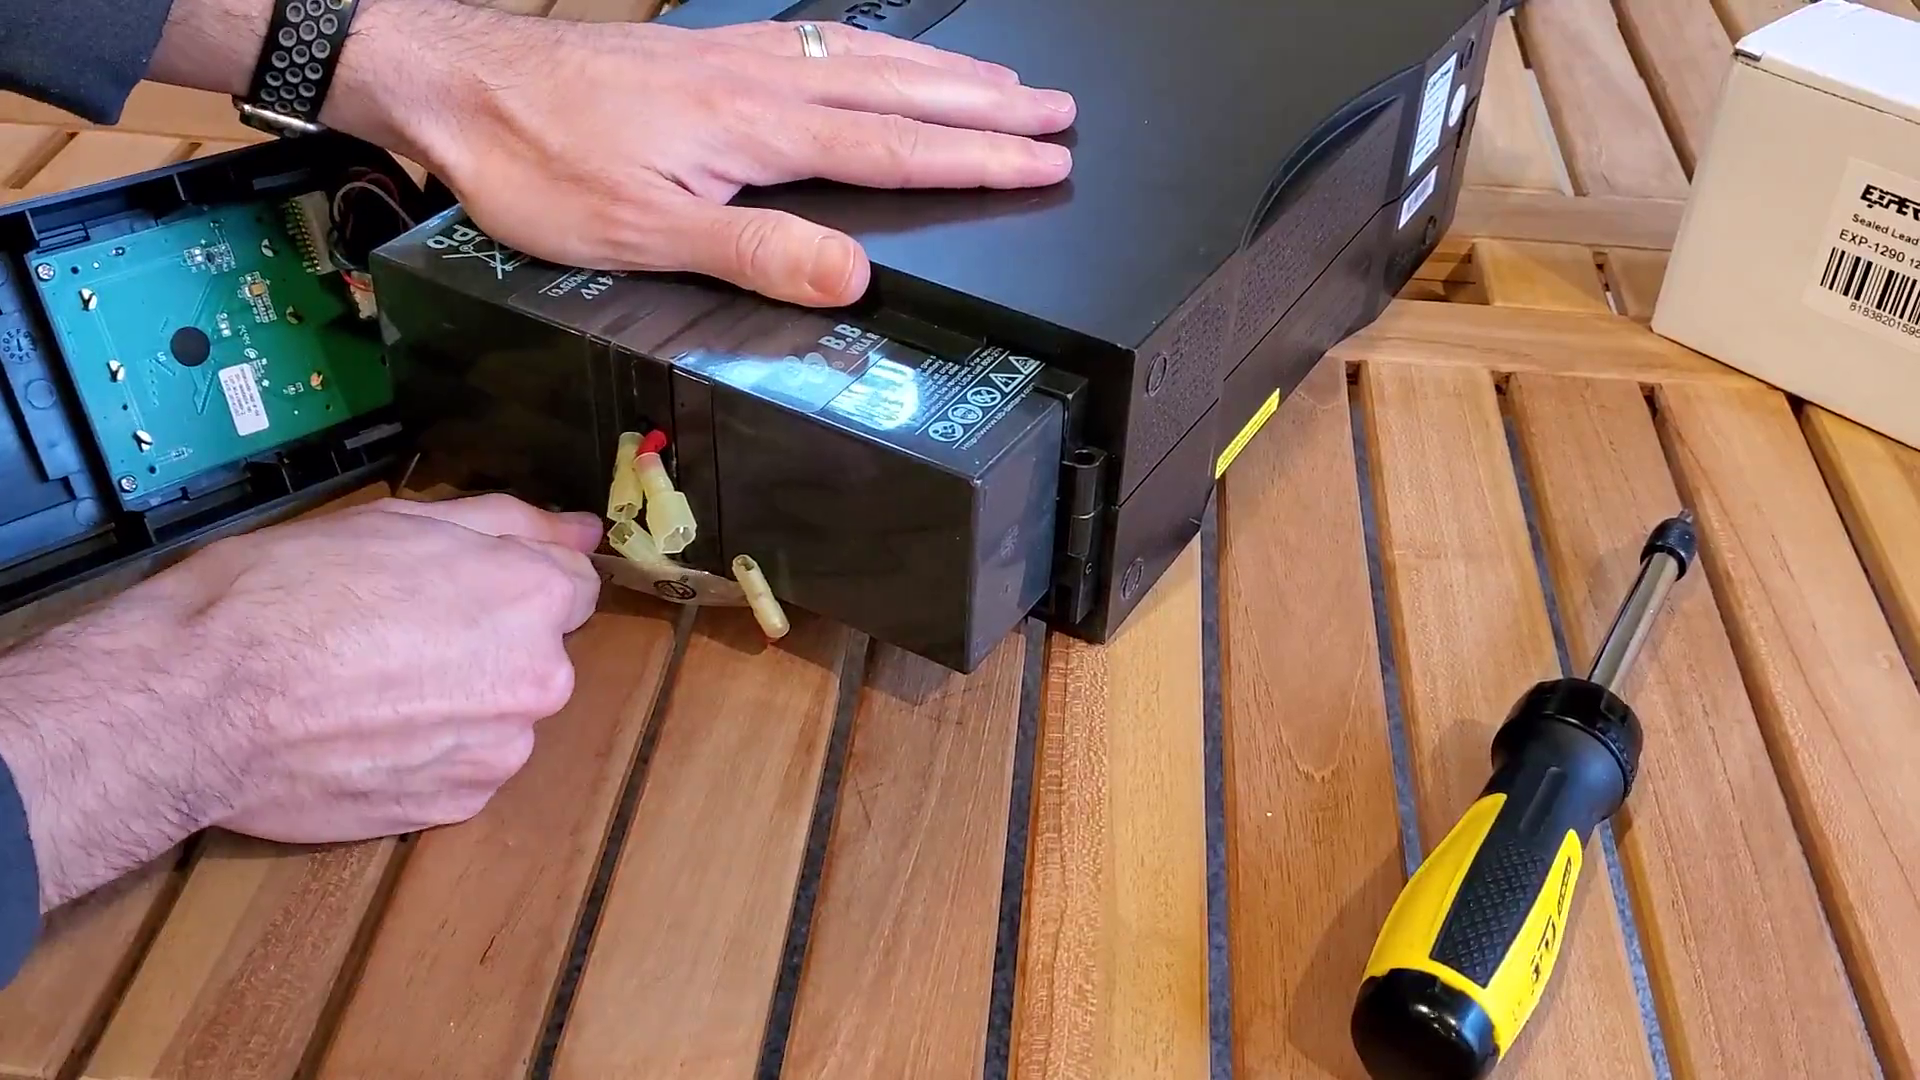
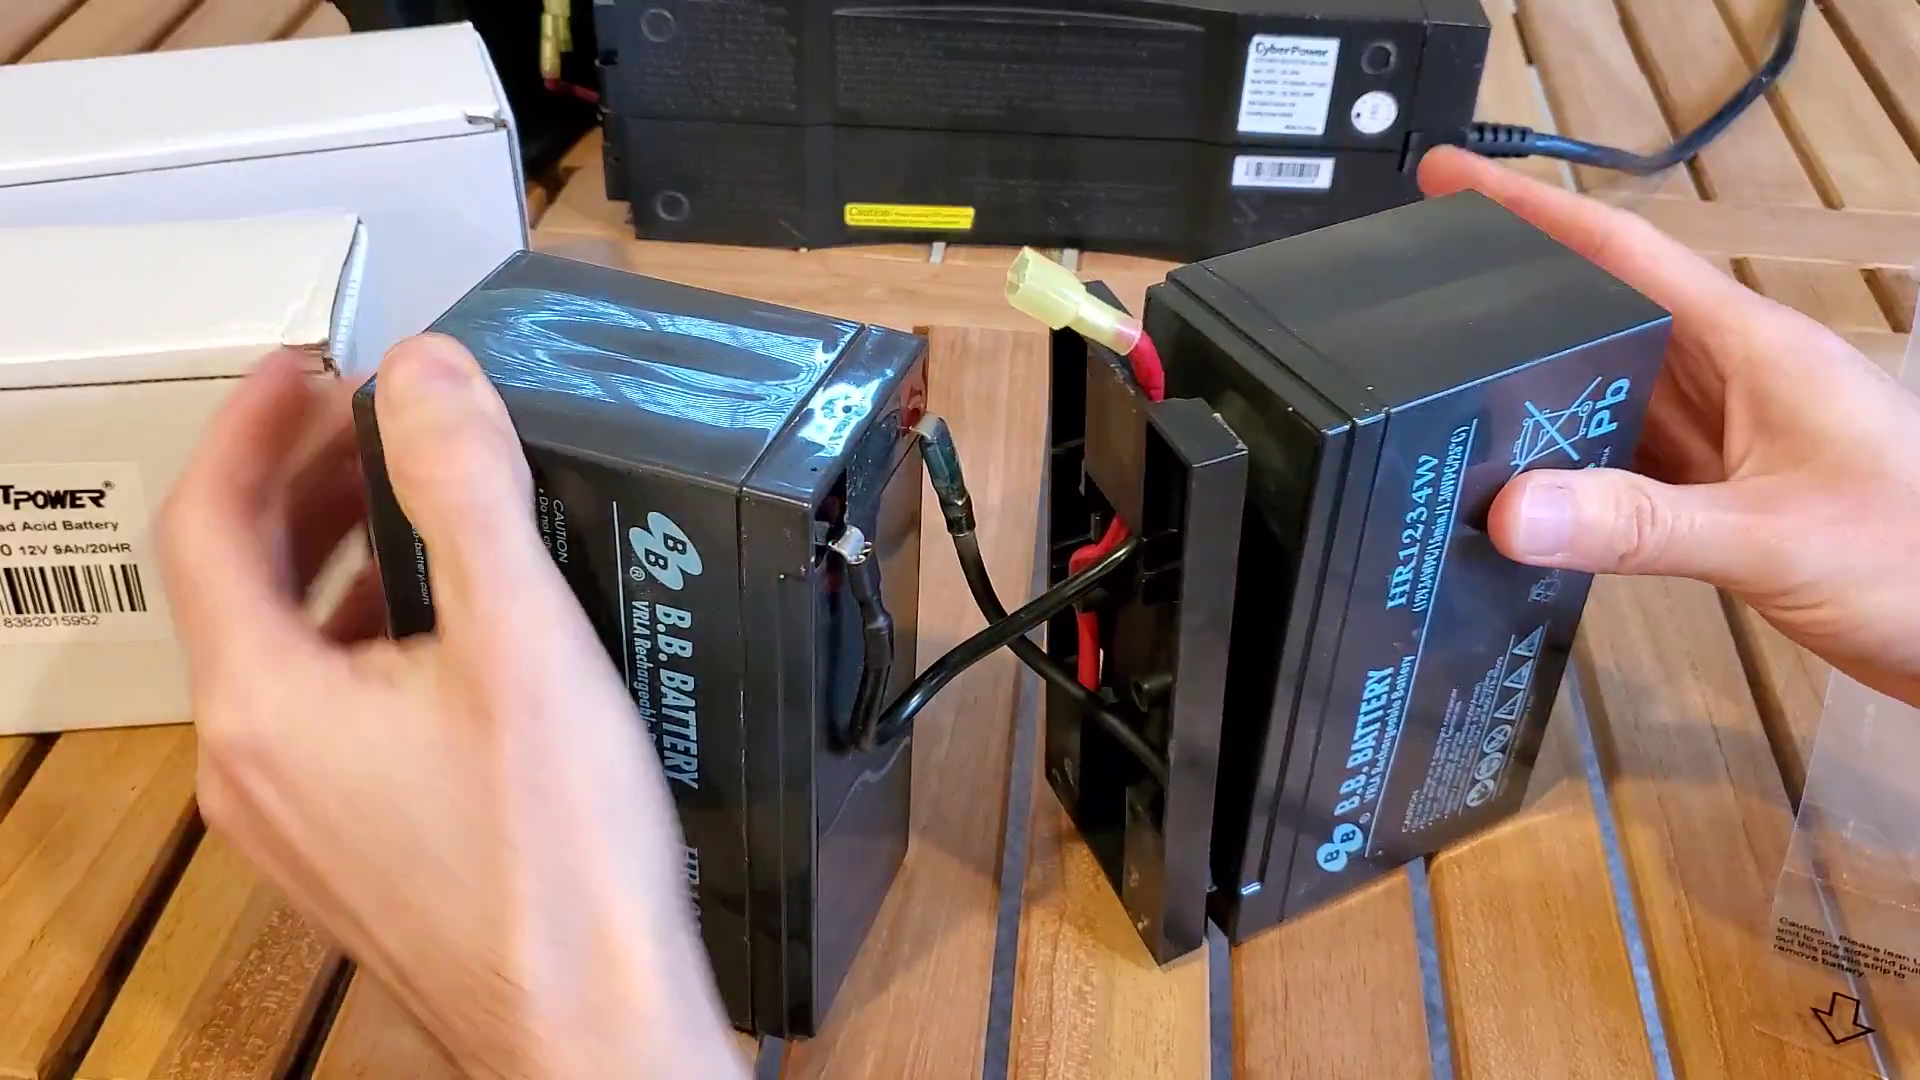
With the tape removed, you can now see how the two batteries are joined. There’s a plastic divider and three wires in total:
Remove the wires
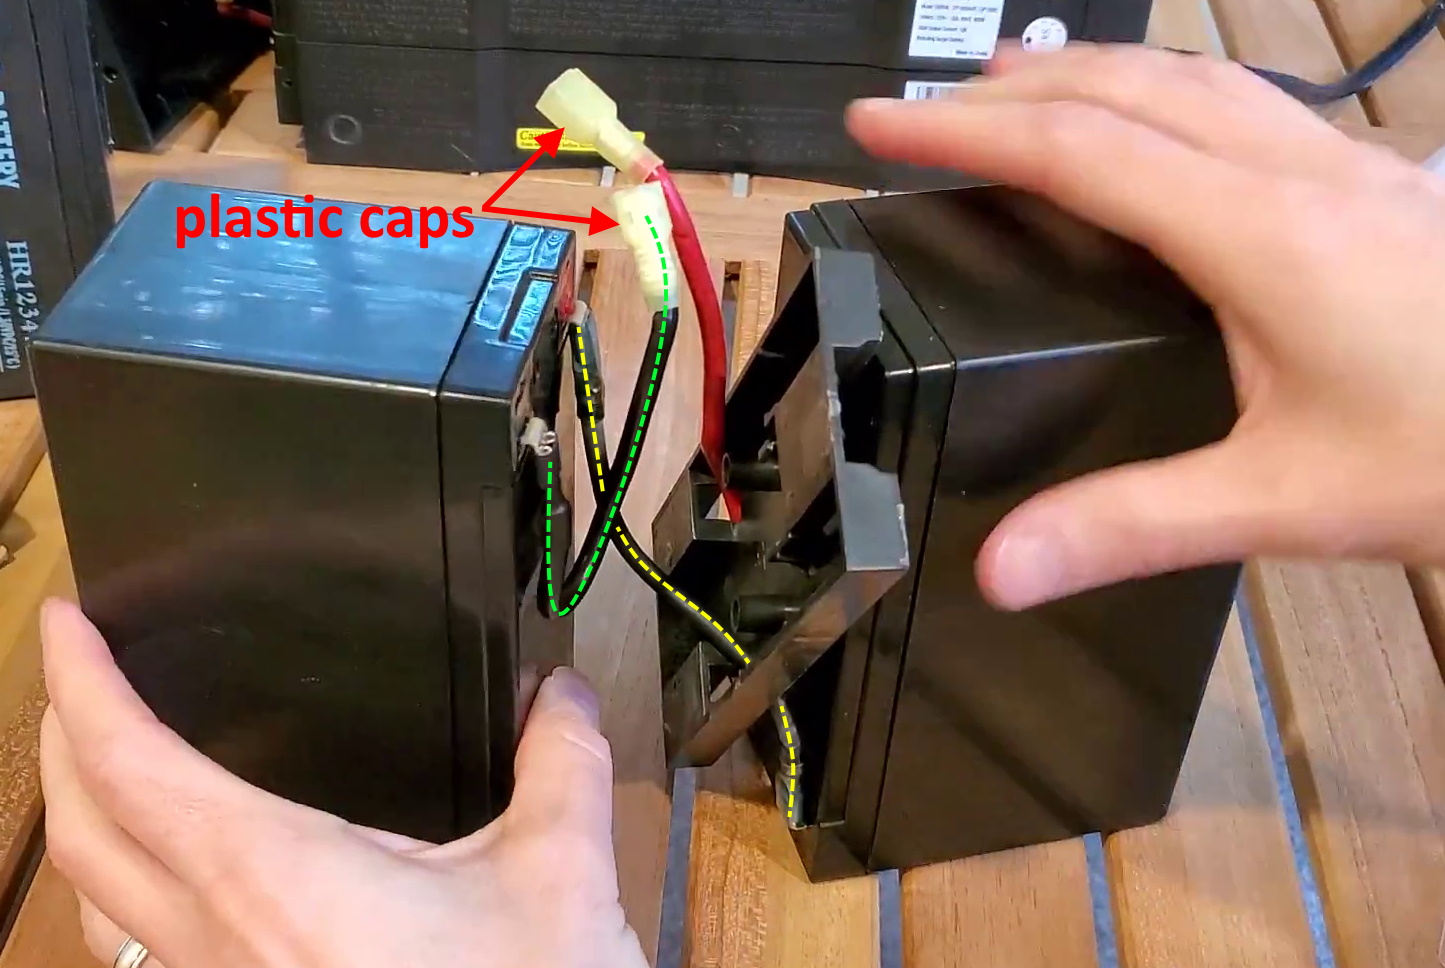
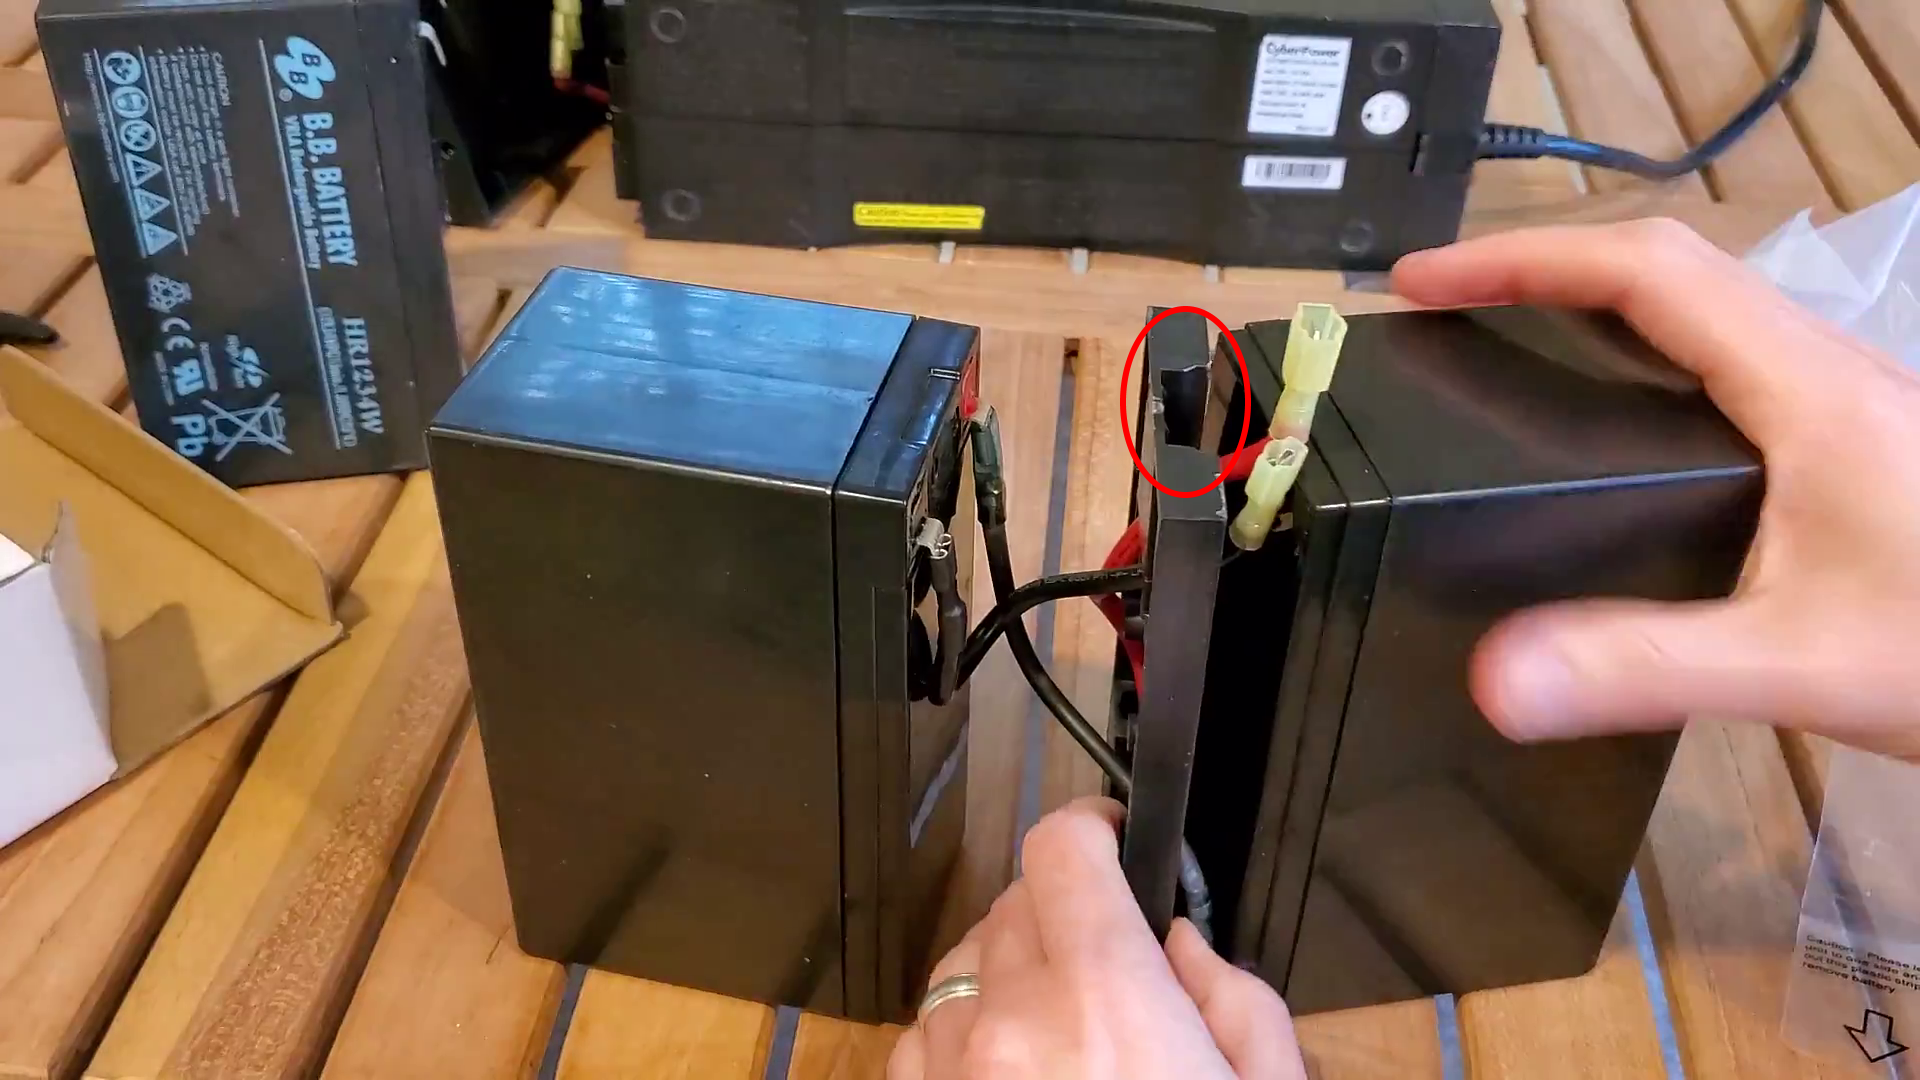
You will reuse the wires and plastic joiner between the batteries. I found it easiest to remove the wires from one battery at a time; remove them from one old battery then reconnect to a new one. To make following this guide easier, have the left battery with terminals at the top and the right’s at the bottom.
- The left battery’s black (negative) terminal will have the short black wire with the plastic cap connected to it (wire with the green dotted line wire in the photo below) – the non-plastic capped side will be plugged into the battery here.
- The left battery’s red (positive) terminal will have the other (longer and non-plastic capped) black wire connected to it. This one will go through the plastic joiner and connect to the black (negative) terminal on the right battery. This is the yellow dotted line wire in the photo.
- The right battery’s red (positive) terminal will have the only red wire connected to it (the non-capped end), and the capped end will be routed through the plastic joiner
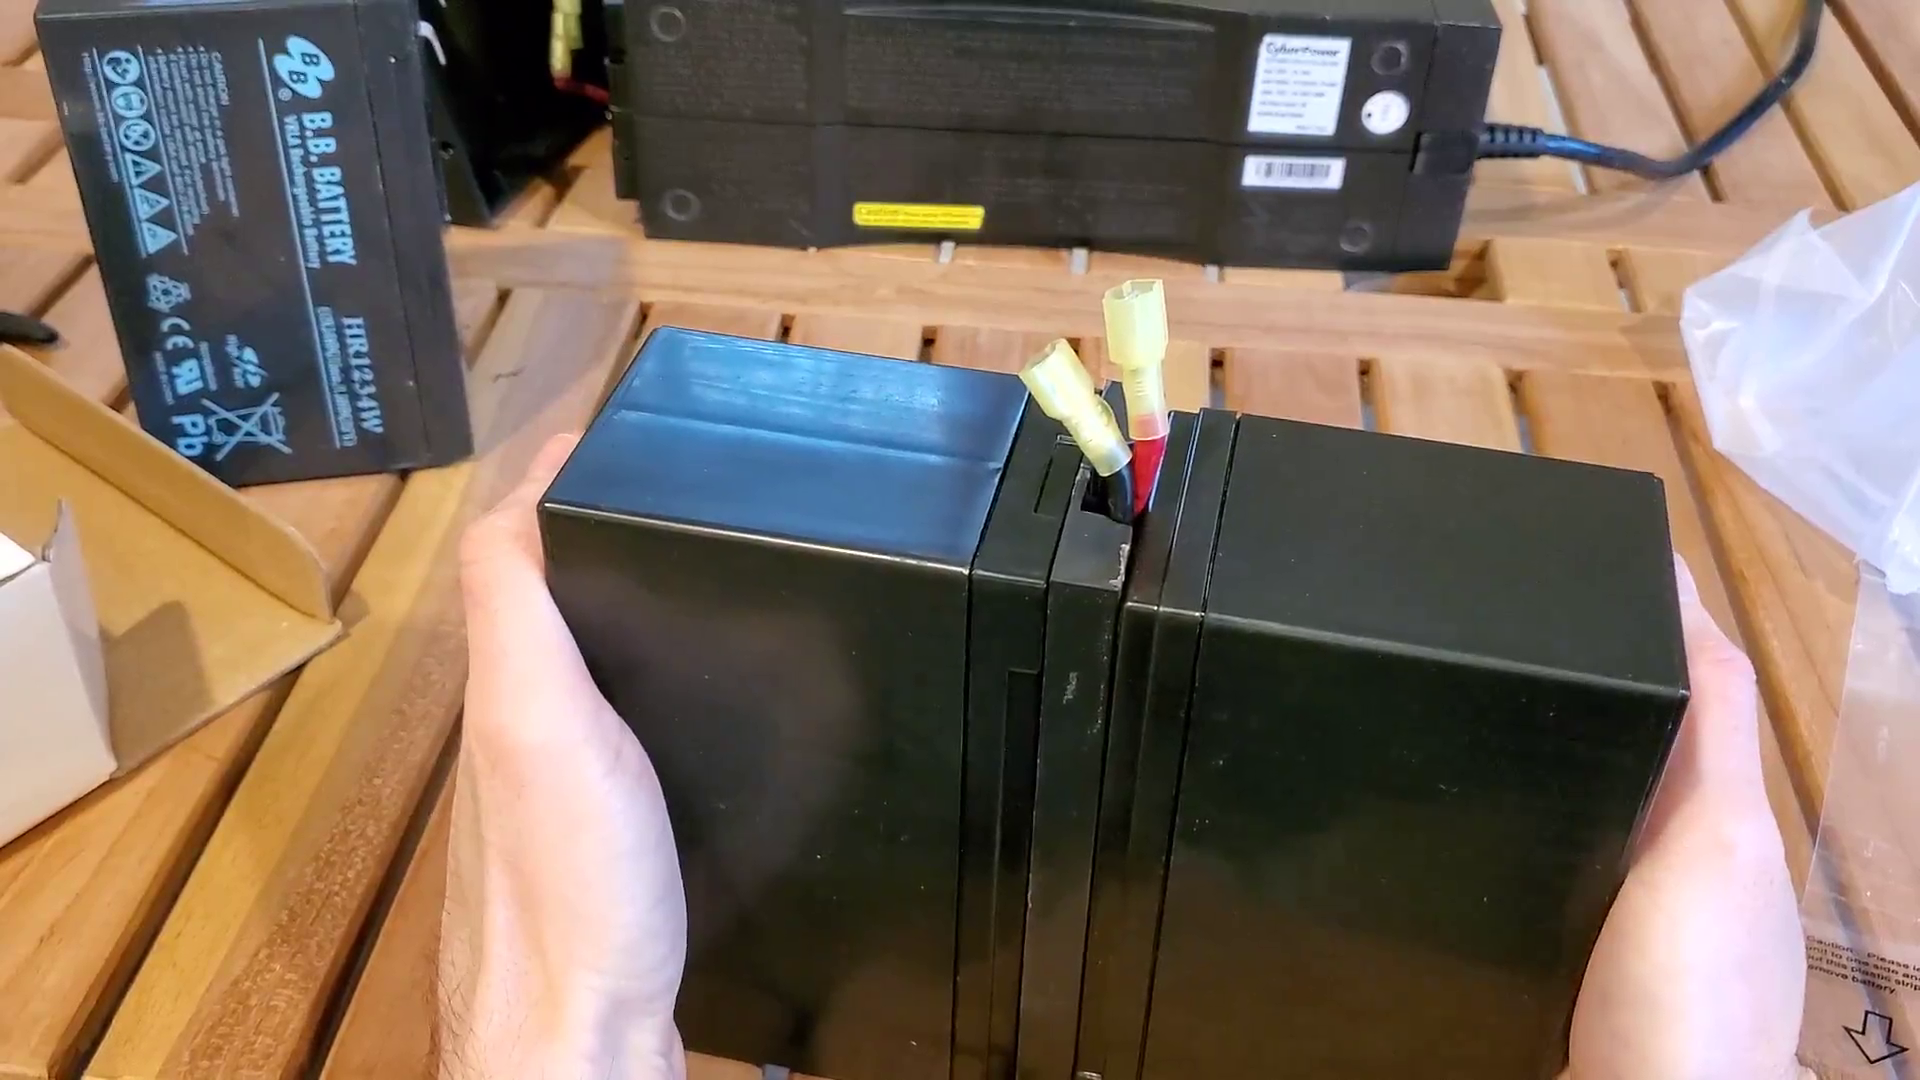
Next step is to route the plastic capped wires back through the plastic joiner. There is a notch along the top on the other side that they have to fit through. When pressing the batteries together, make sure the wires aren’t being pinched anywhere. It may take a bit of nudging and moving the wires around, but it can be done:
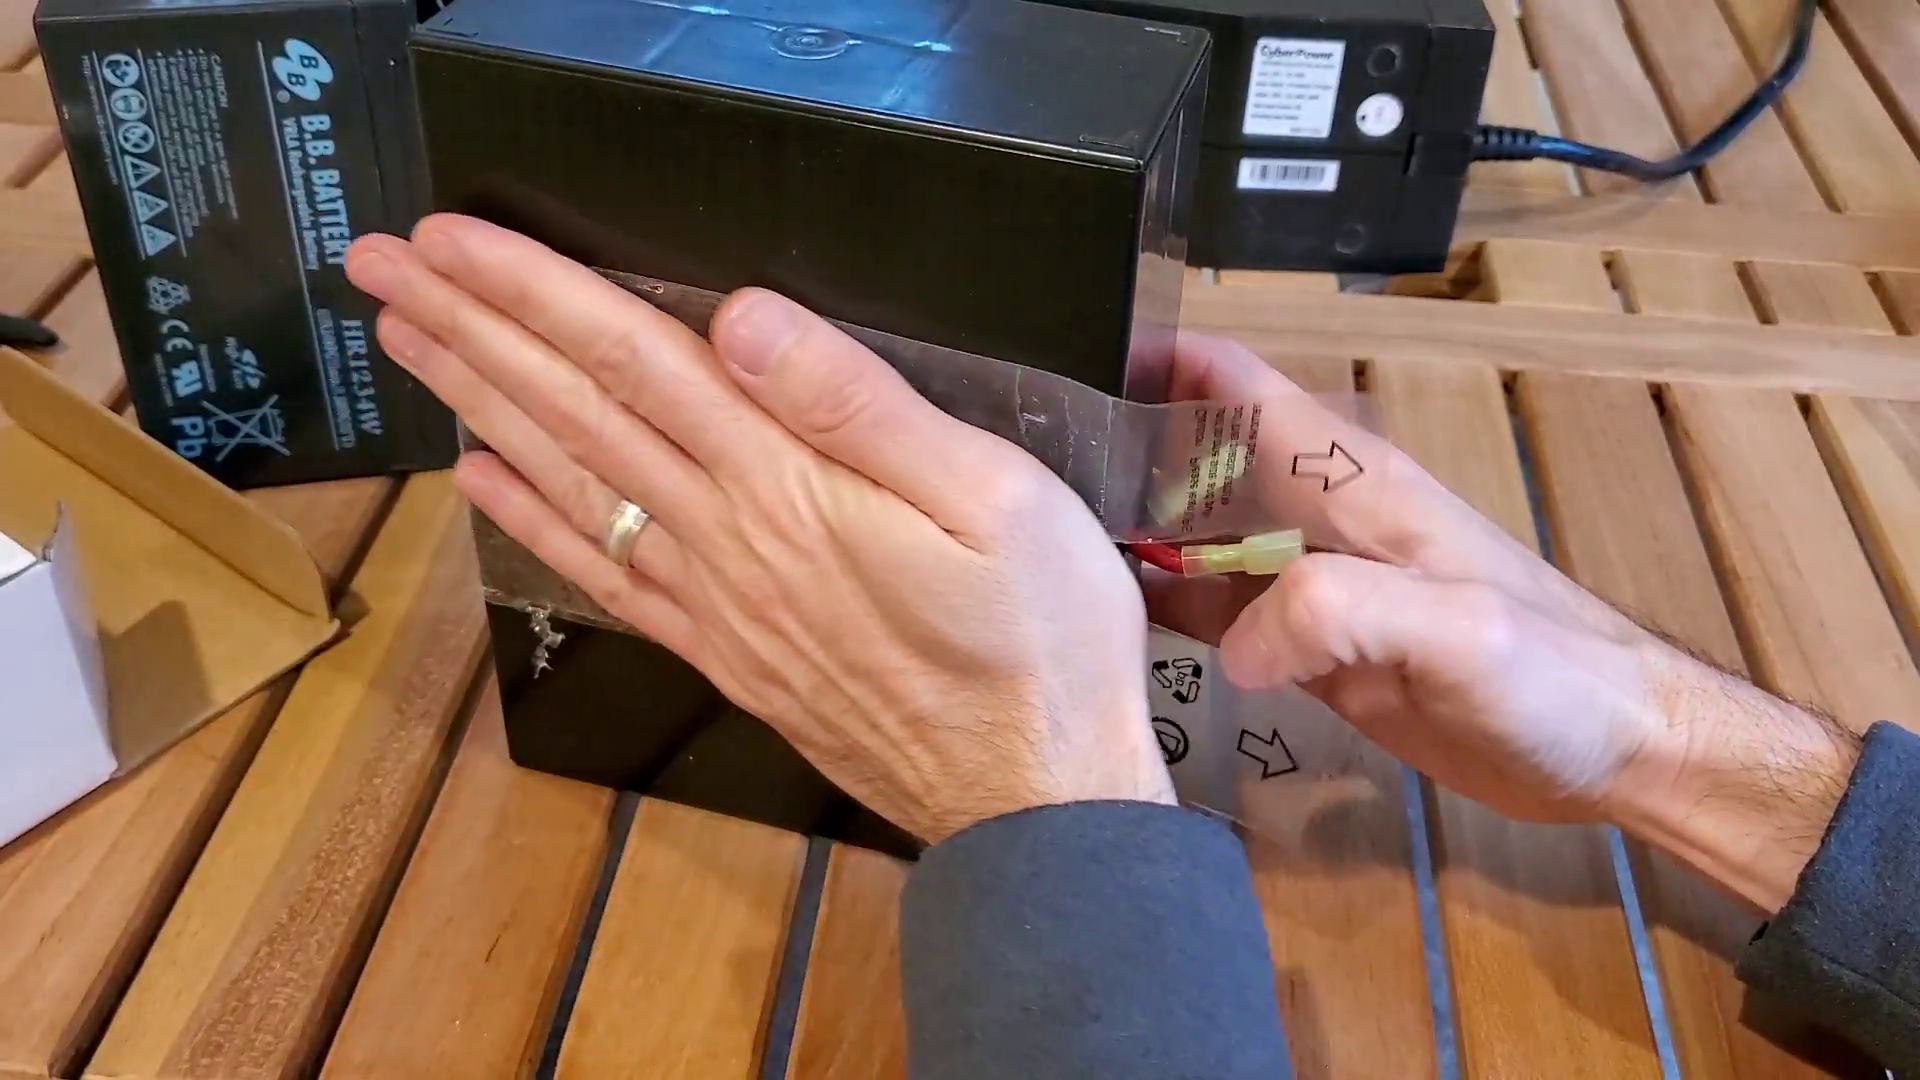
Reapply the tape
The batteries won’t stay tight against the joiner without being held with your hands, but that’s what the tape is for! I suggest turning the combined pack vertically to allow the weight of one battery hold them both tight against the plastic joiner. Start with one end of the tape and start to apply it to one of the long sides. Then, simply wrap it around until you have a fully assembled “battery pack” laying back on it’s side:


Put the CyberPower 1500VA UPS Battery back in
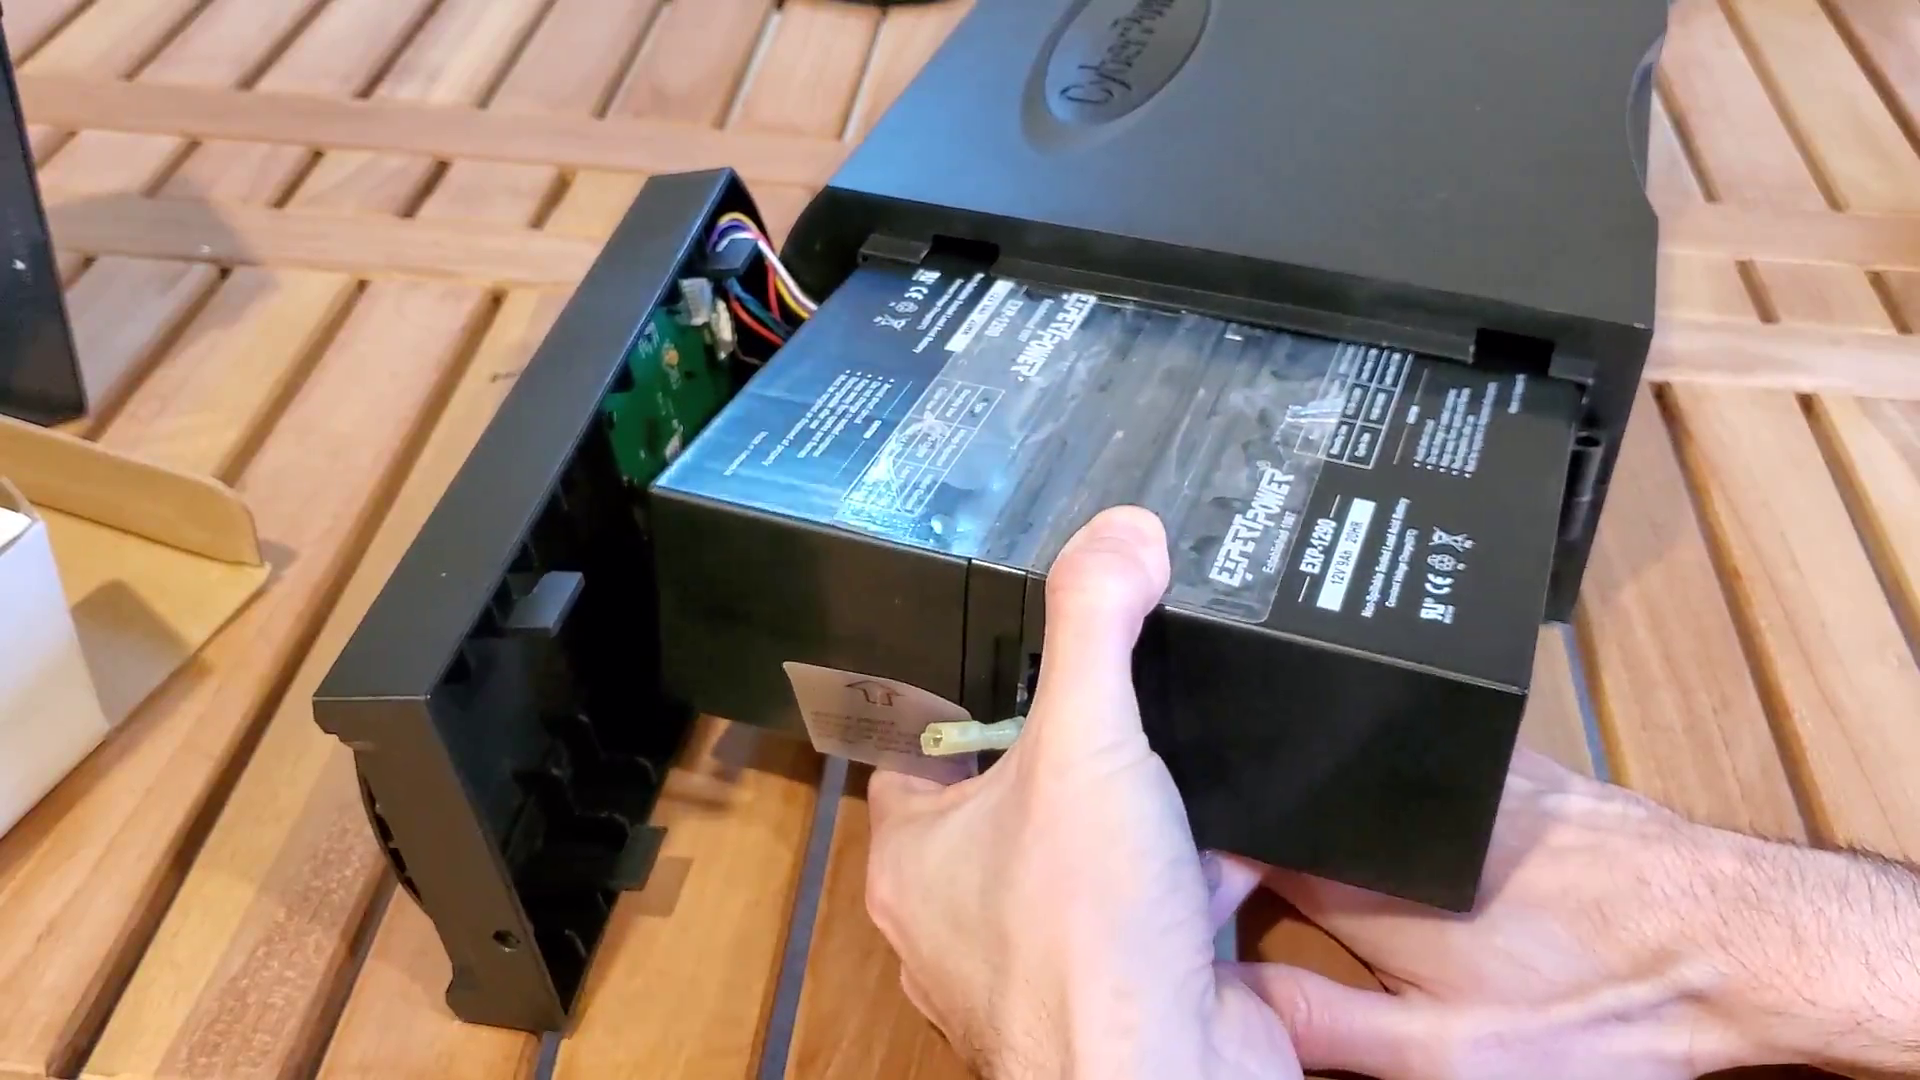
With the new battery ready, whether you bought the CyberPower branded or 3rd party one, it’s now time to put it back in the UPS. Slide it back in while making sure the red and black wires from the UPS remain out of the way:
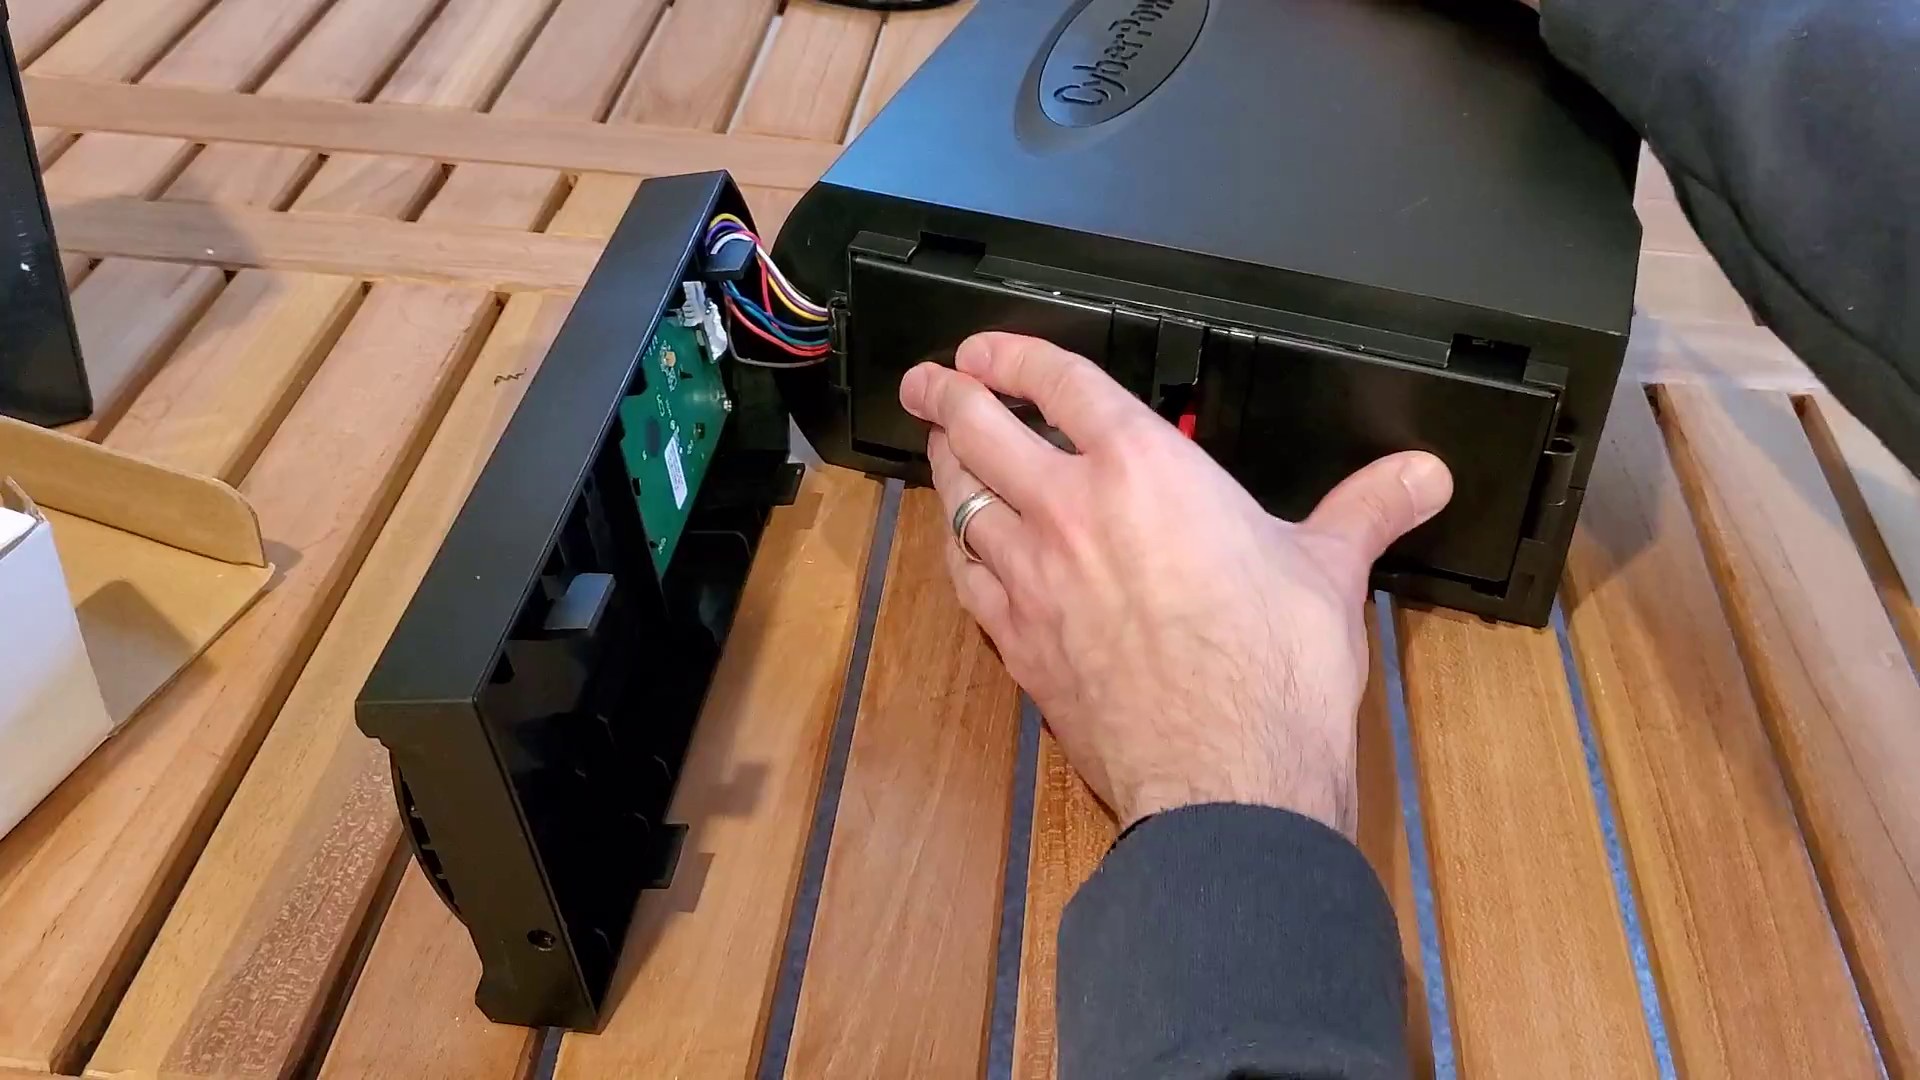
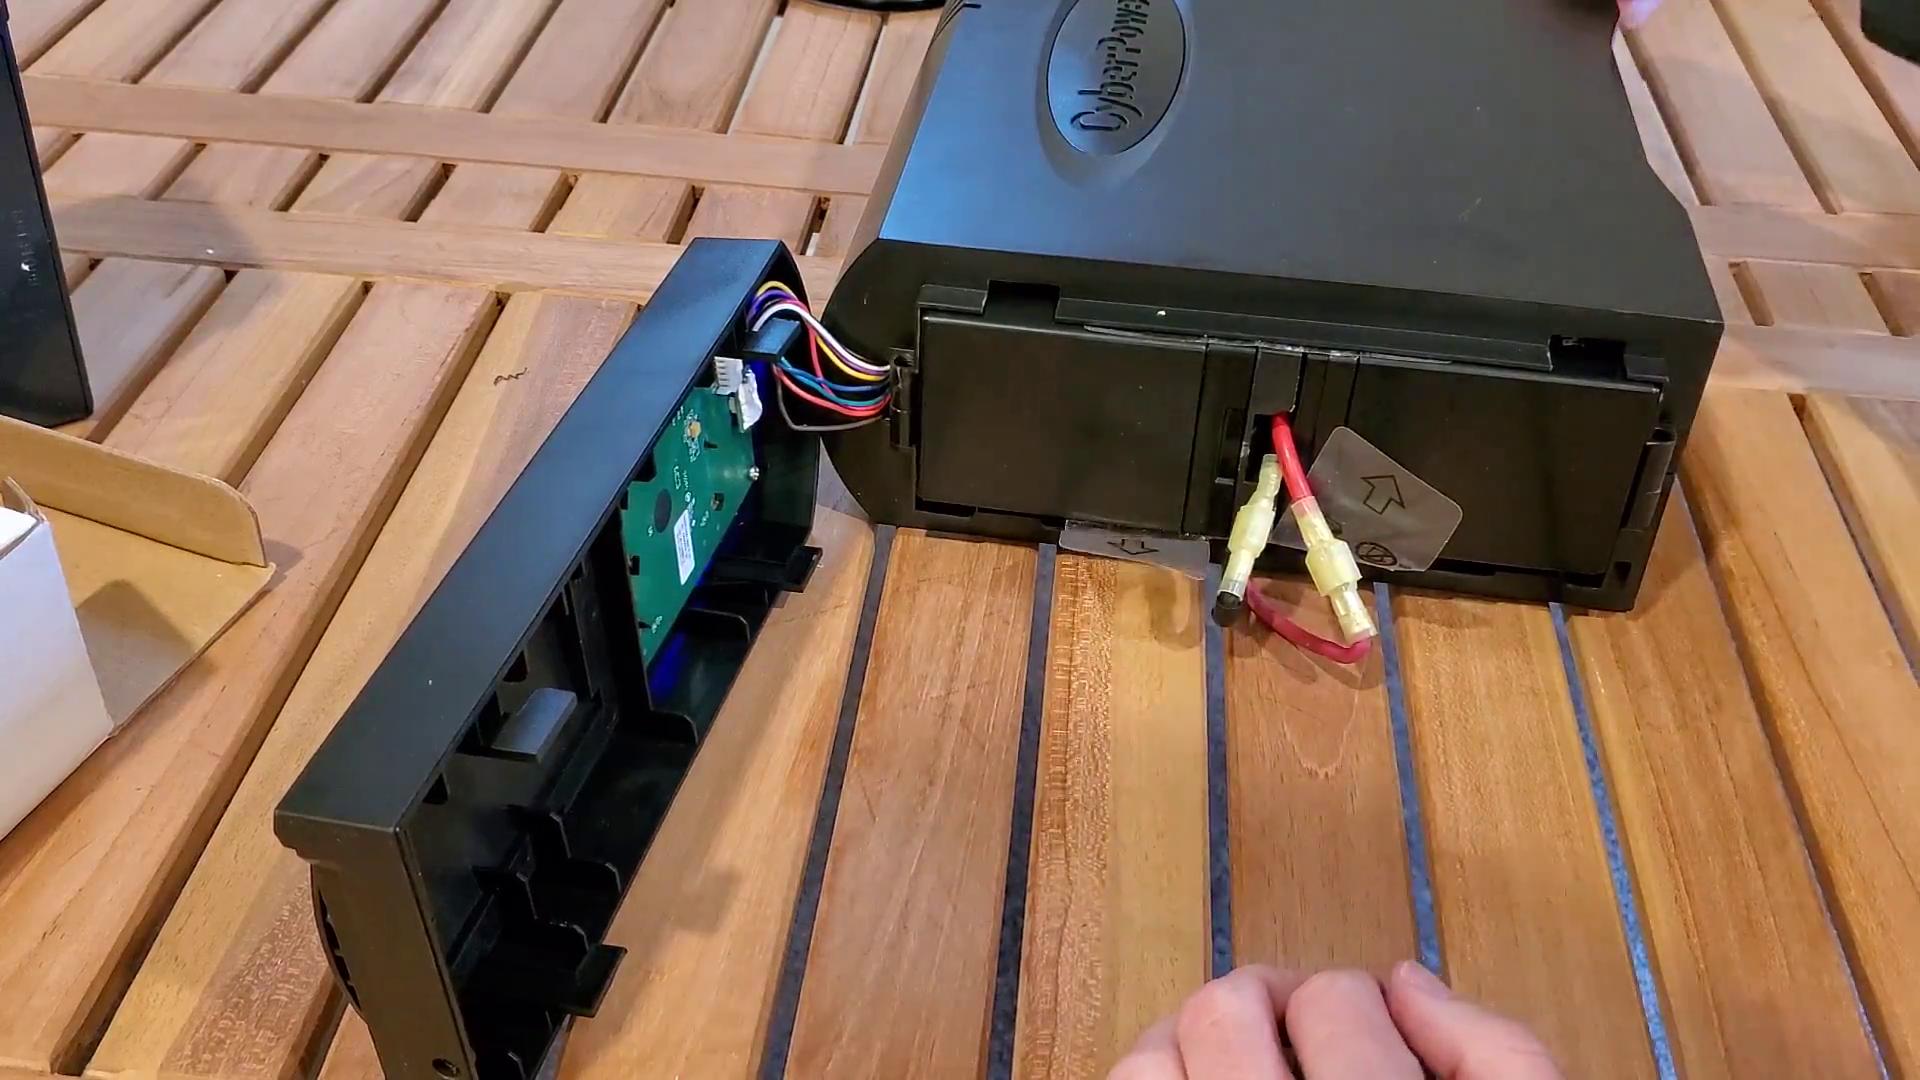
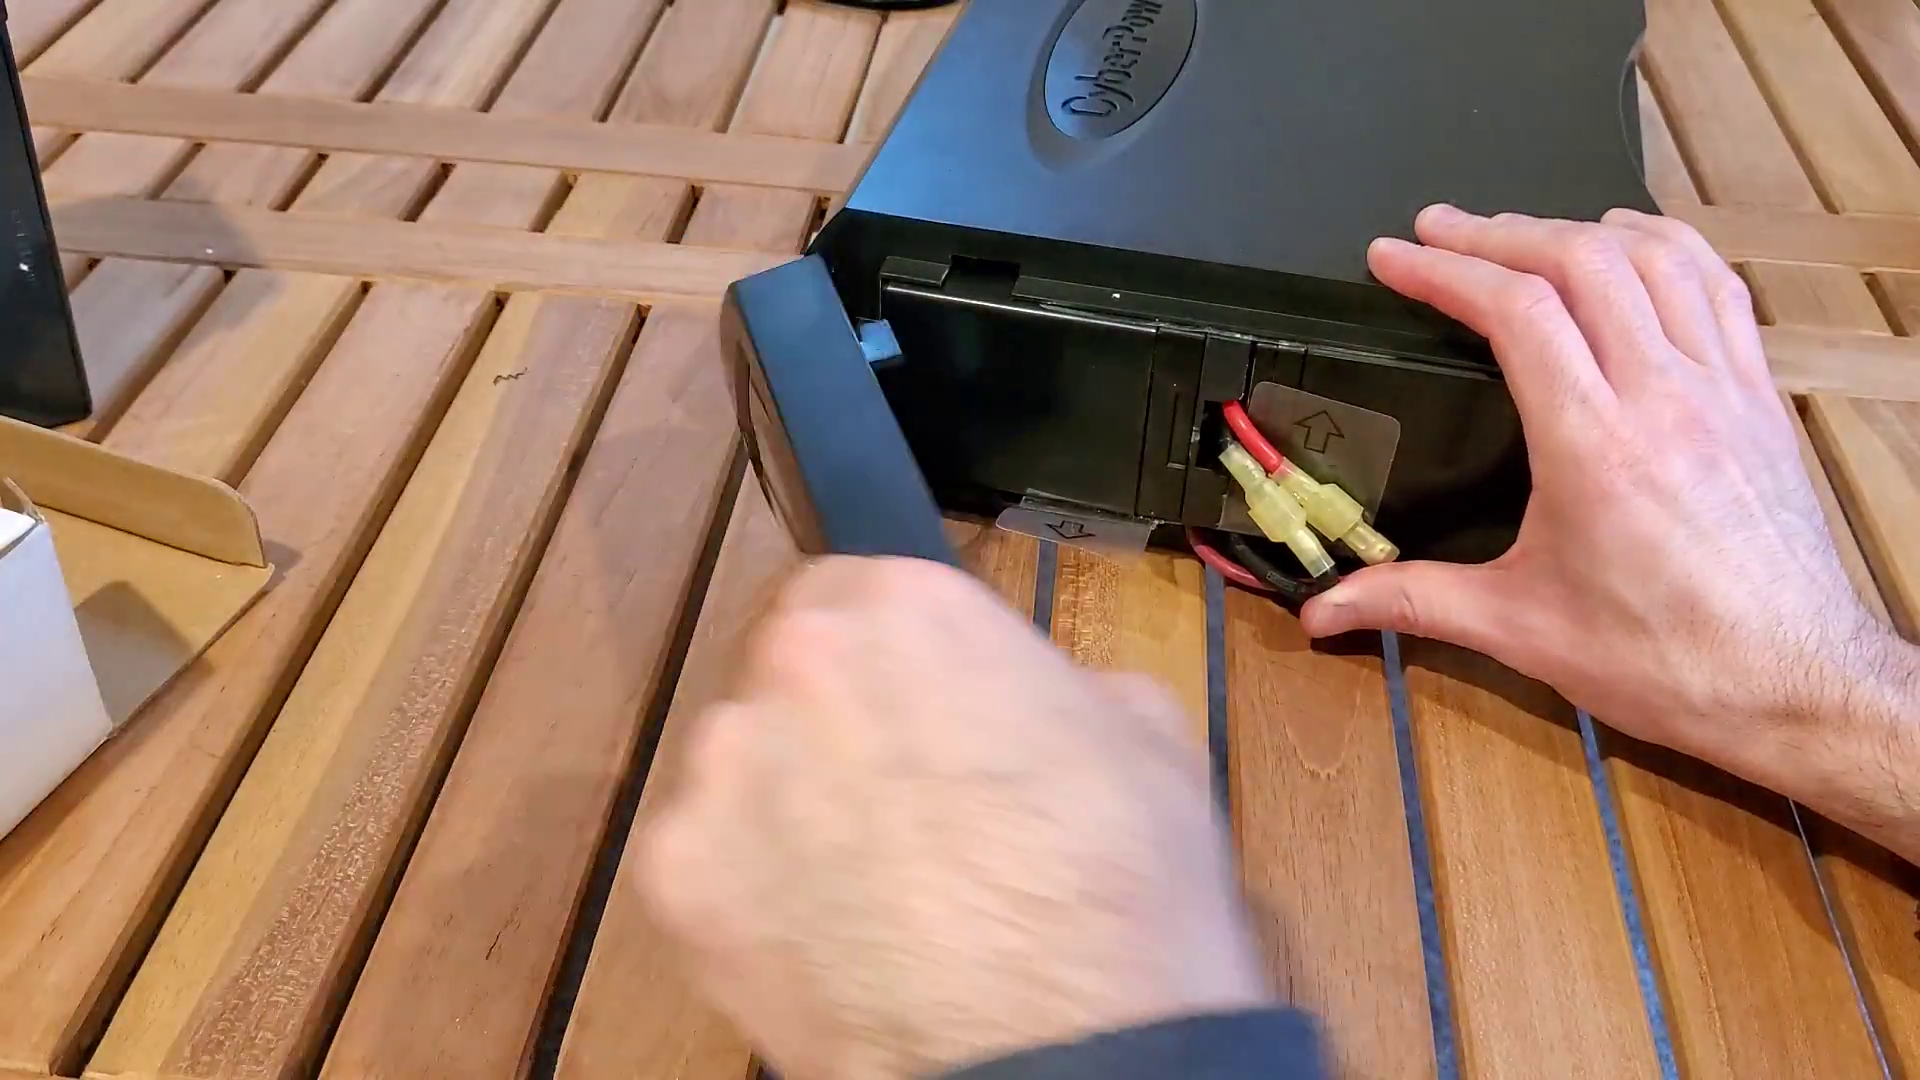
Then, connect the wires together (red to red, black to black). Note that they’ll only connect in one orientation; if they’re not fitting together, try twisting one around and try again:
Now it’s time to put the front panel on. Start by holding the battery wires flat against the batteries in order to help make room for the front cover:
Then, hold the cover against the batteries such that it’s a little less than an inch past the bottom edge:

With the front panel attached, put the single philips screw back in:

Wrap-up
Reading this guide to replace your CyberPower 1500VA UPS battery will probably take longer than actually doing it! If you opt for the more expensive CyberPower branded battery replacement, it’ll take even less time; though even with the 3rd party batteries, it’ll add maybe 10 minutes to the job.
You bought the wrong battery. Those are more work and never last as long. Ghetto battery and not proper. Sure you can go to a junk yard a take a battery out of a car and rig it to work as well.
How did I buy the wrong batteries/what makes these not proper? The CyberPower battery is simply two 12v 9ah lead acid batteries (along with the plastic separator and wires, which you can reuse from the original batteries).
Under the heading “Remove the Wires,” the last bullet point says:
“Then, the red wire will have it’s non-plastic capped side connected to the red (positive) terminal of the left battery, and routed through the plastic joiner.”
Shouldn’t this say the RIGHT battery, not the left? That’s what’s shown in the picture, and the left battery’s red terminal is already connected to the right battery’s black one.
Ah, you’re absolutely correct, thank you for finding and calling that out! I’ve updated the post to reflect that – thanks again!
Excellent and helpful instructions. Purchased the same batteries as in the video for the same model CyberPower unit. Task completed in 15 minutes. Savings over purchasing a new UPS was $175.00 !!
A superb tutorial! Thanks so much for this, James! You saved me a HUGE amount of time and money. Just can’t thank you enough!