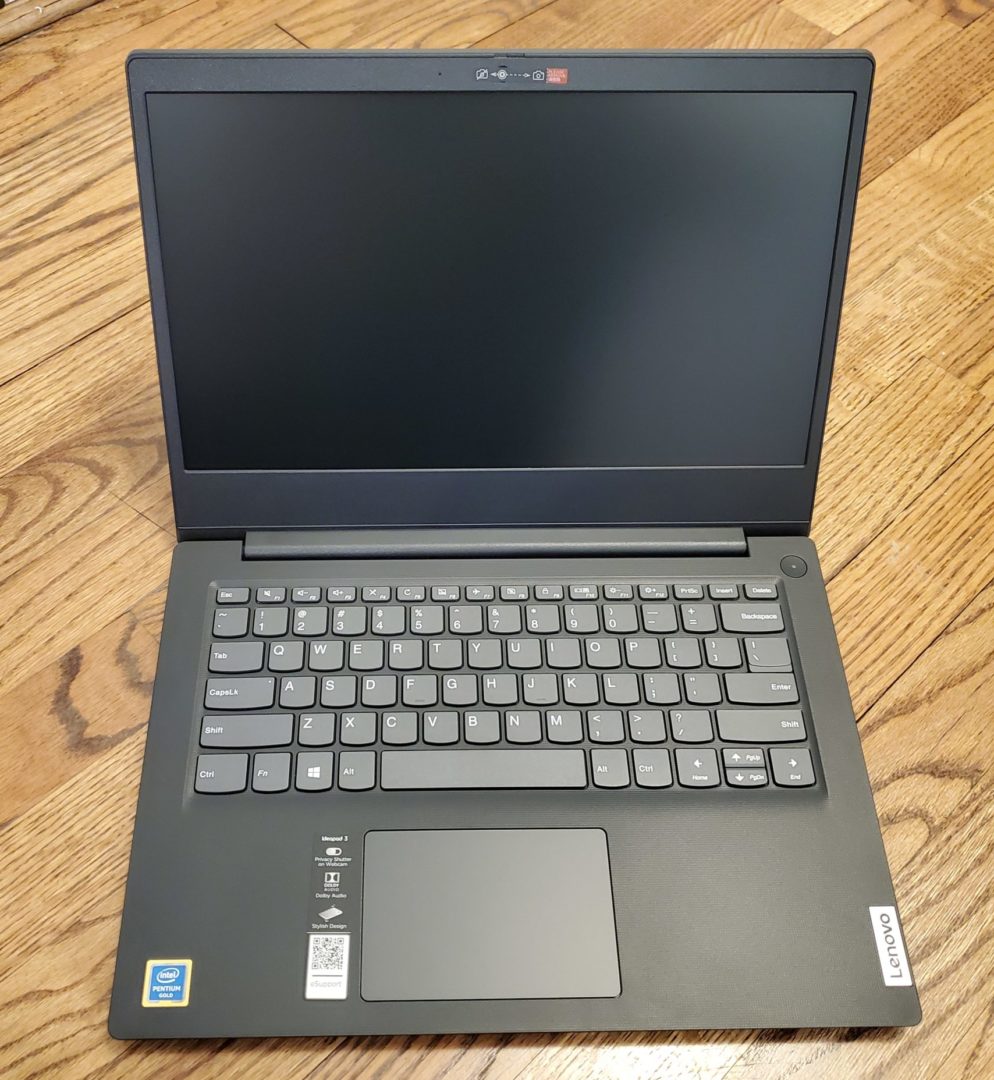
Do you have, and want to upgrade, a Lenovo IdeaPad 3 14″ laptop? If so, you can easily upgrade the memory and SSD by removing a few screws and popping off the bottom cover. Note that this model comes with some memory soldered down and one upgradable memory slot, and for the SSD, it takes m.2 SATA or NVME. (For reference, the specific model in this guide is 14IML05, or Lenovo part number 81WA00B1US)
Remove the bottom cover
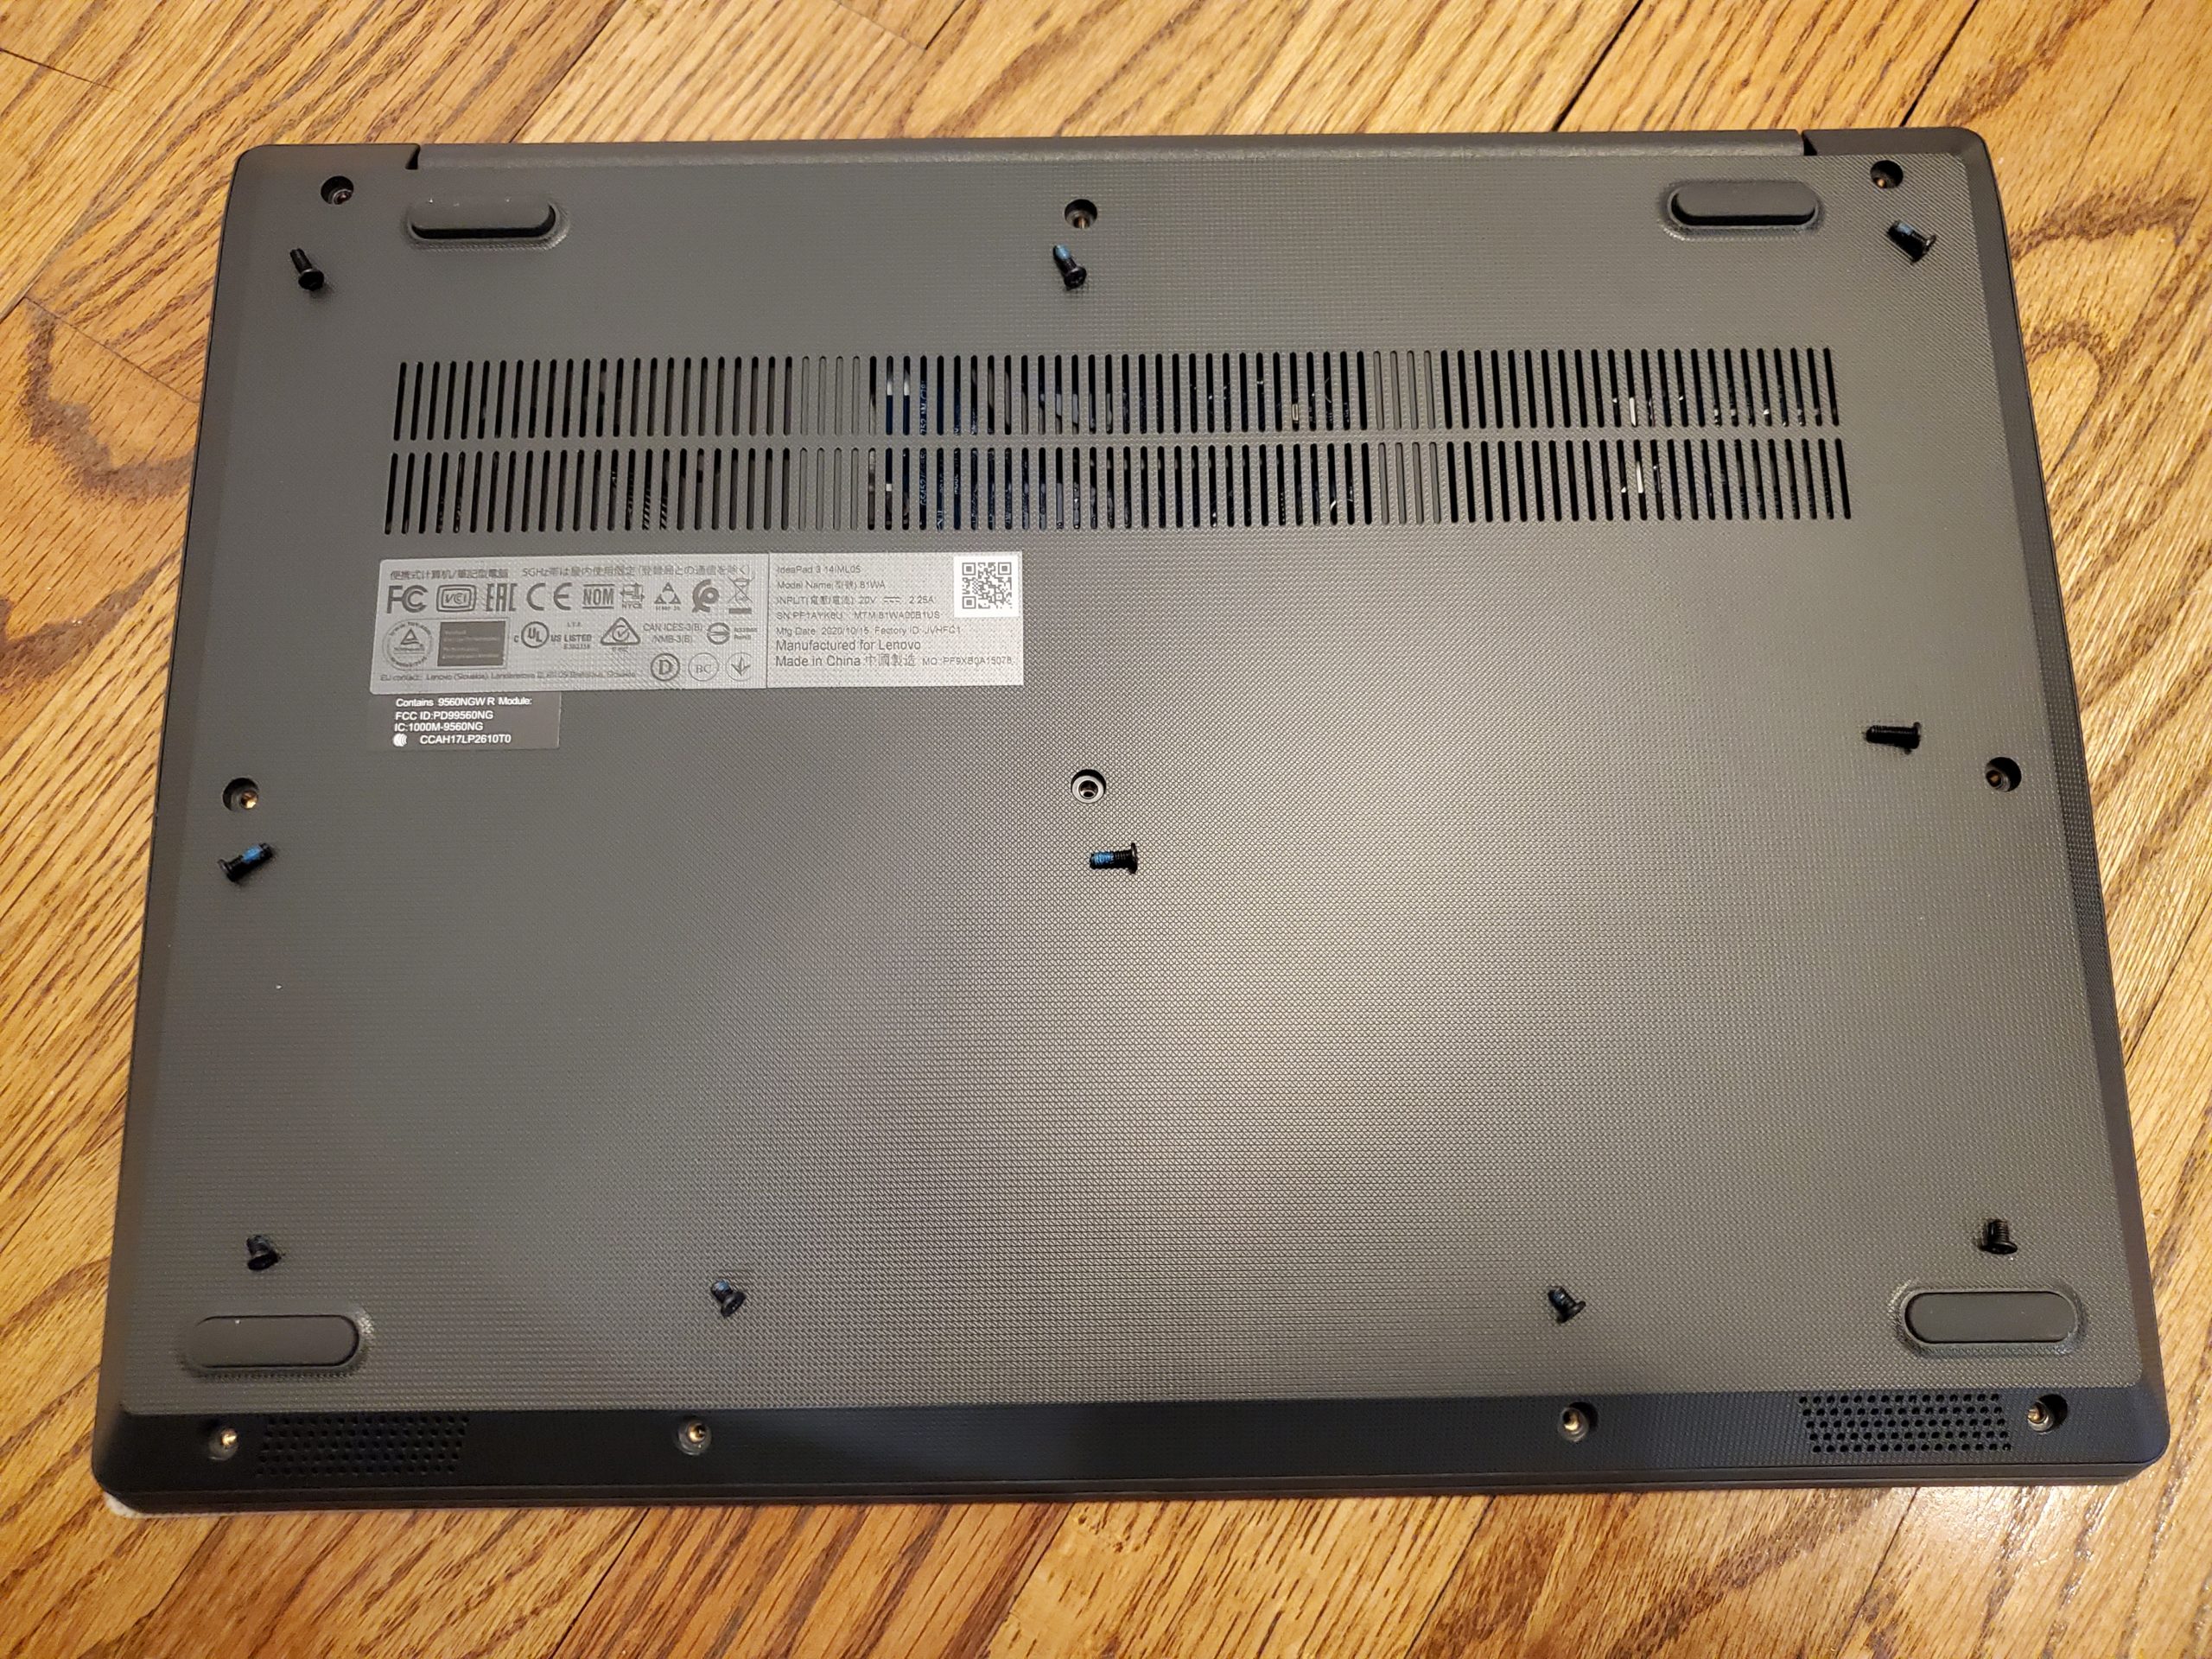
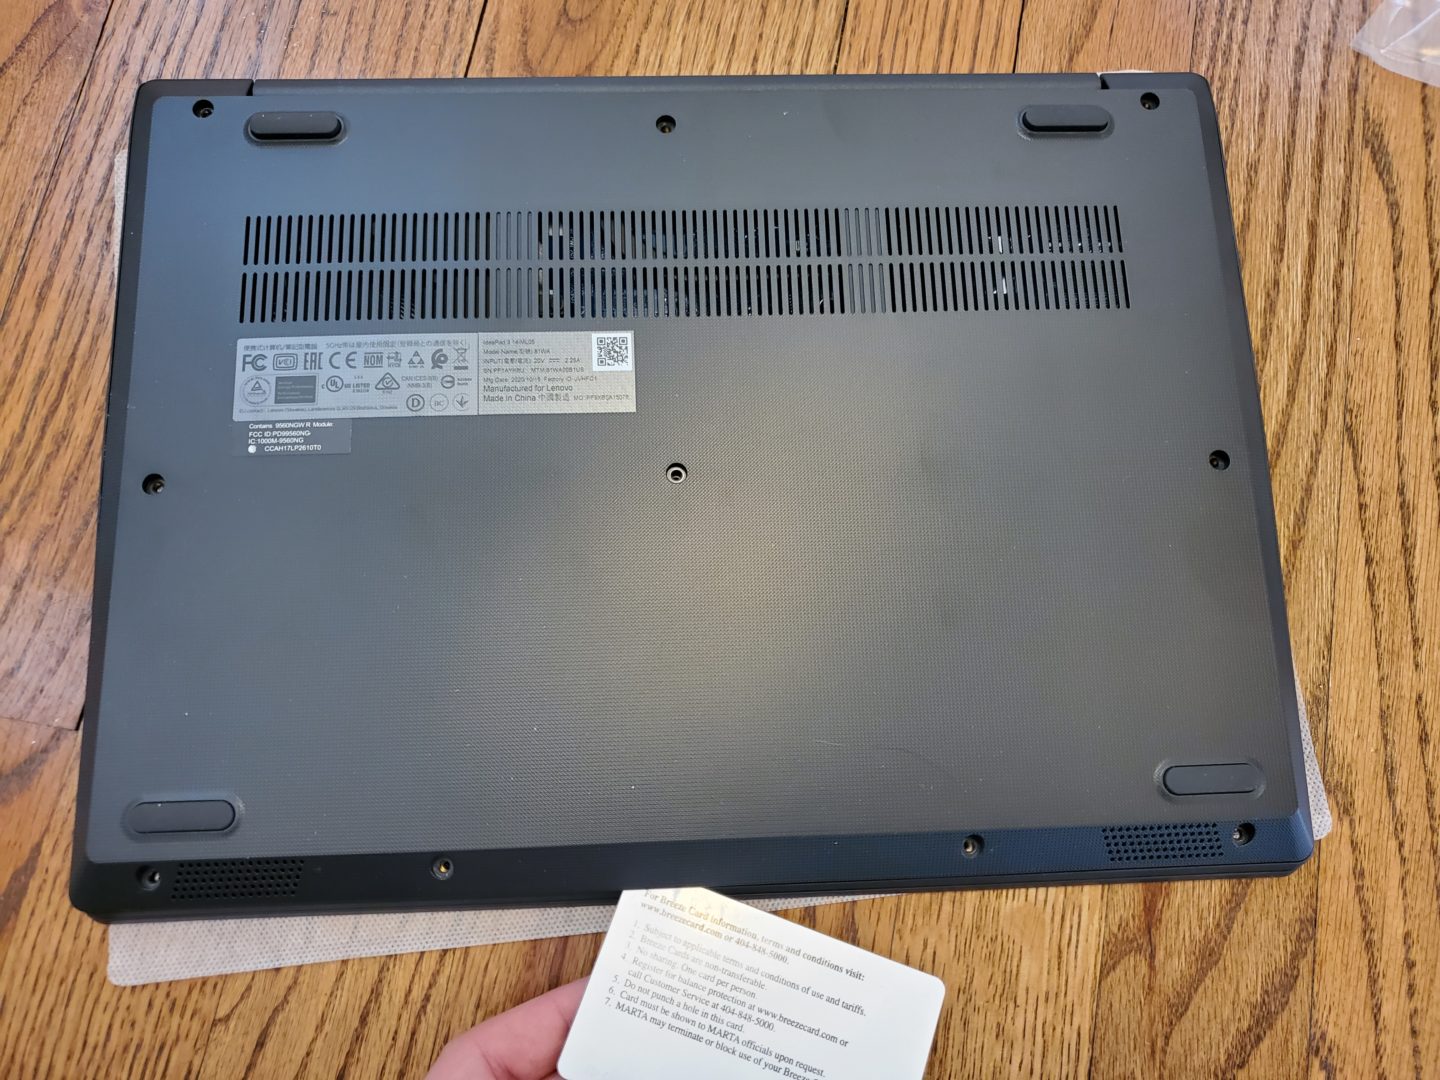
The first step is to remove the bottom cover. First, remove the ten screws holding the cover to the chassis, and note the four along the bottom edge (the opposite side of the hinge) are shorter than the rest:
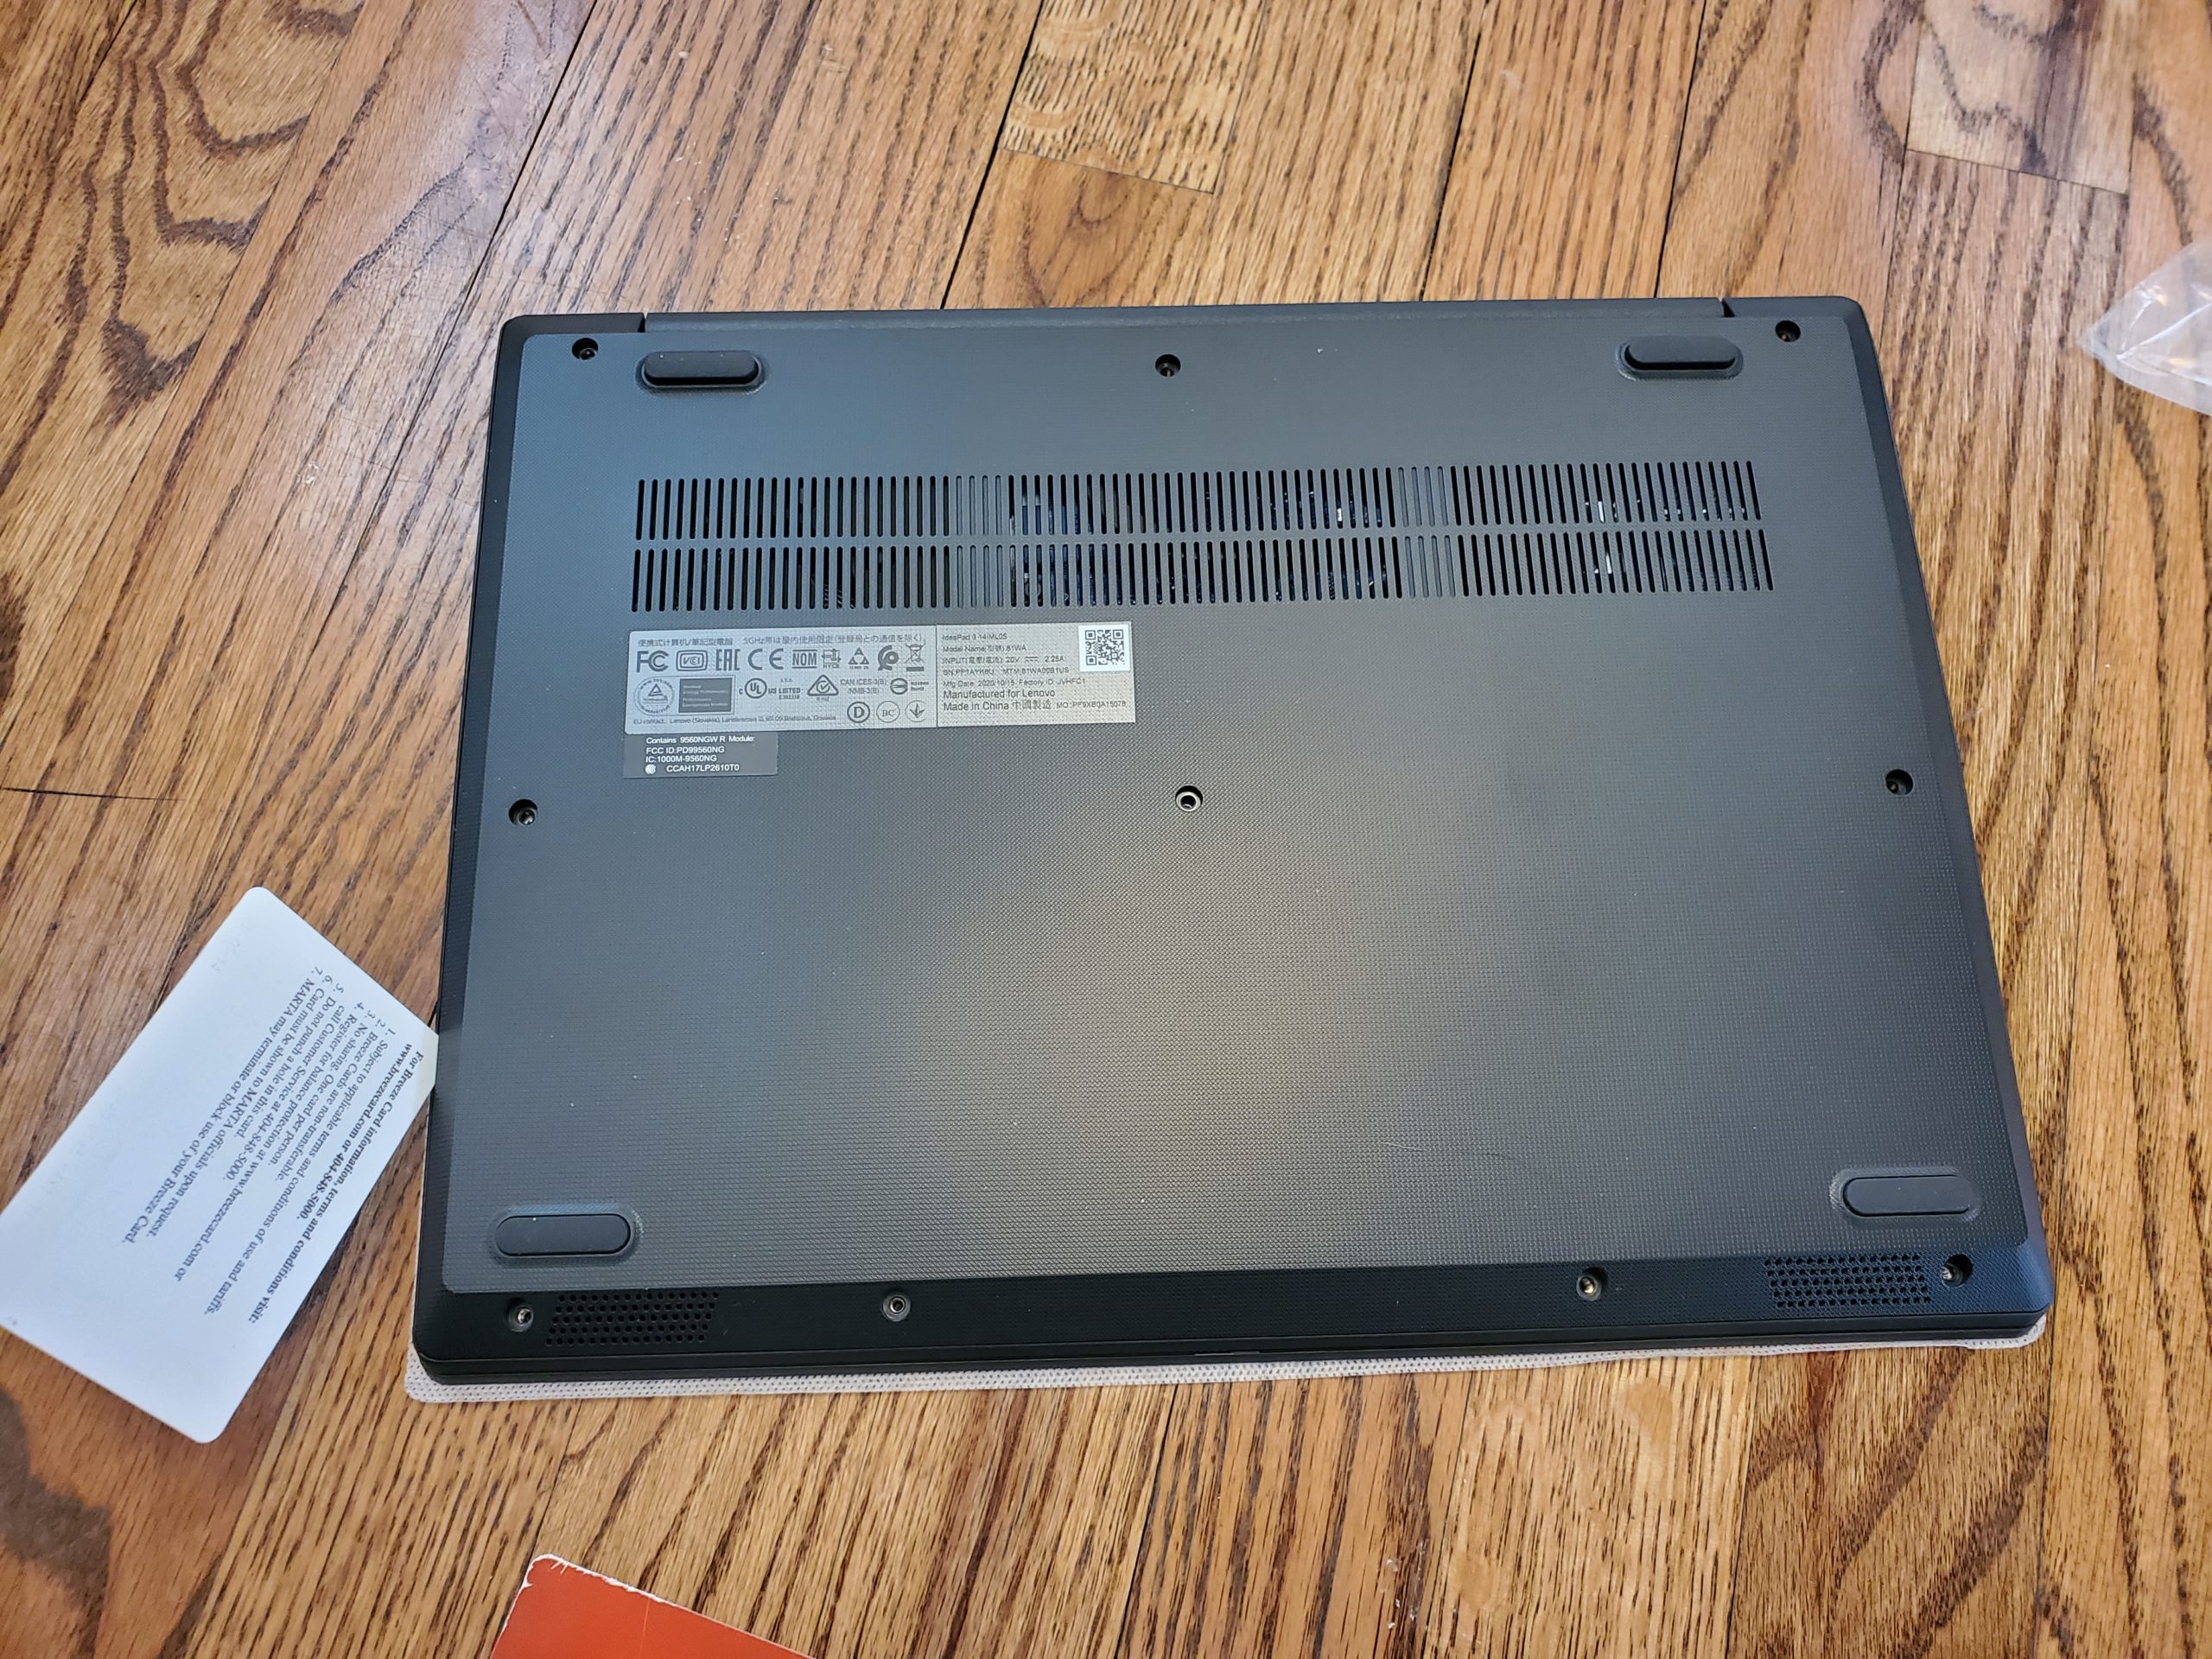
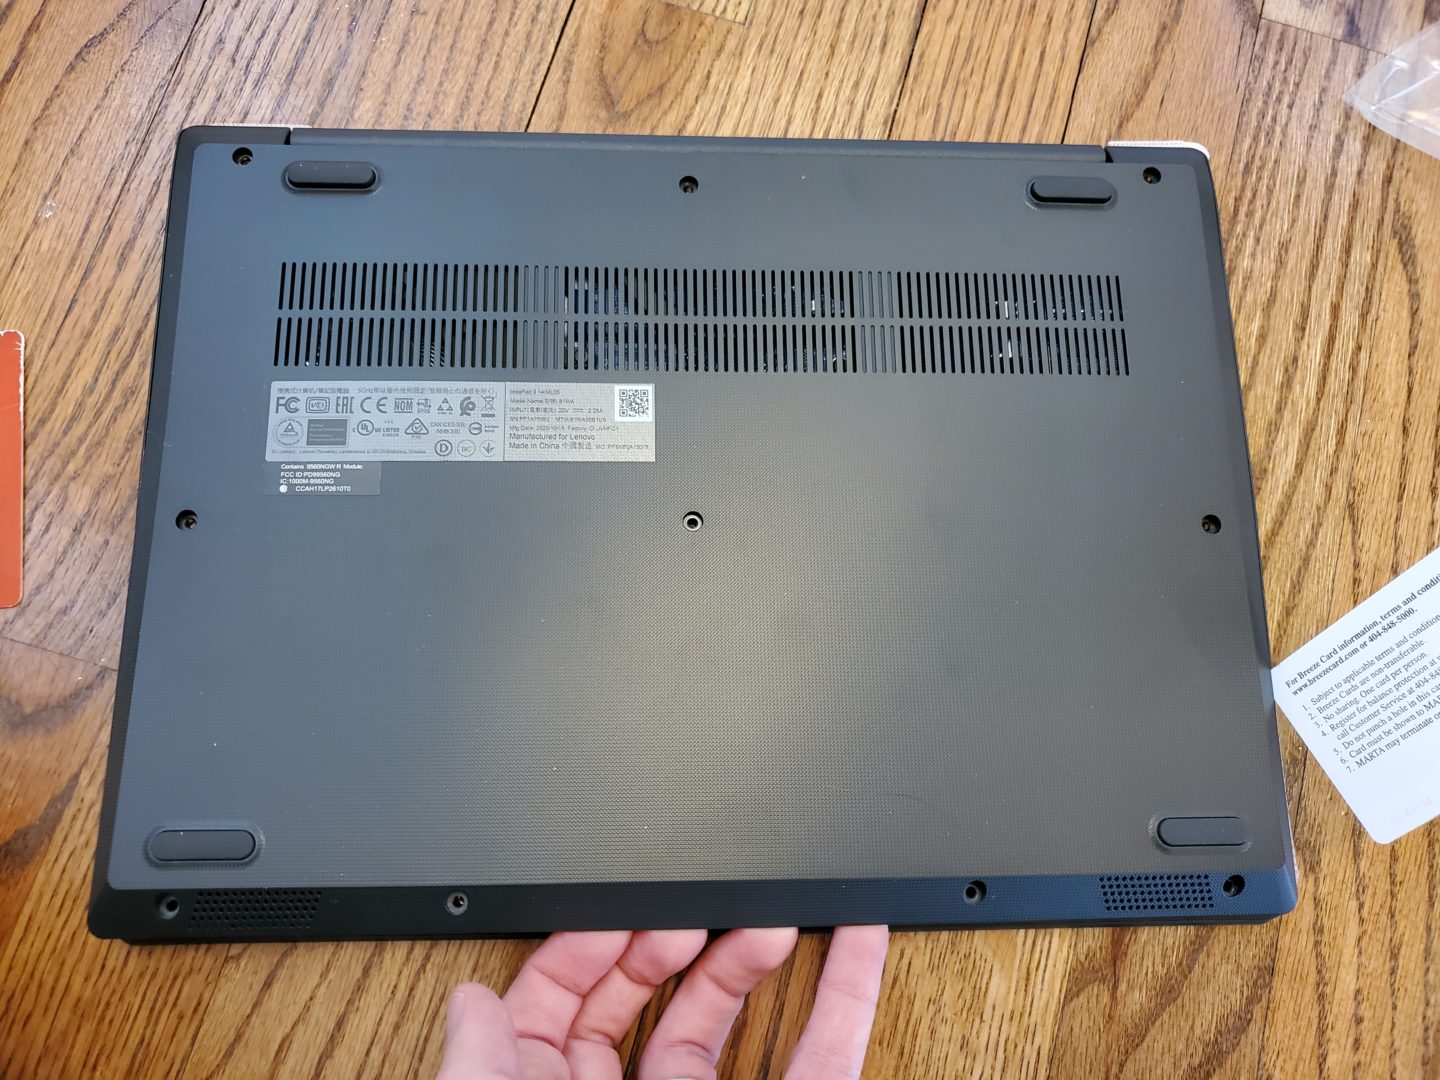
With the screws removed, now you need to pry off the cover. The entire cover is now just held on with clips, so you just need to try to feel or look around where there may already be a gap where you can stick a plastic scribe/credit card to get it started. I happened to be able to get a card wedged near the bottom left corner (though, there wasn’t really any noticeable gap there when I started):
You can see a little closer here how it’s simply wedged in between the cover and the chassis:
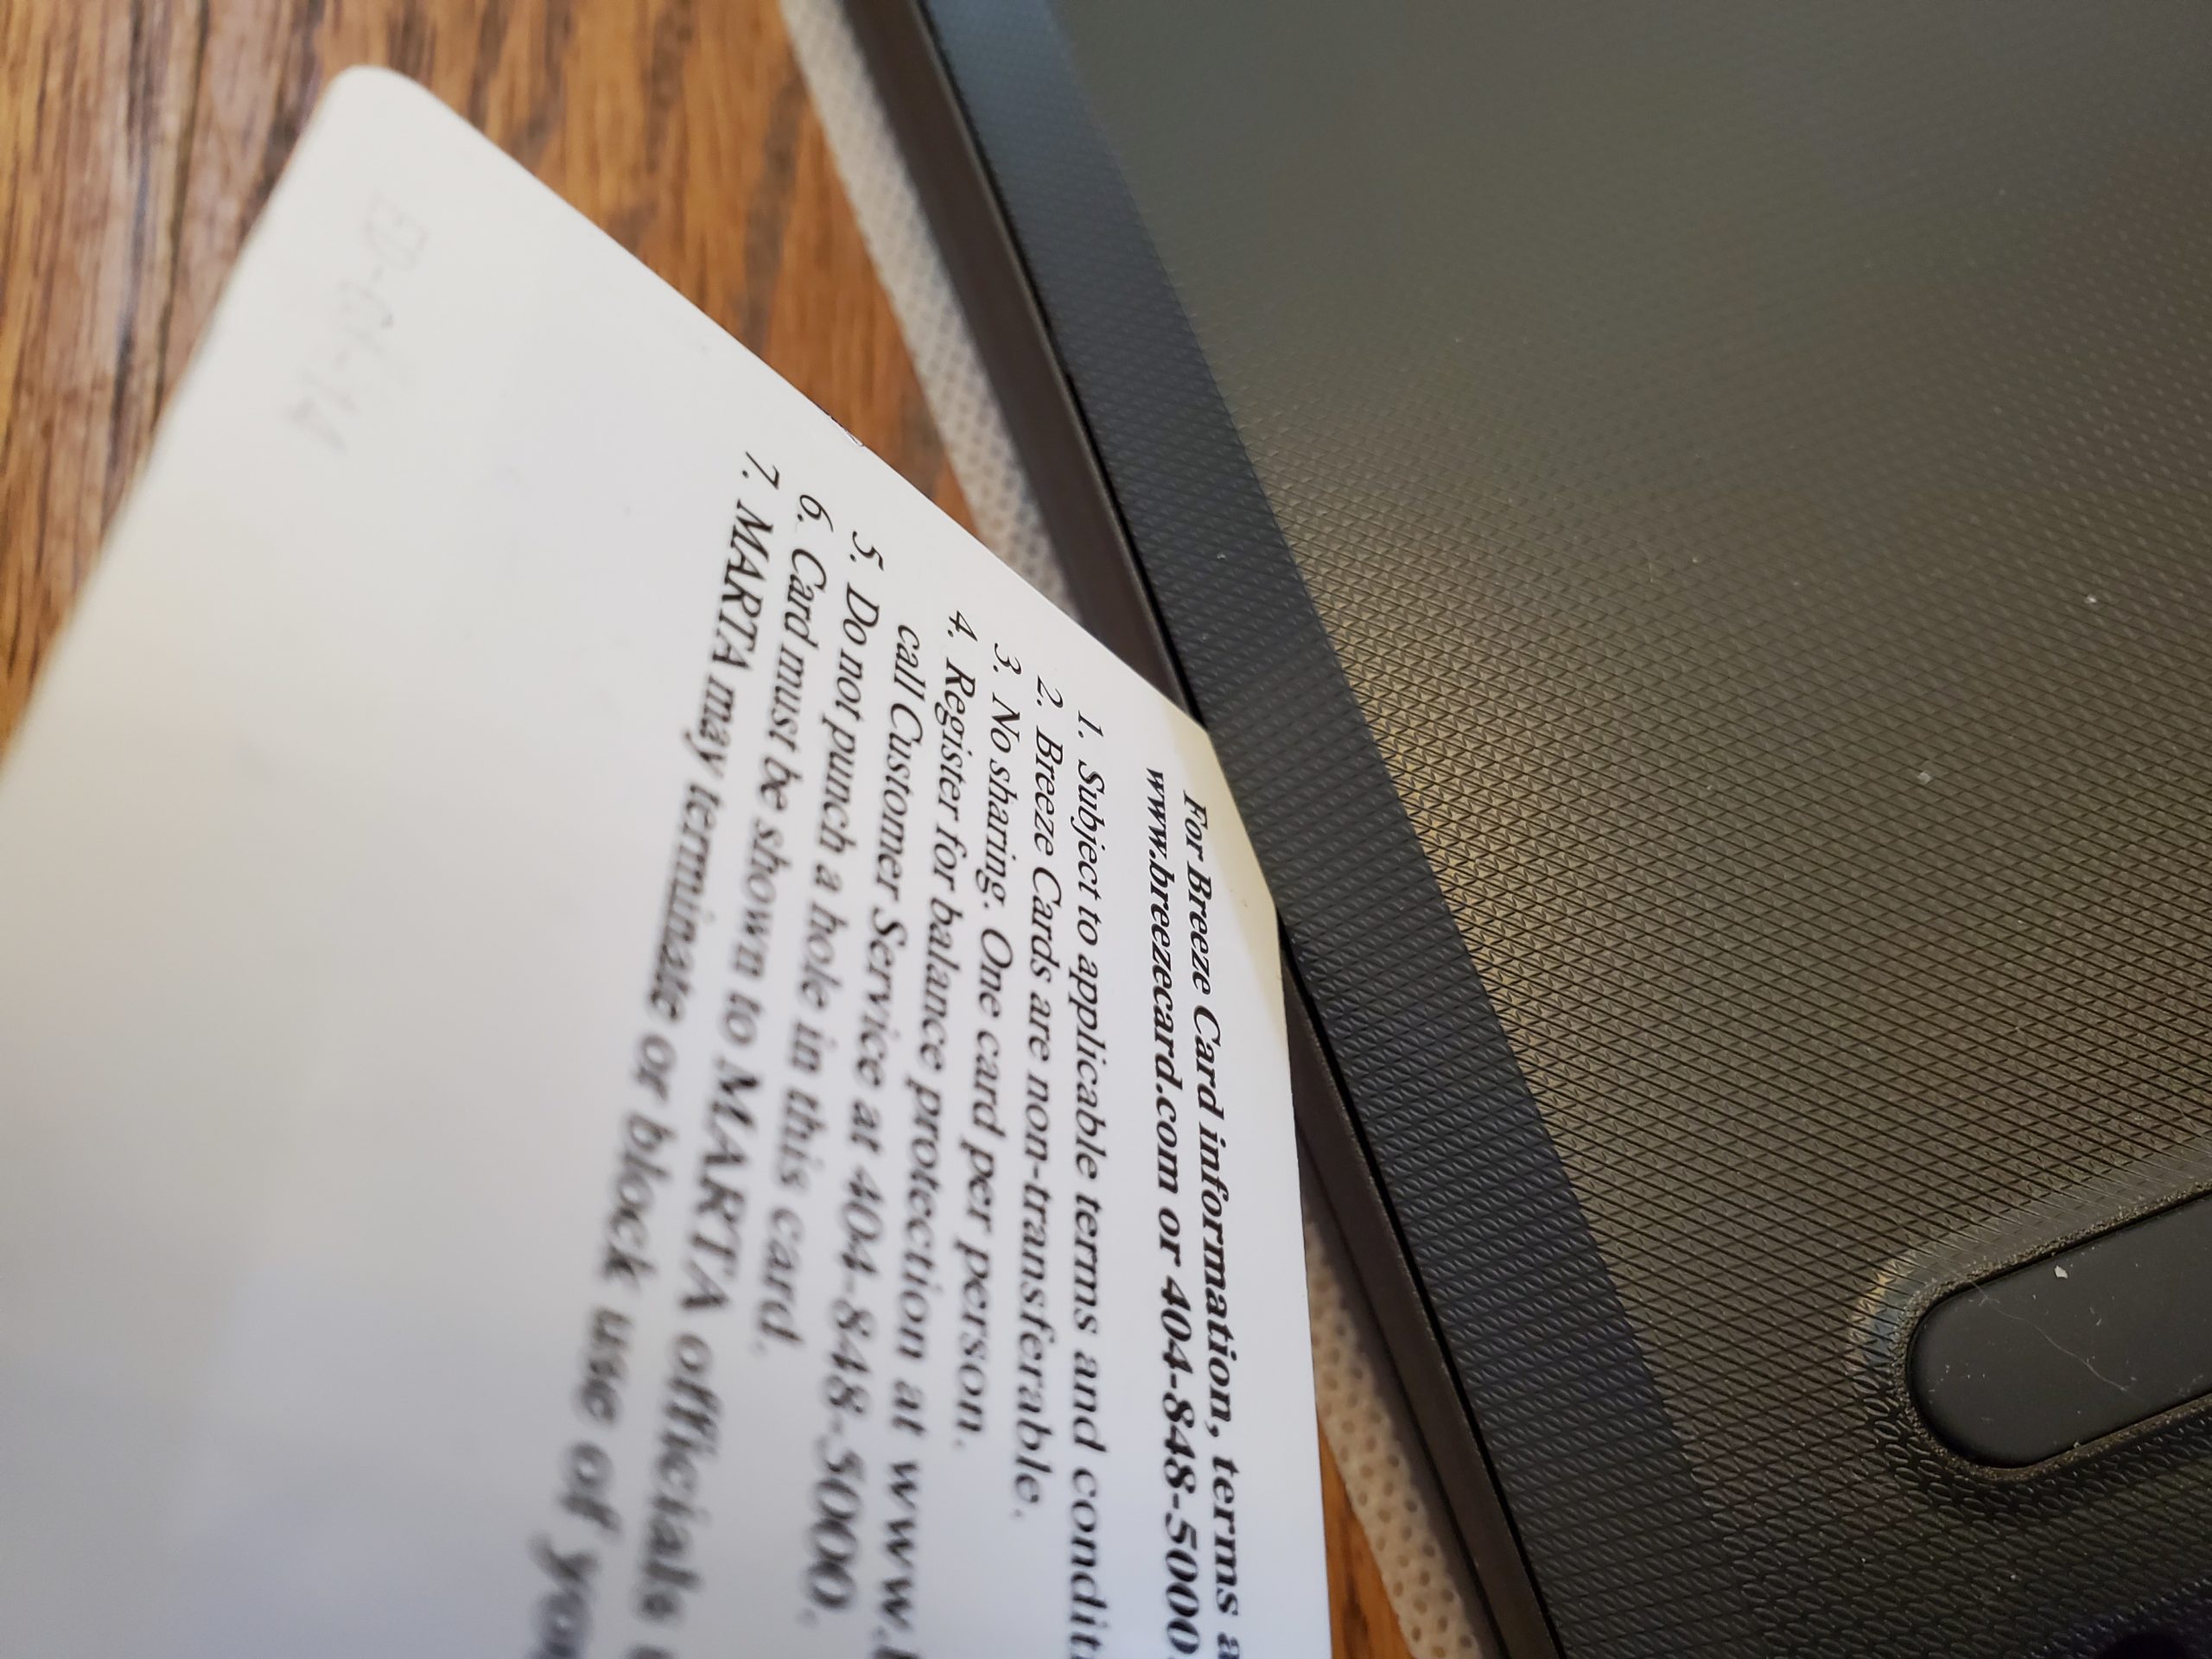
From here, just keep the card wedged in a little bit, slowly drag it around the perimeter of the cover, all while feeling and hearing the other clips disengaging:
With all the clips undone, the cover should just lift off:
Access to the hardware
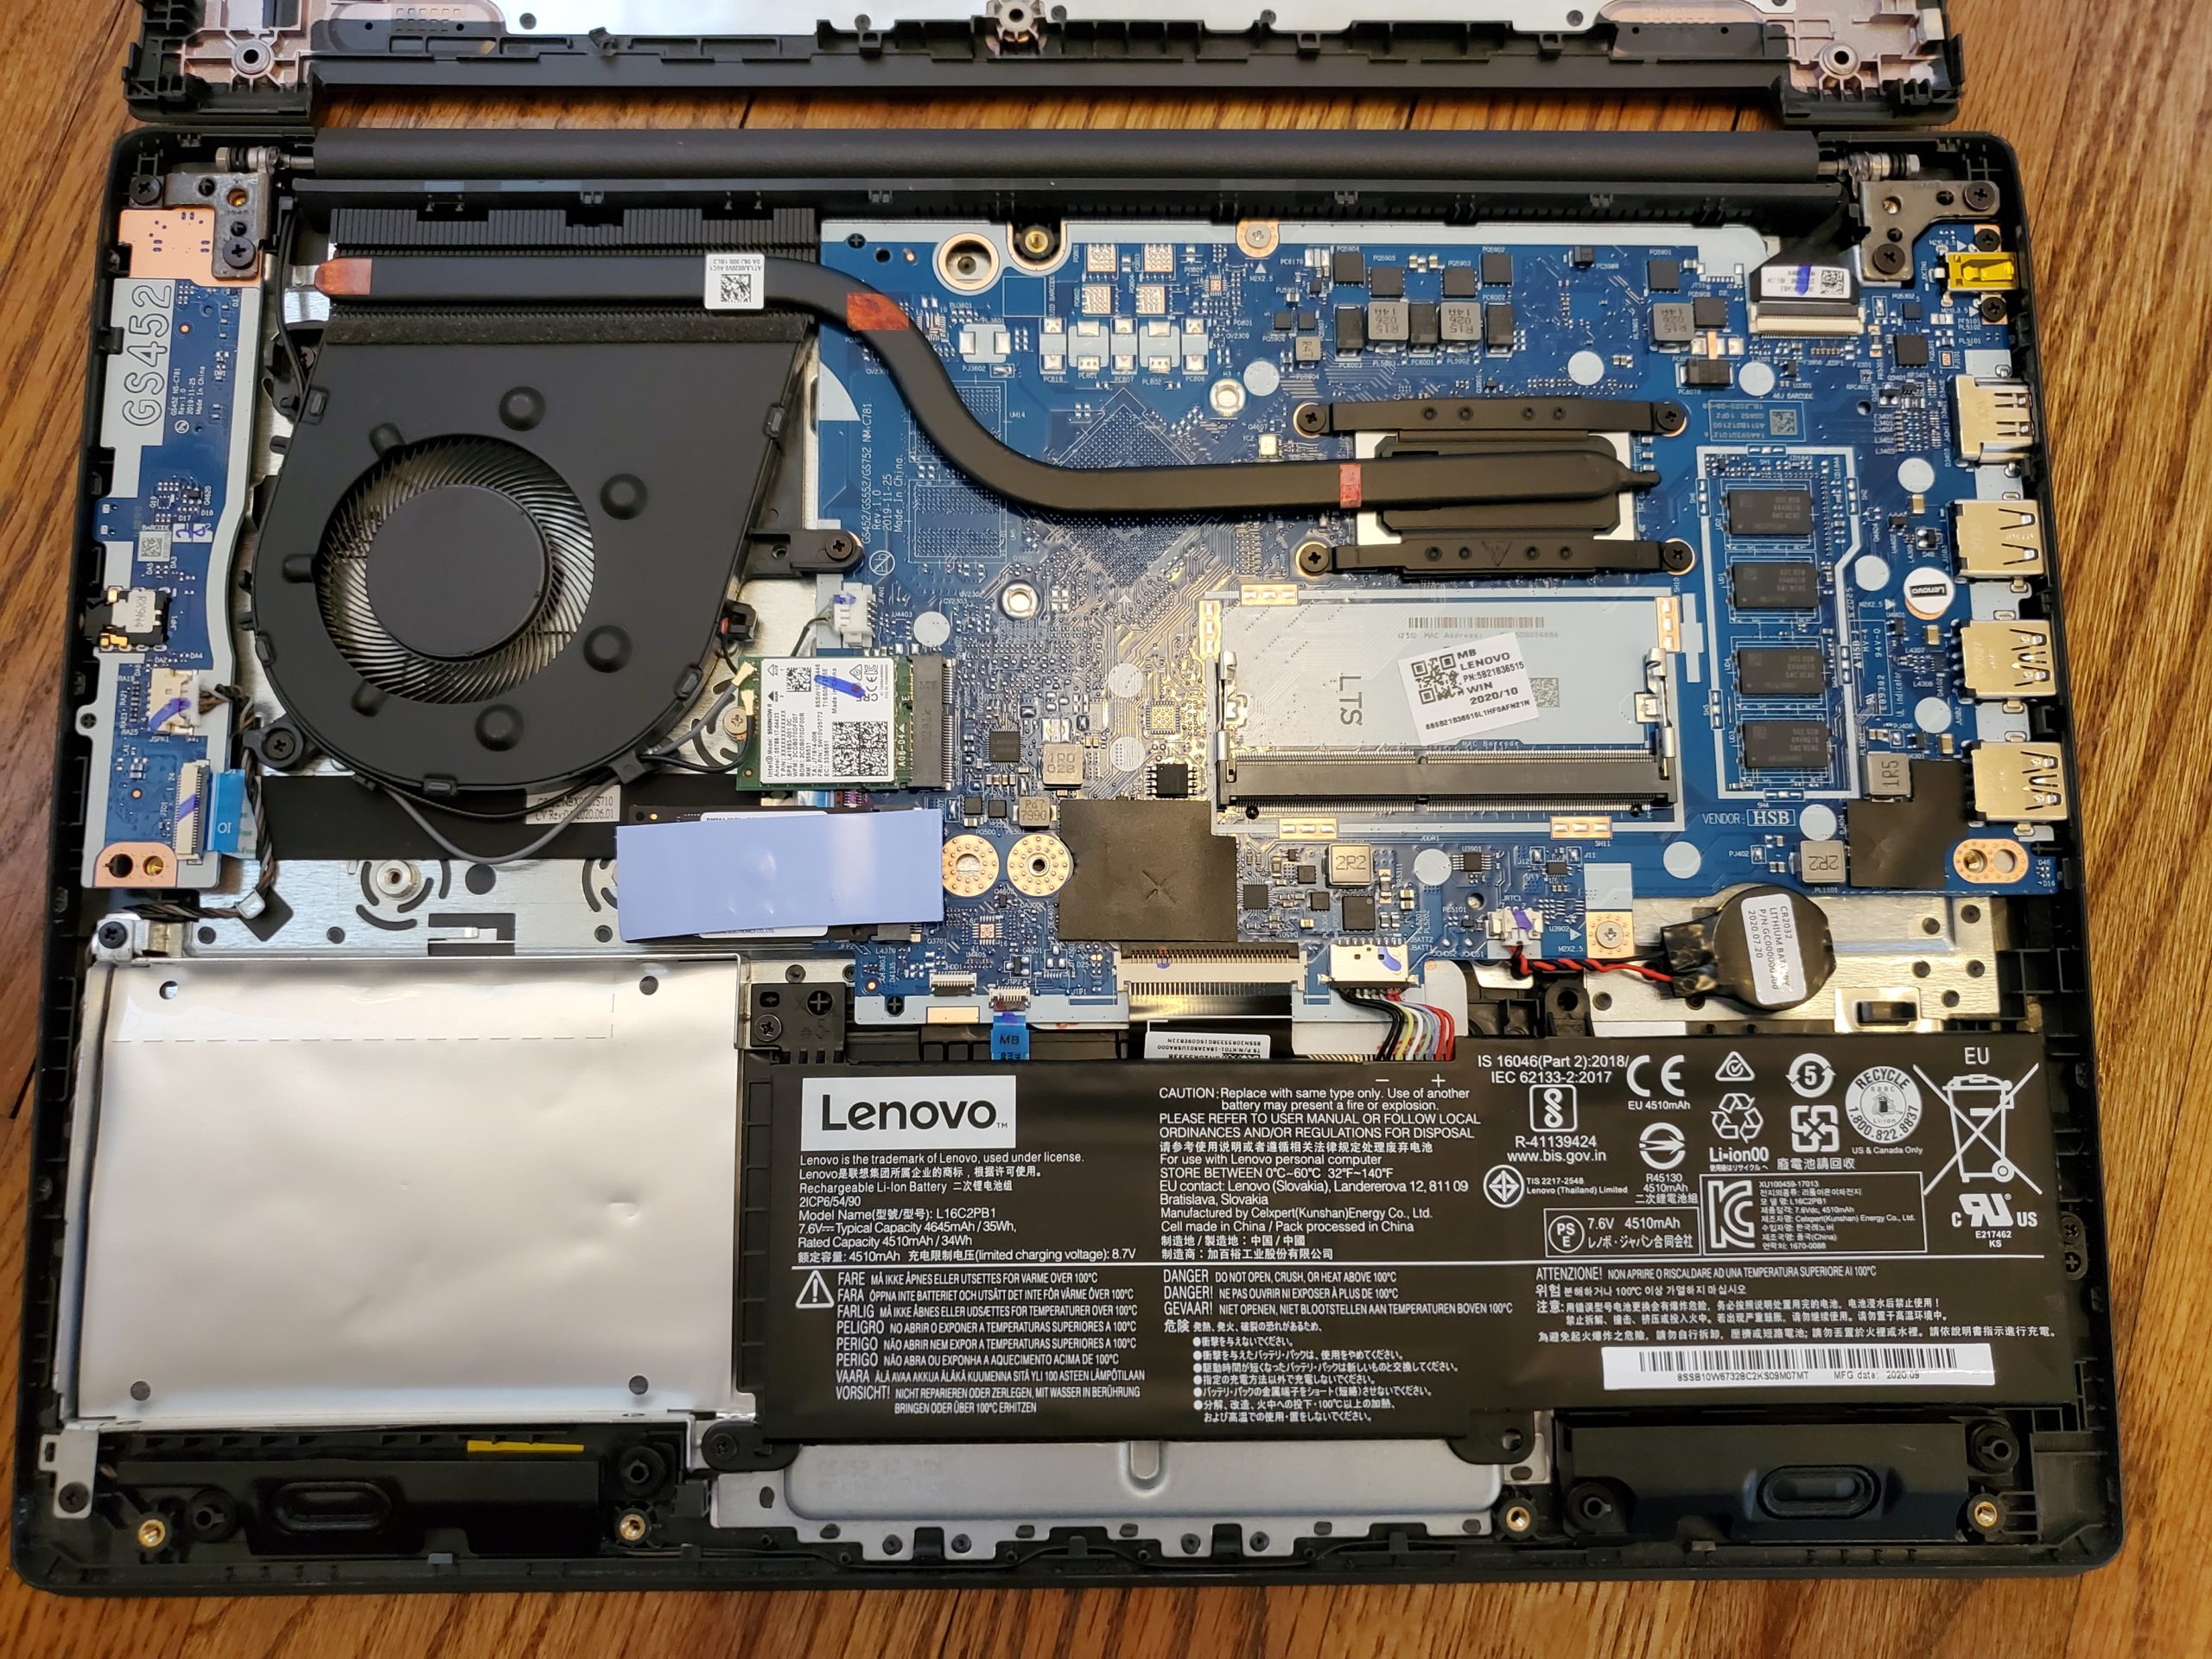
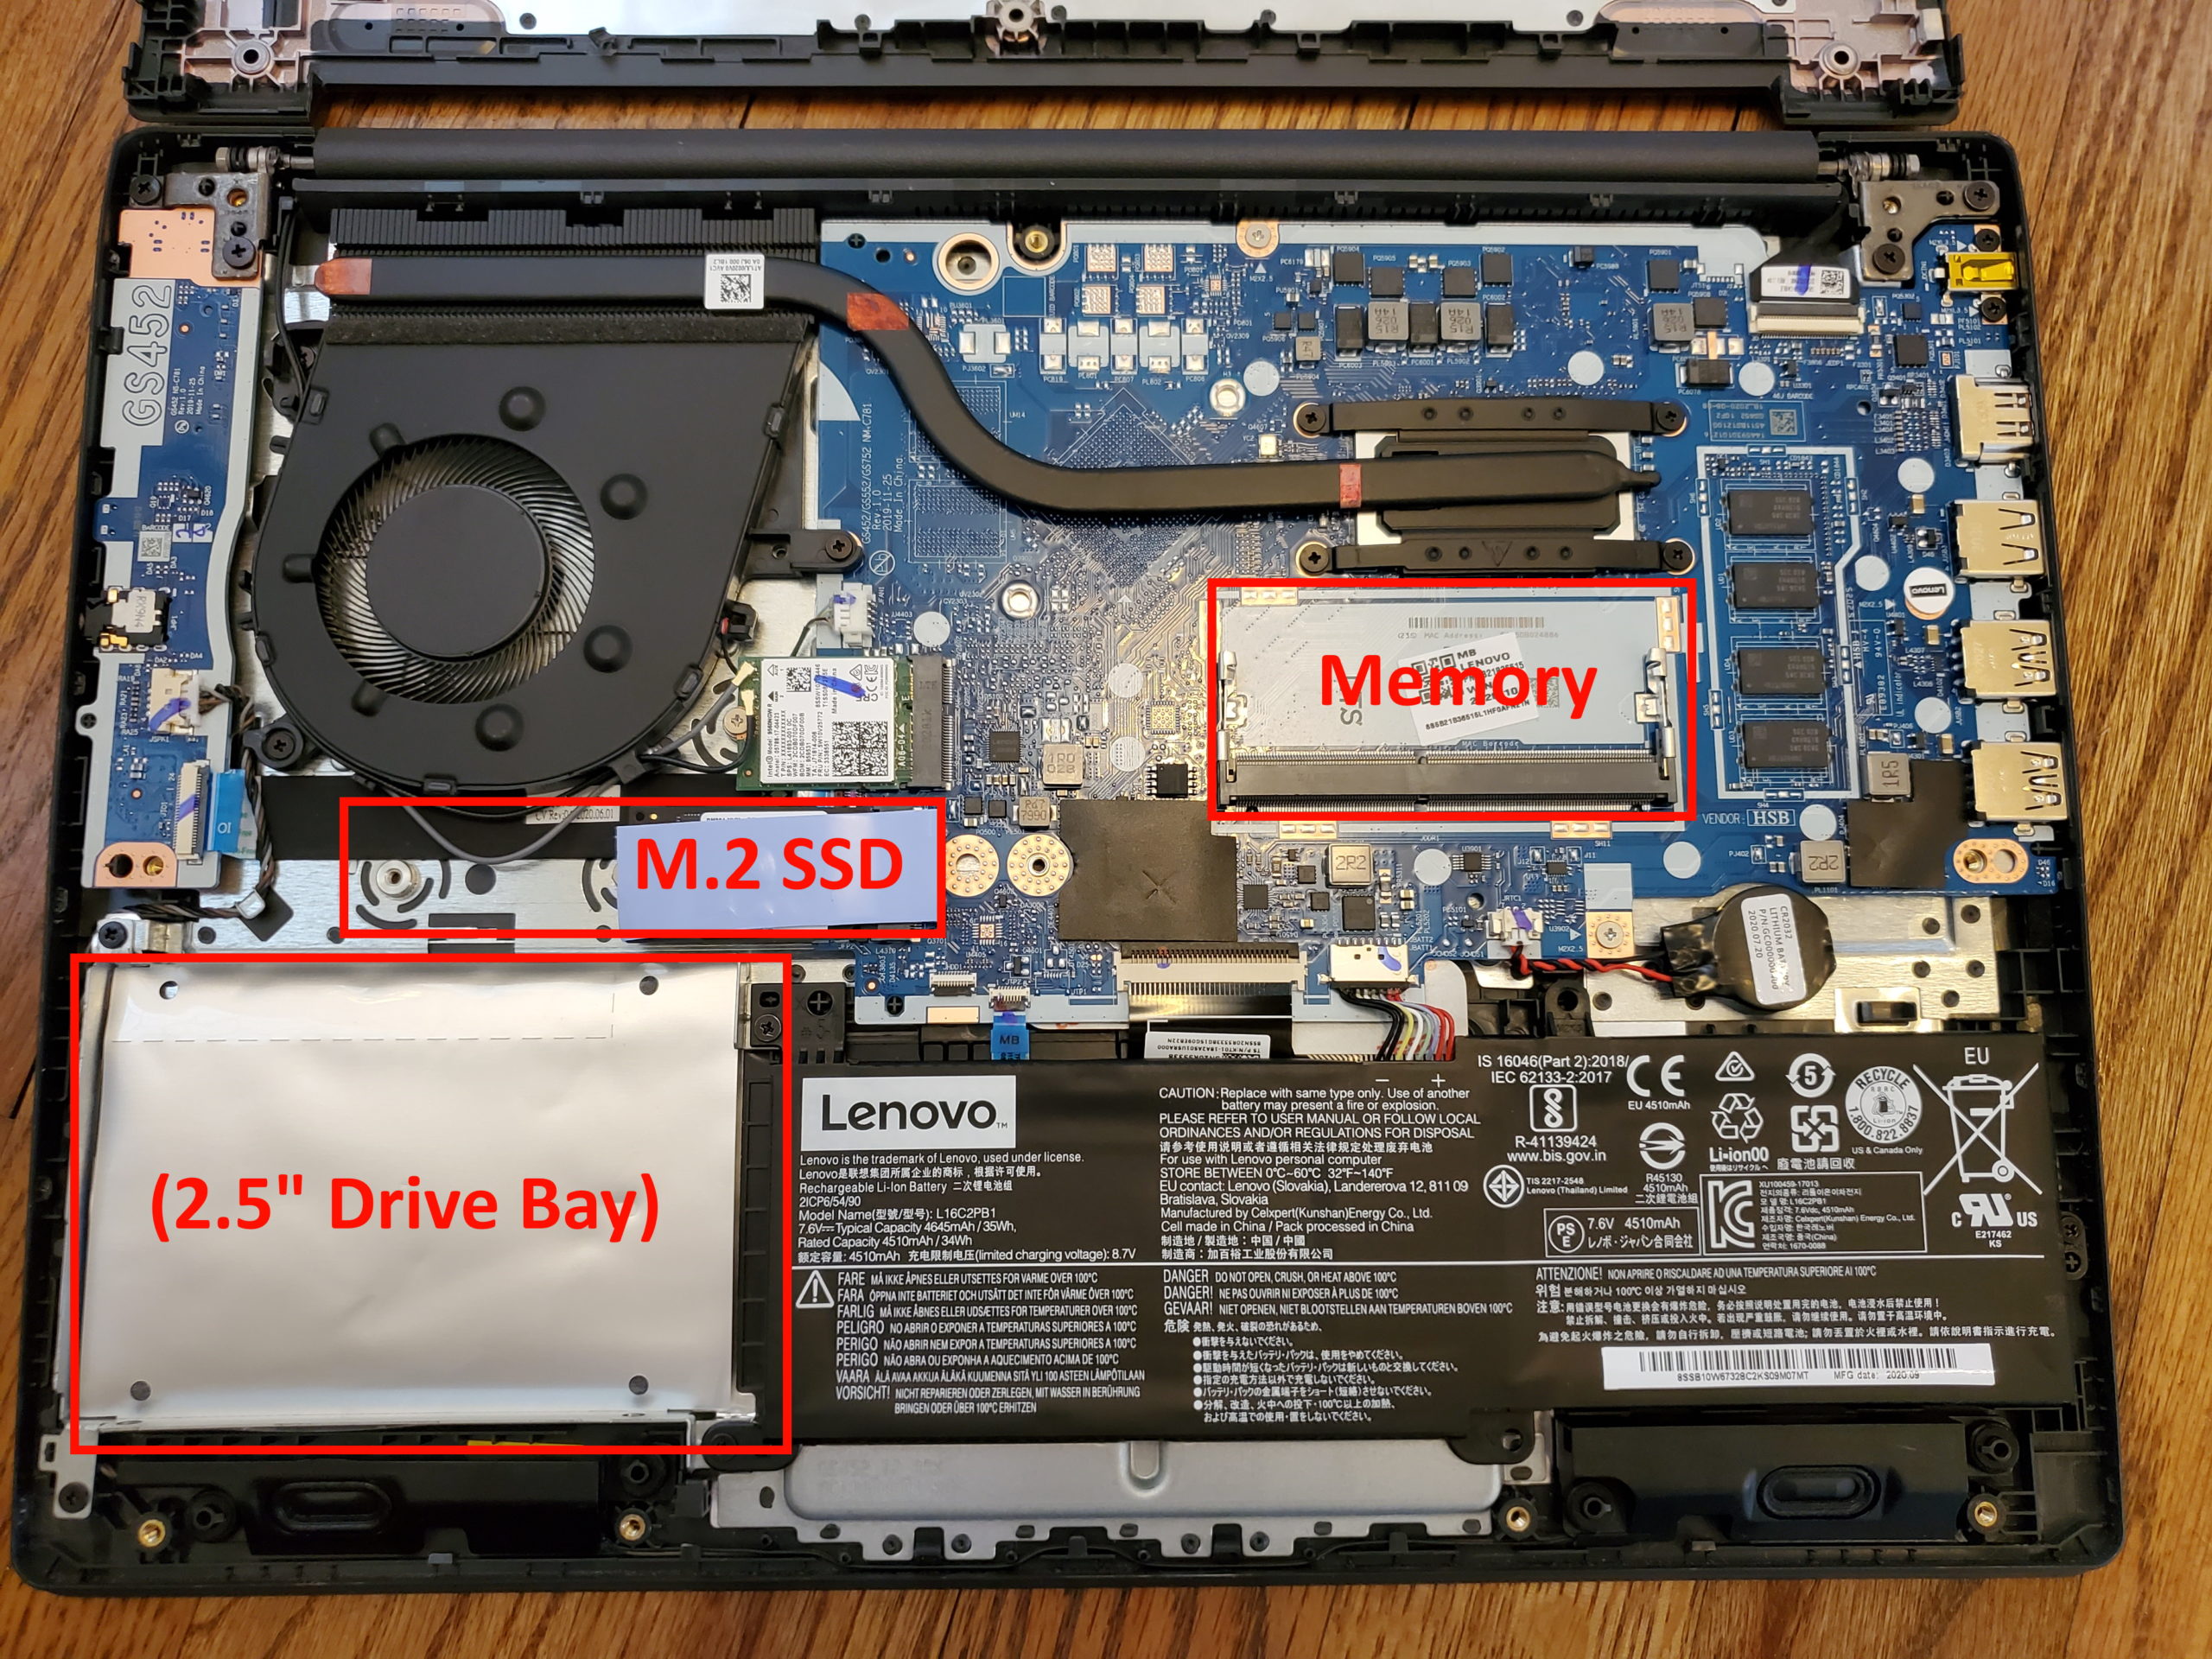
With the bottom cover removed, you now have access to remove and change out some hardware, such as the M.2 SSD and memory (as well as the 2.5″ drive bay if that applies to to yo, though in my build, there’s no drive or cable):
Upgrade the M.2 SSD
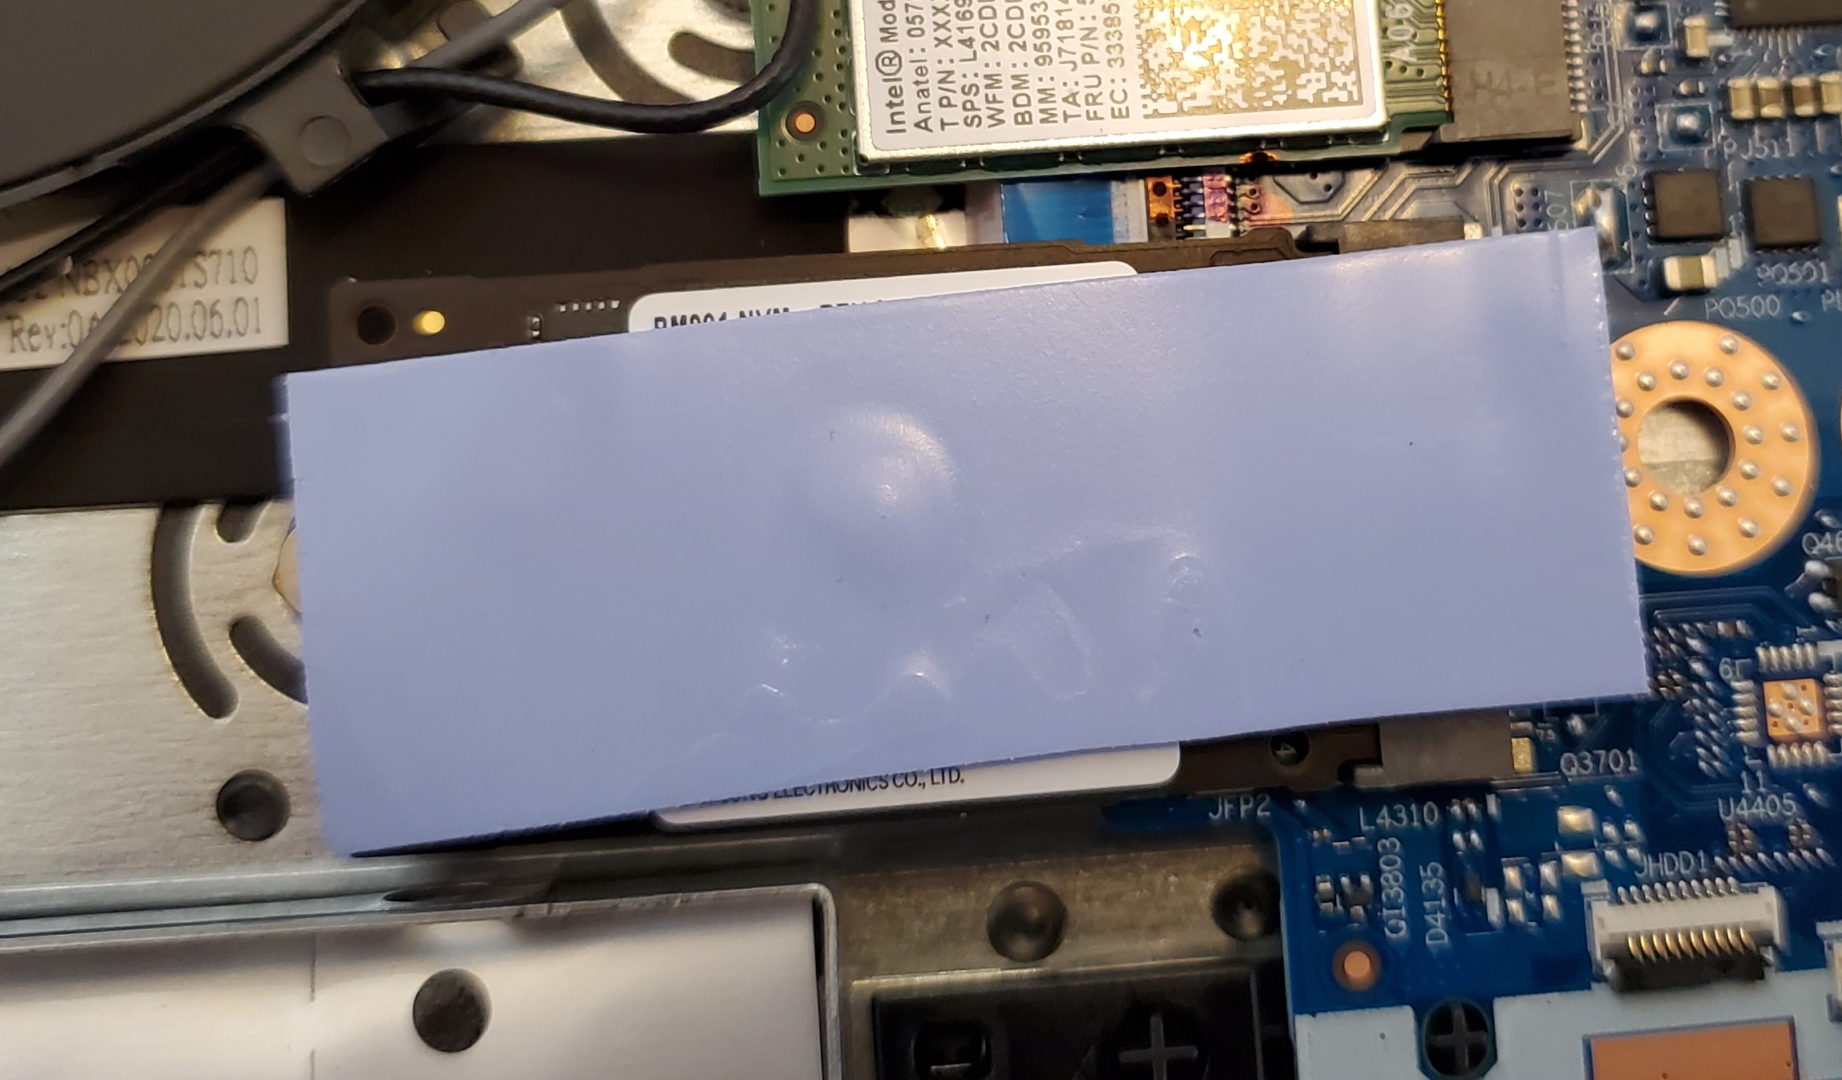
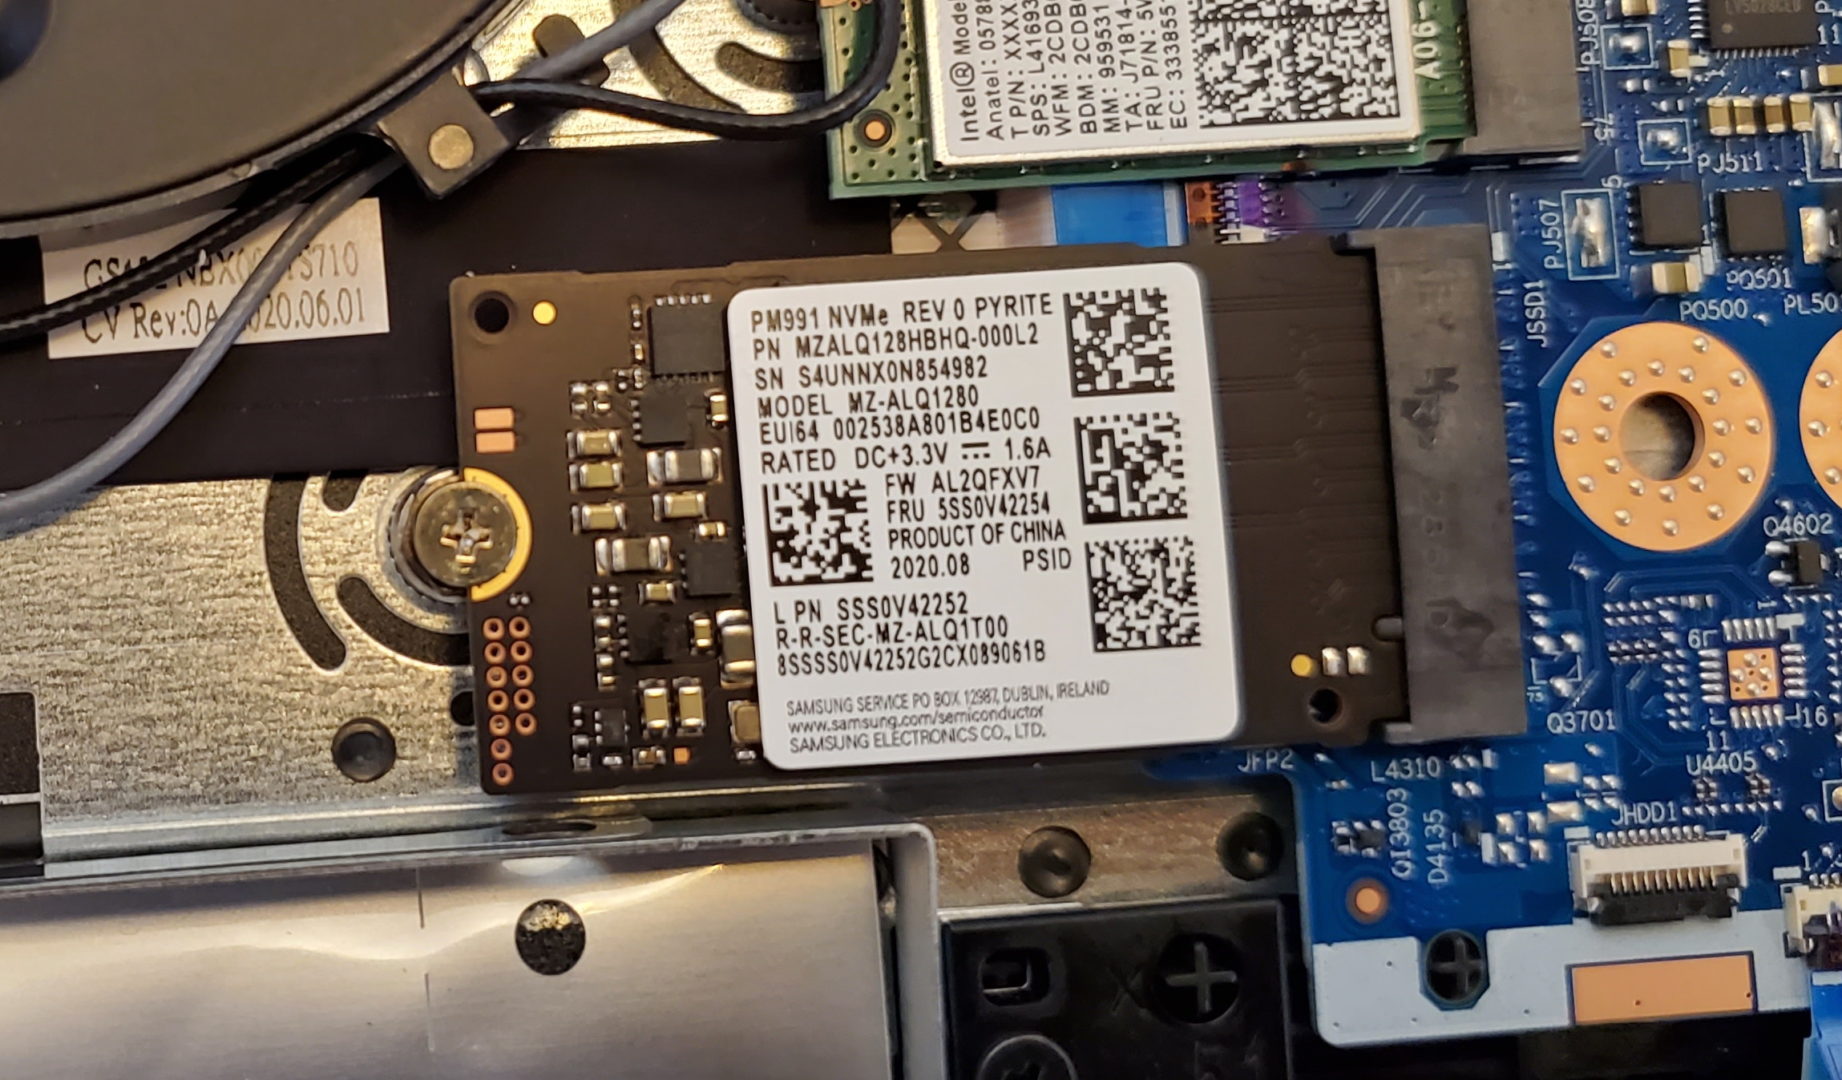
In the middle, toward the left, you have the M.2 SSD slot. It accepts both NVMe and SATA drives of size 42mm and 80mm (2242 and 2280 respectively). My particular build has a Samsung PM991 NVMe 2242 (42mm) drive. To access the screw to remove the drive, simply peel off the sticky thermal pad and remove the screw:
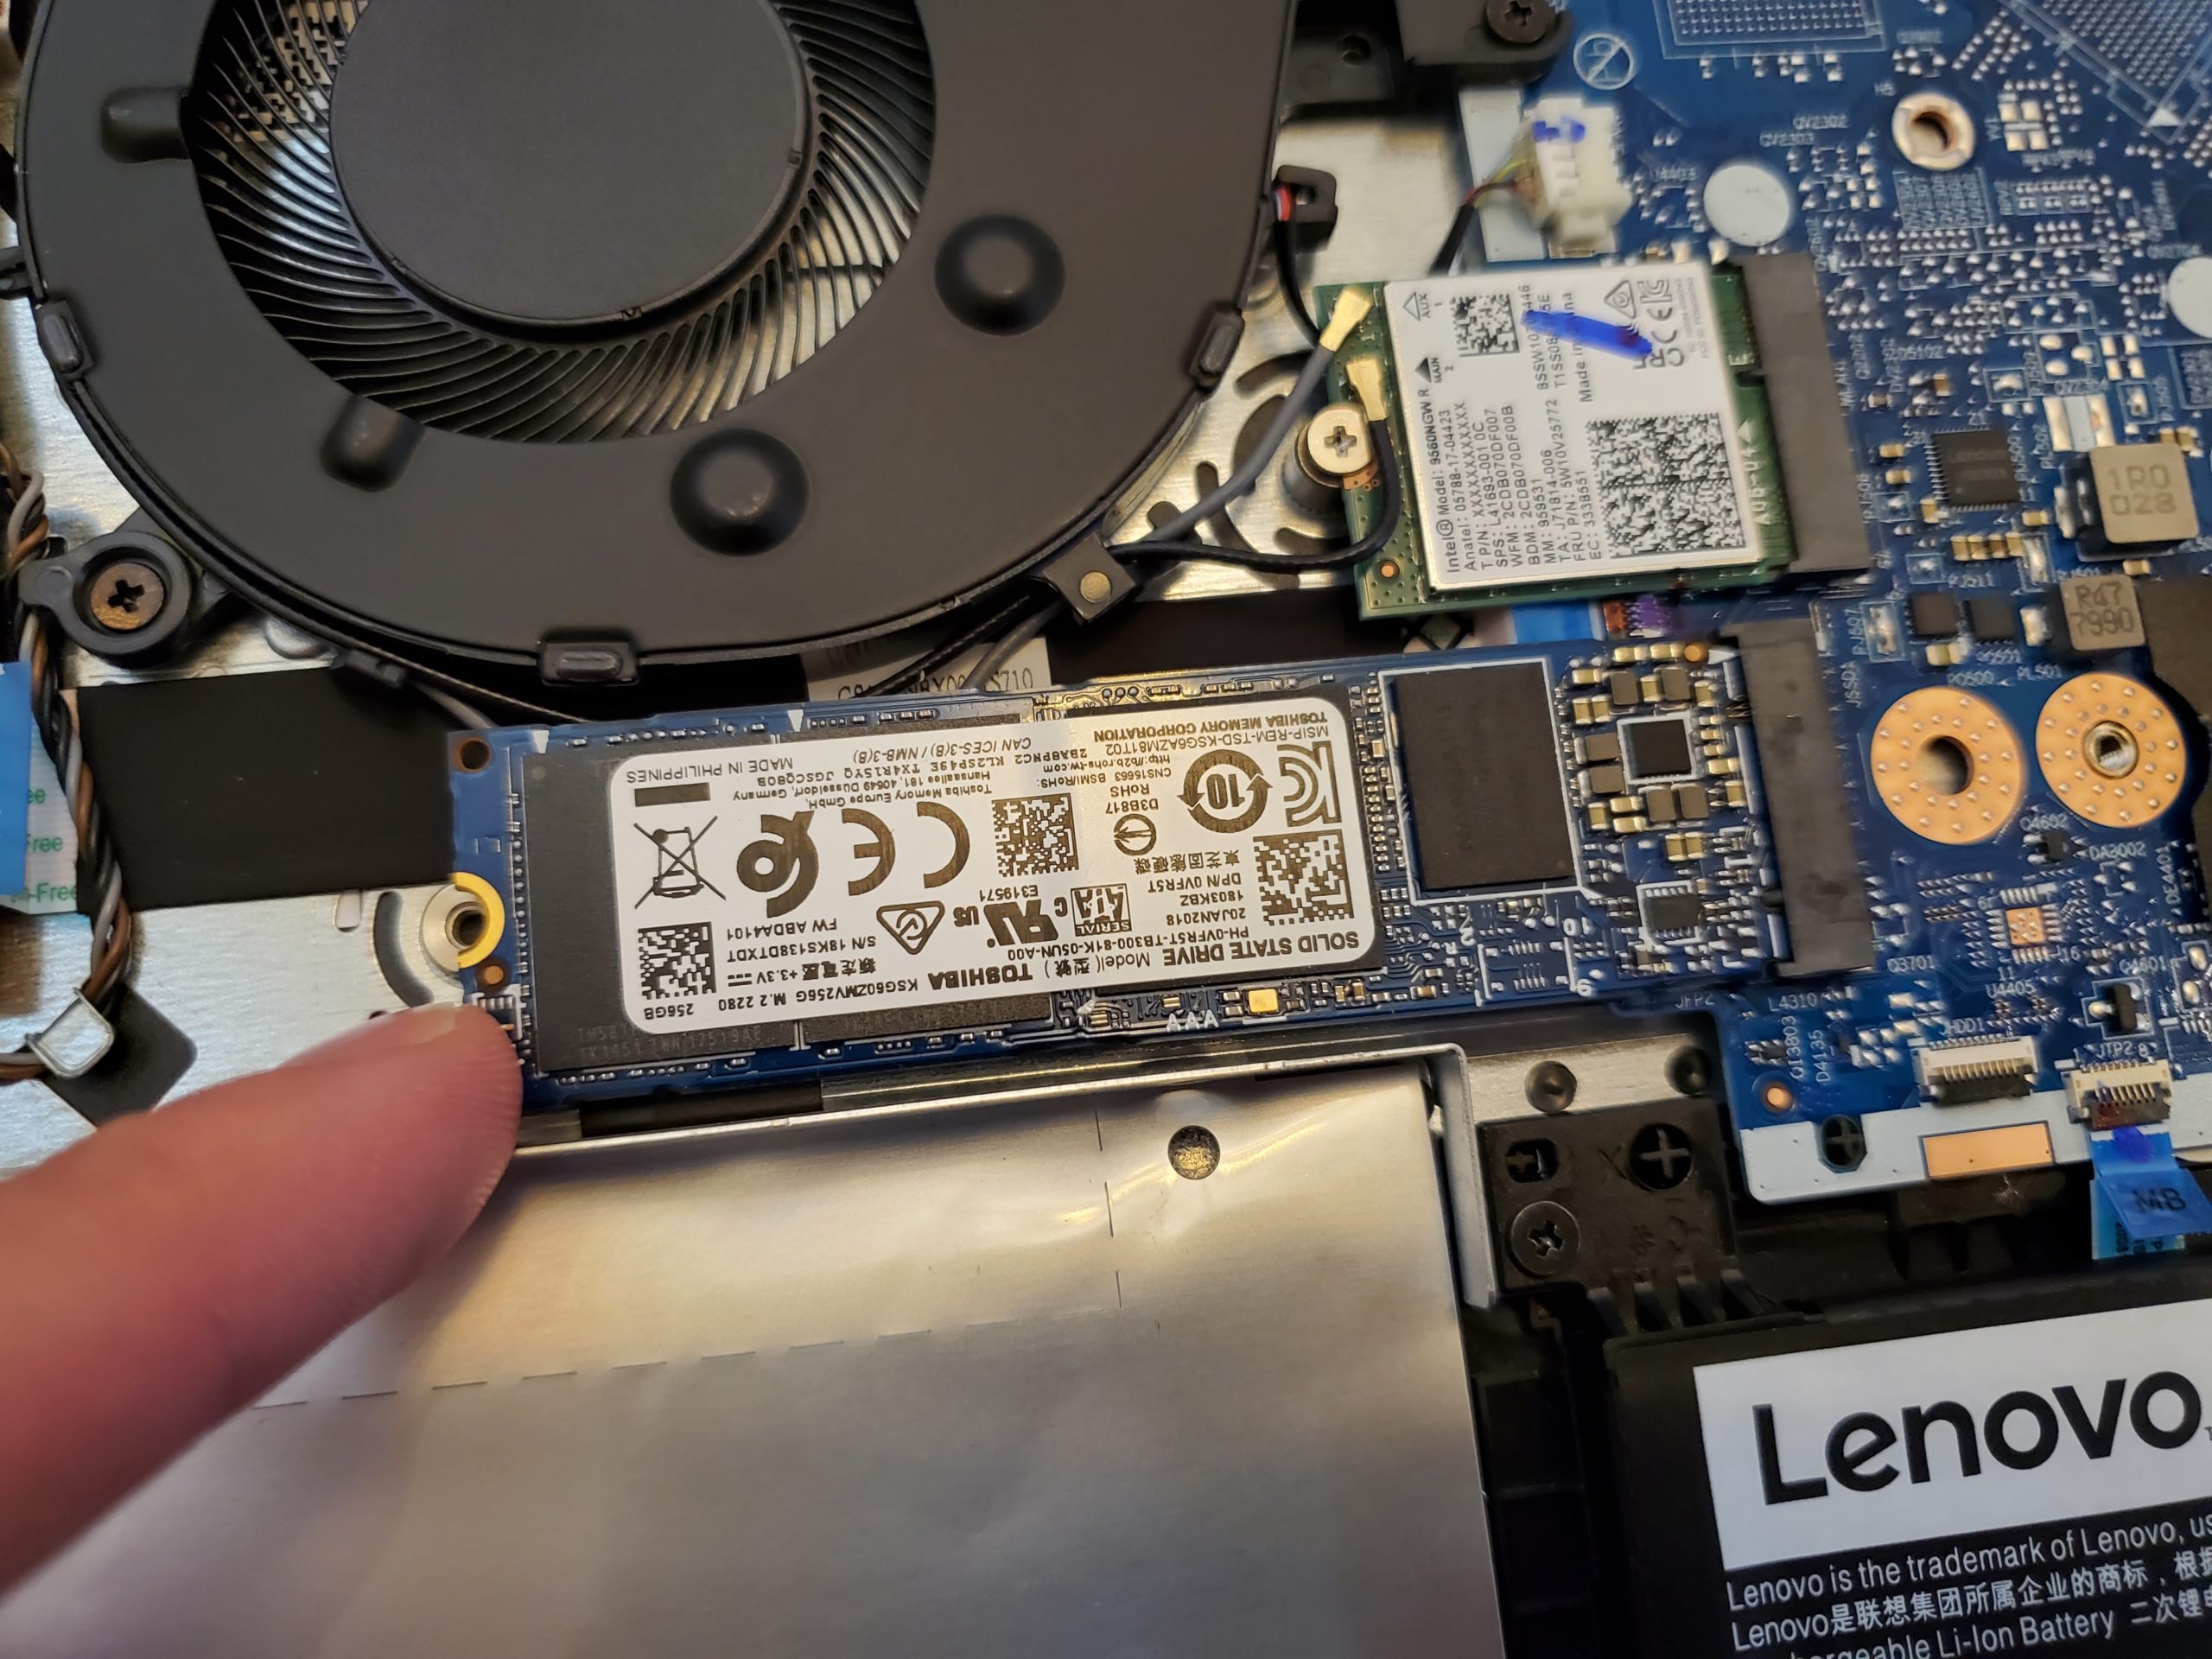
With the screw removed, the drive will likely bounce up, and you just simply pull it out away from the slot (to the left, in this case):
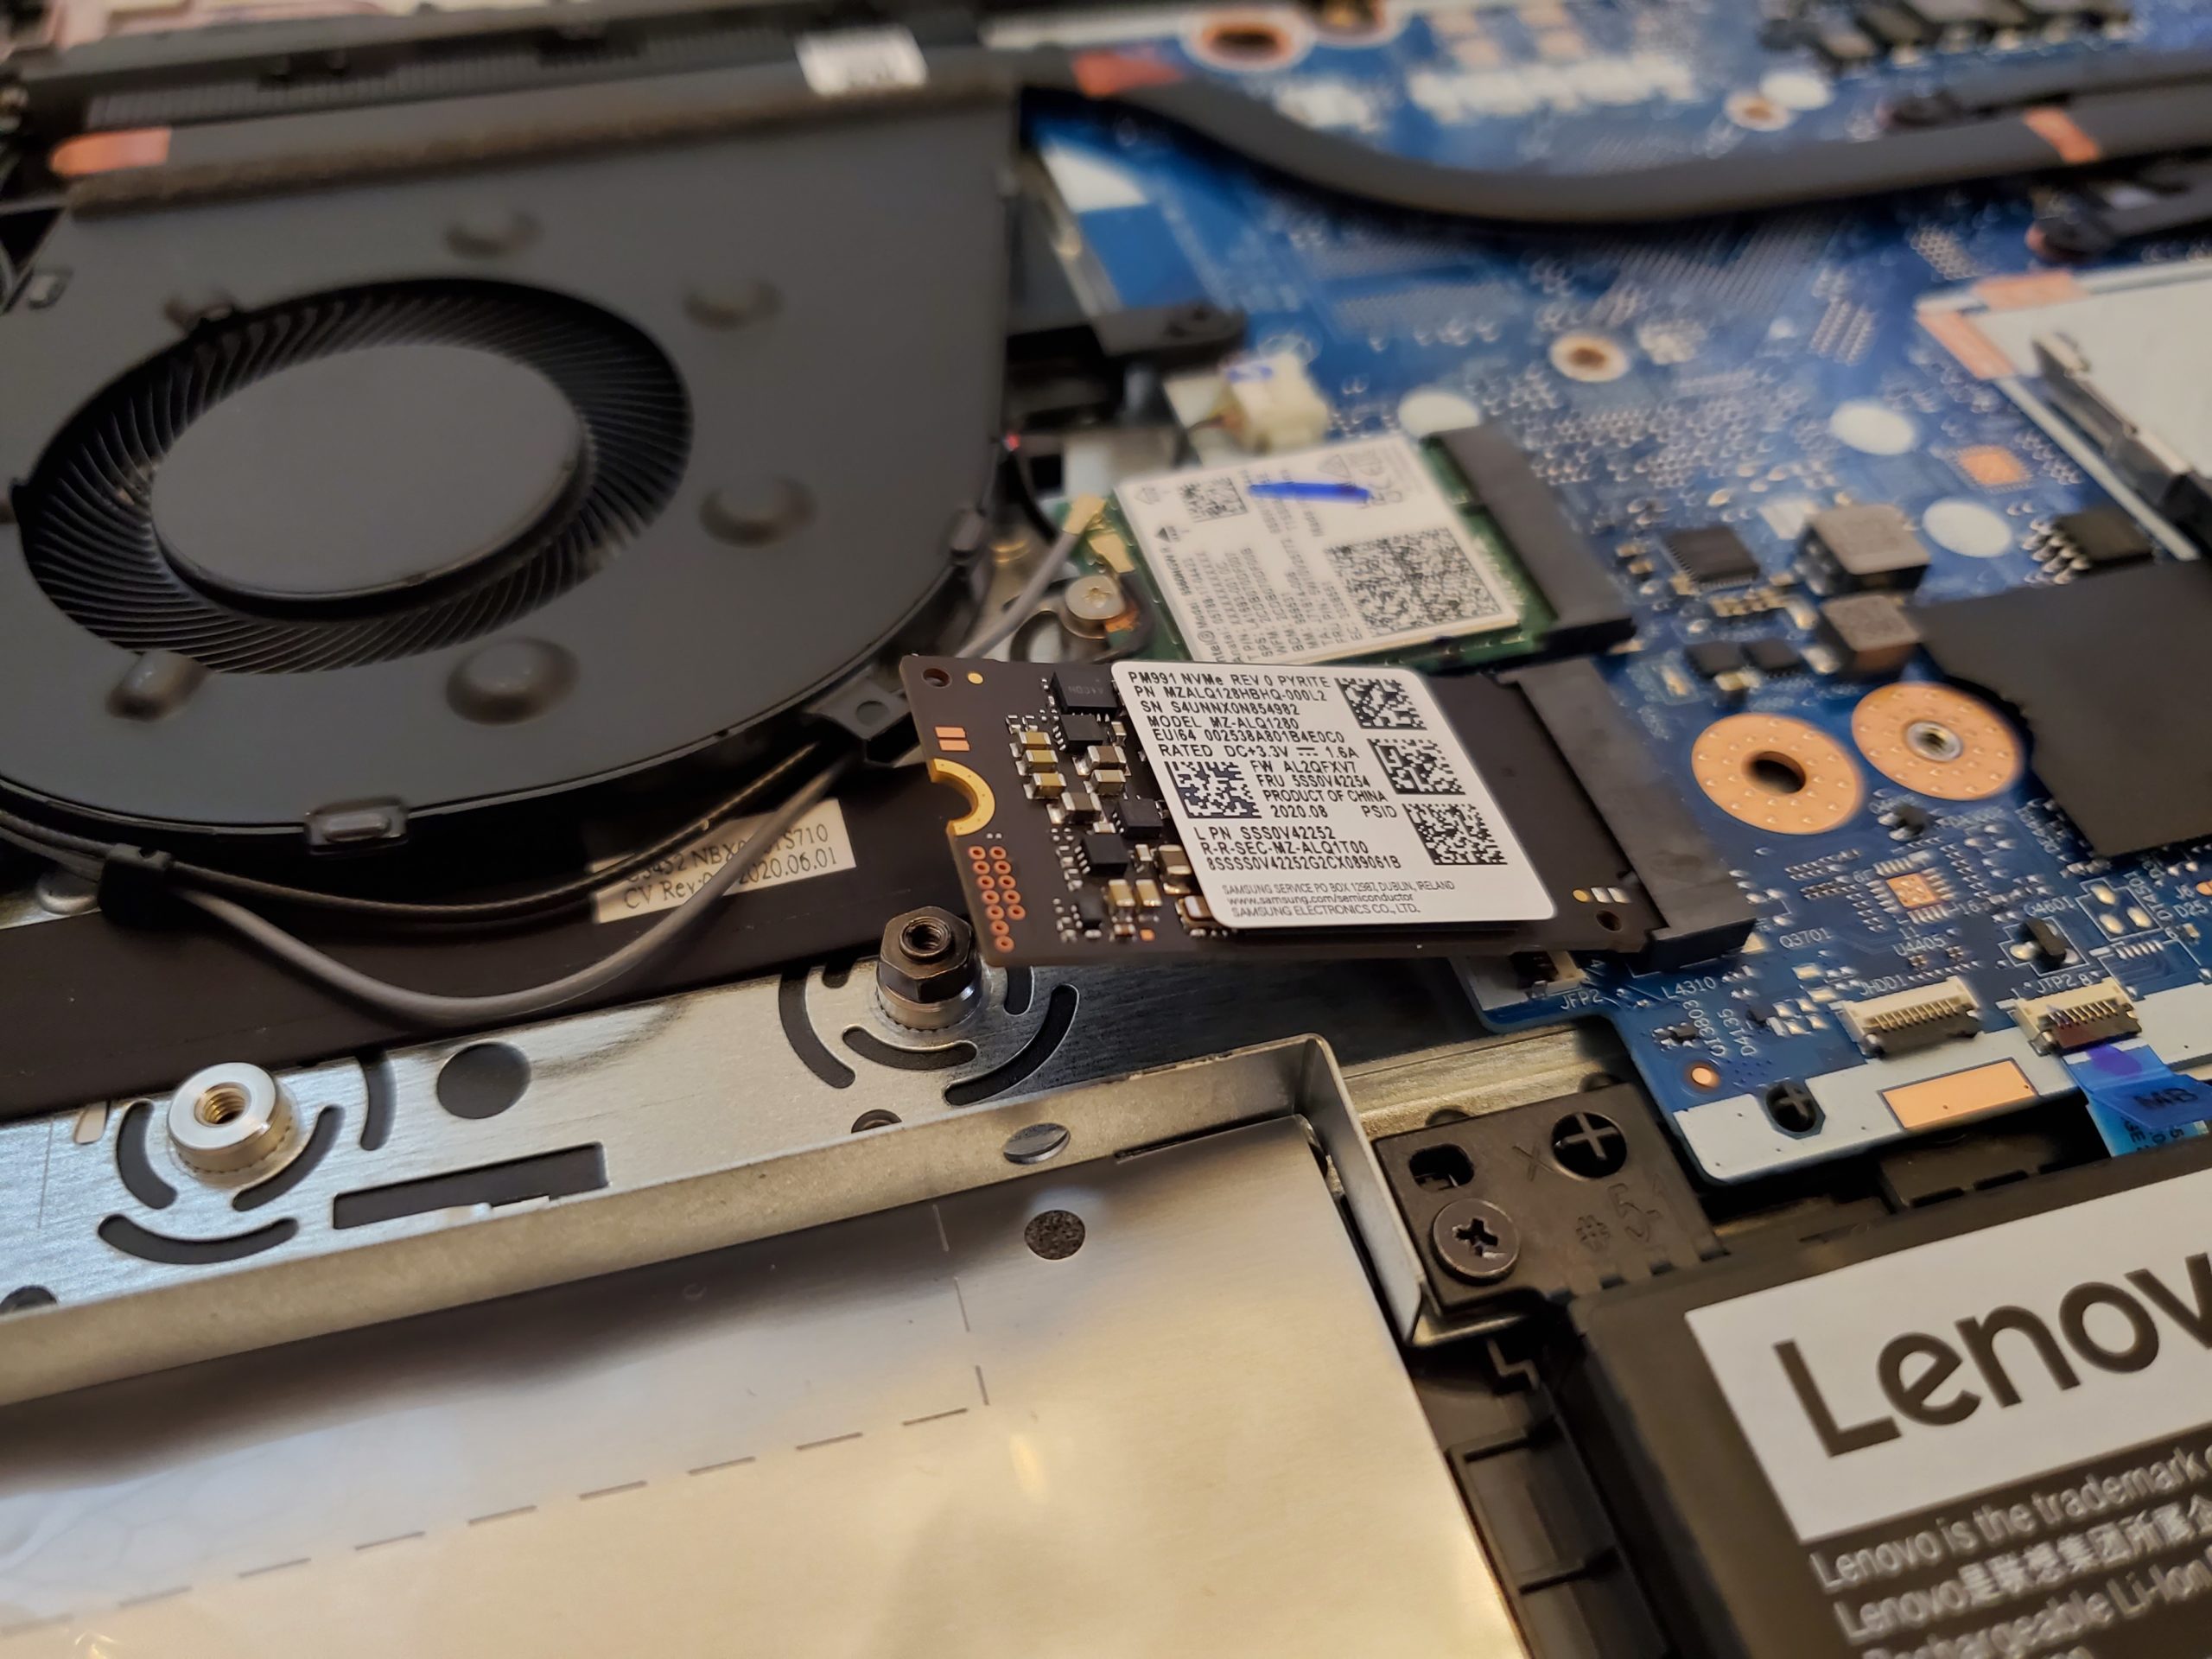
Grab your replacement drive, slide it in, push it down, secure the screw, put back on the thermal pad if desired, and you’re done!
Upgrade the Memory
Near the middle-right, not far from the M.2 slot, you’ll find the single memory slot. Next to it, you’ll see the soldered memory (in my case, 4GB).
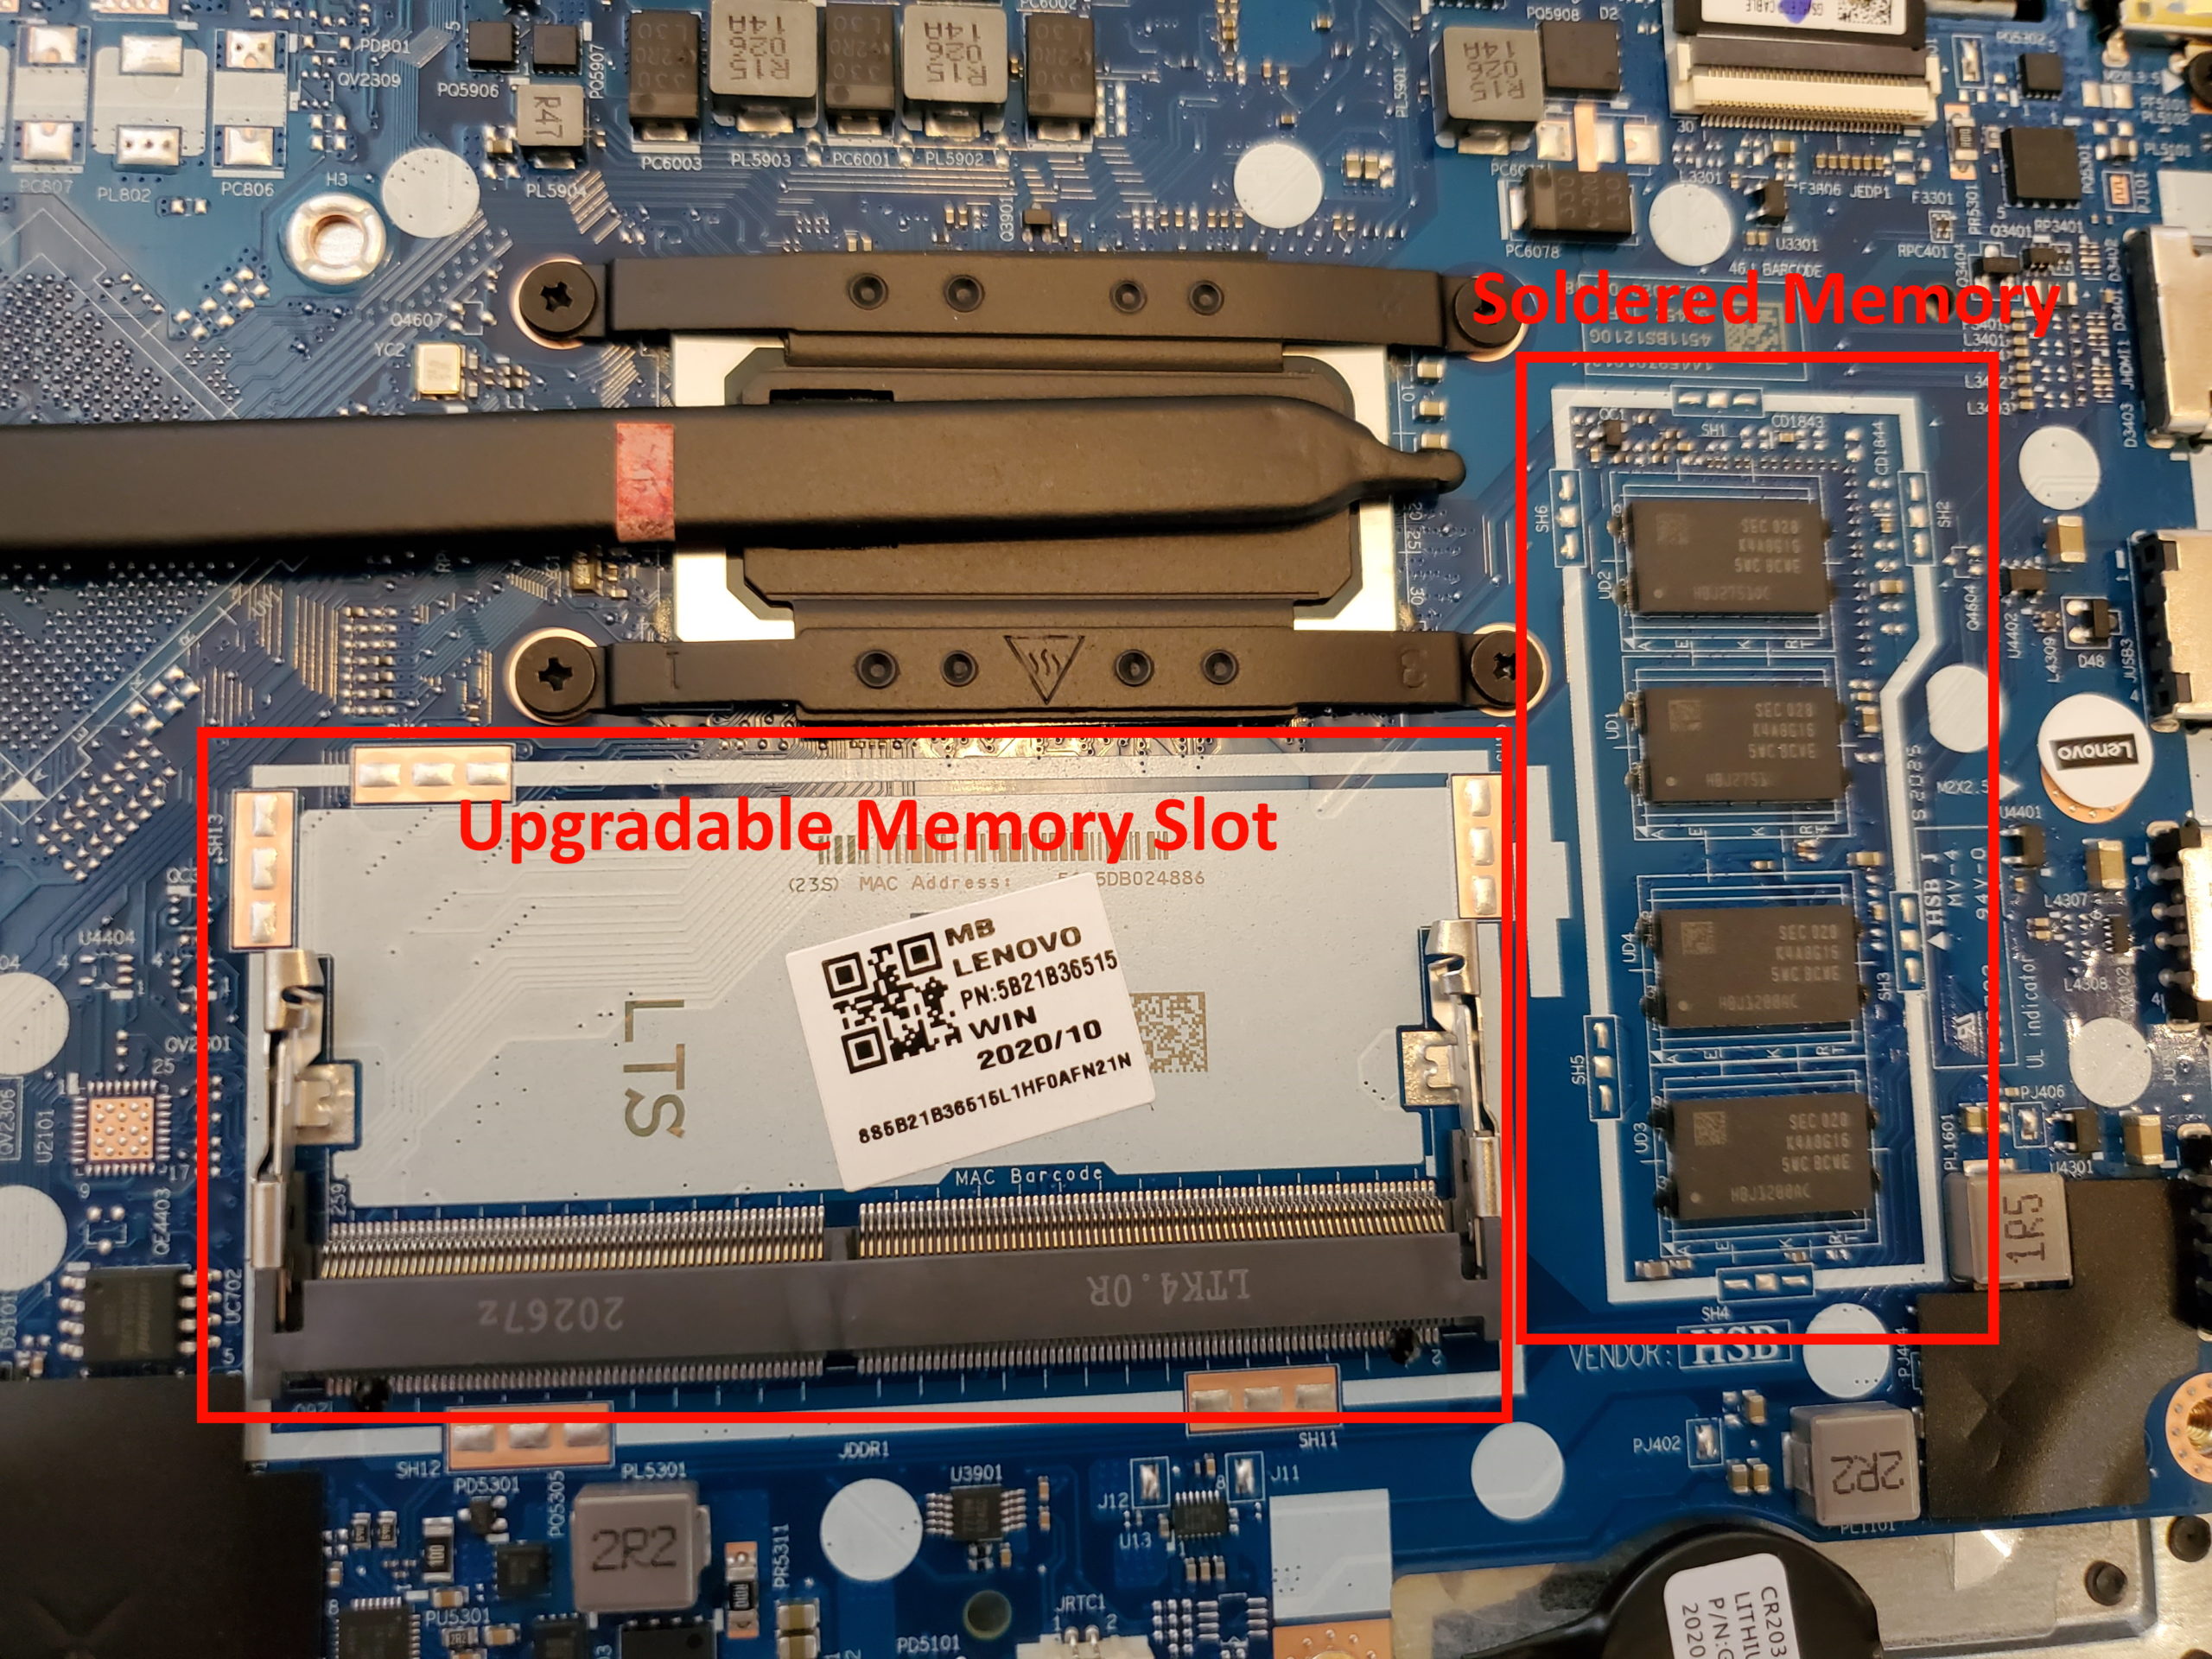
For reference, this slot can take up to a single stick of 16GB of DDR4 memory. If you have memory already installed there, simply push out the two tabs (one on either side) securing the memory in place, it’ll pop up (similar to the SSD), slide out the memory/put in new memory, and push the memory back down in place until the clips re-engage.
Place the bottom cover back on the bottom, push where all the clips are to re-engage them, screw back in the 10 screws, and the upgrade is complete.
Wrap up
All you need to do to upgrade a Lenovo IdeaPad 3 14″ laptop is to remove the bottom cover screws, the cover itself, and a screw for the SSD or tabs for the memory, put the cover and screws back on, and you’re done!
Thank you so much for the inept installation of the DDR4 upgrade and SSD upgrade.
Hi have followed this advice and now have a ” boot option menu” and can go no further any ideas please. Rob
Assuming you upgraded to a new SSD, you’re going to have to also reinstall the operating system (Windows?) – have you done/tried that yet?
i have proplem of dimmed brightness because of missing drivers updates any one to help please
did that just start to happen one day, or did it start after some software or hardware updates/changes?
This is a really handy breakdown, especially the reminder about the four shorter screws along the bottom edge. I’ve seen way too many people accidentally “dimple” their palmrest by forcing the longer screws into the wrong holes during reassembly. I’ve been using a similar IdeaPad for my mobile network kit lately, and knowing exactly where those clips are helps avoid snapping the plastic.
While the guide focuses on storage, that M.2 NVMe slot is actually quite versatile from a PCI-E perspective. I’ve been experimenting with using M.2 to PCI-E riser adapters https://serverorbit.com/network-devices/serial-adapters/pci-e to hook up dedicated multi-port NICs or even serial adapters for debugging legacy switches in the field. It’s a bit of a “Frankenstein” setup with the bottom cover off, but having that direct PCI-E lane access in such a portable chassis is a huge plus for specialized network diagnostics. My only gripe is the limited internal clearance if you’re trying to fit a 2242-sized adapter alongside other components.
Have you noticed if this specific motherboard has any BIOS whitelists that prevent non-storage PCI-E devices from initializing in that M.2 slot?
ah, that I don’t know – I never tried to see if there were issues using anything other than an nvme ssd, nor have I been able to find any documetation that states one way or another if it’d be an issue. If you find anything that works (or doesn’t work!), please share!