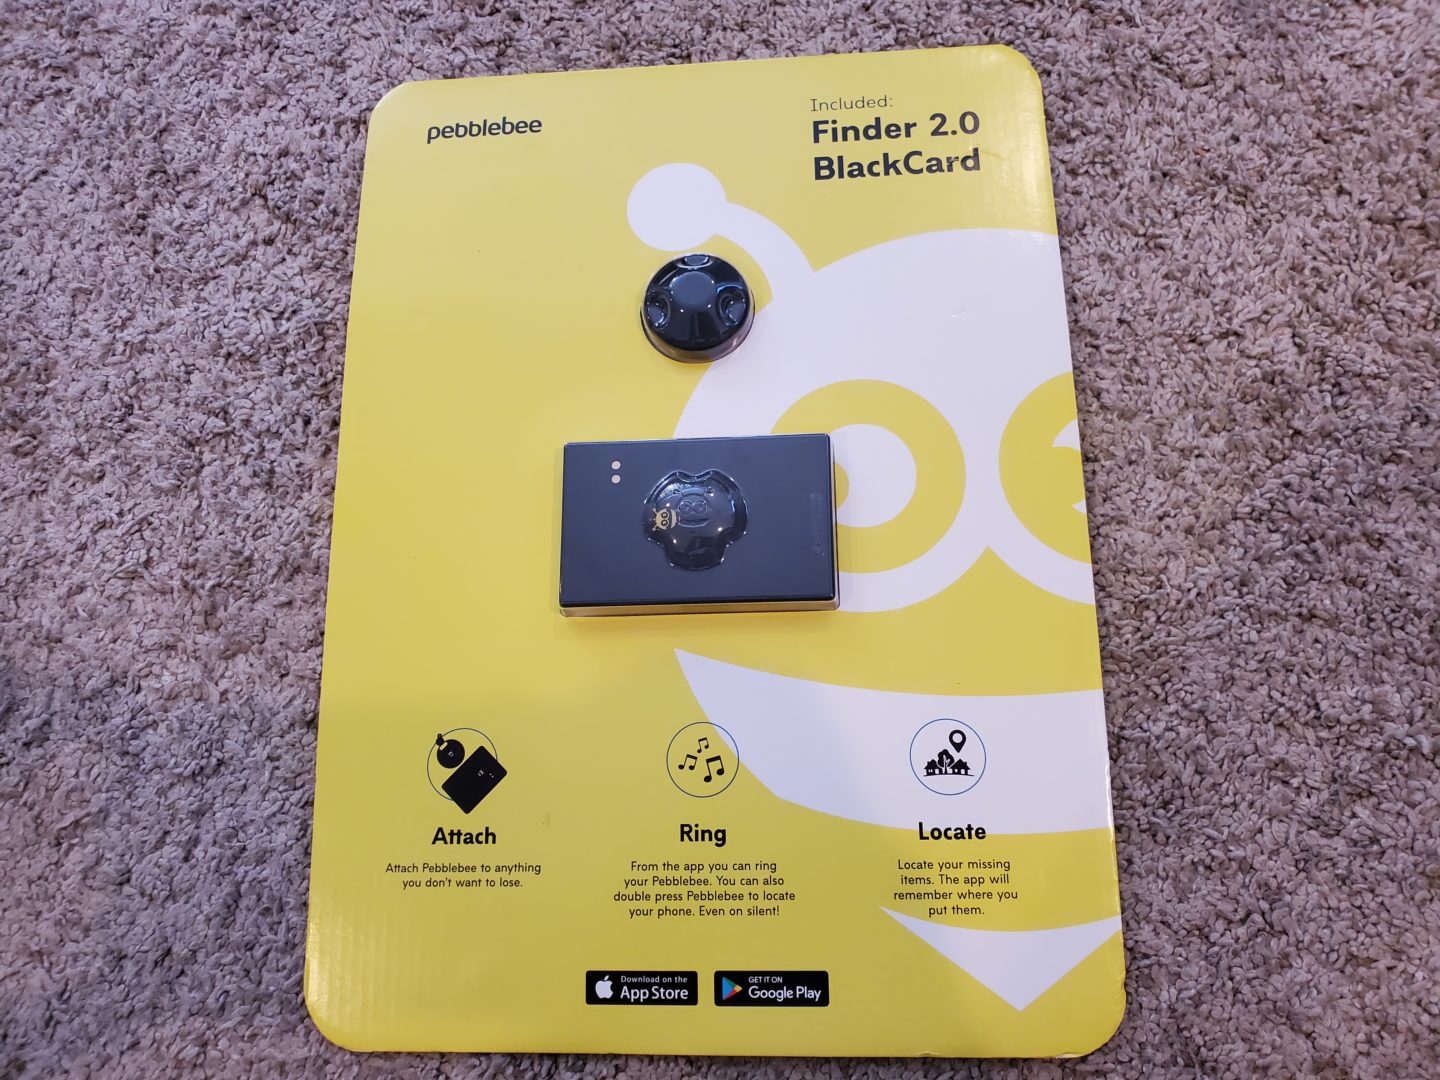
There are many bluetooth trackers on the market and this review is for PebbleBee Finder 2.0 and BlackCard. Want to know their range, features, and any annoyances? Read more of the PebbleBee Finder 2.0 and BlackCard review below to find out more, but in short, they worked well in my open field and in house test, they’re small in size, but not without some issues:
PebbleBee Finder 2.0
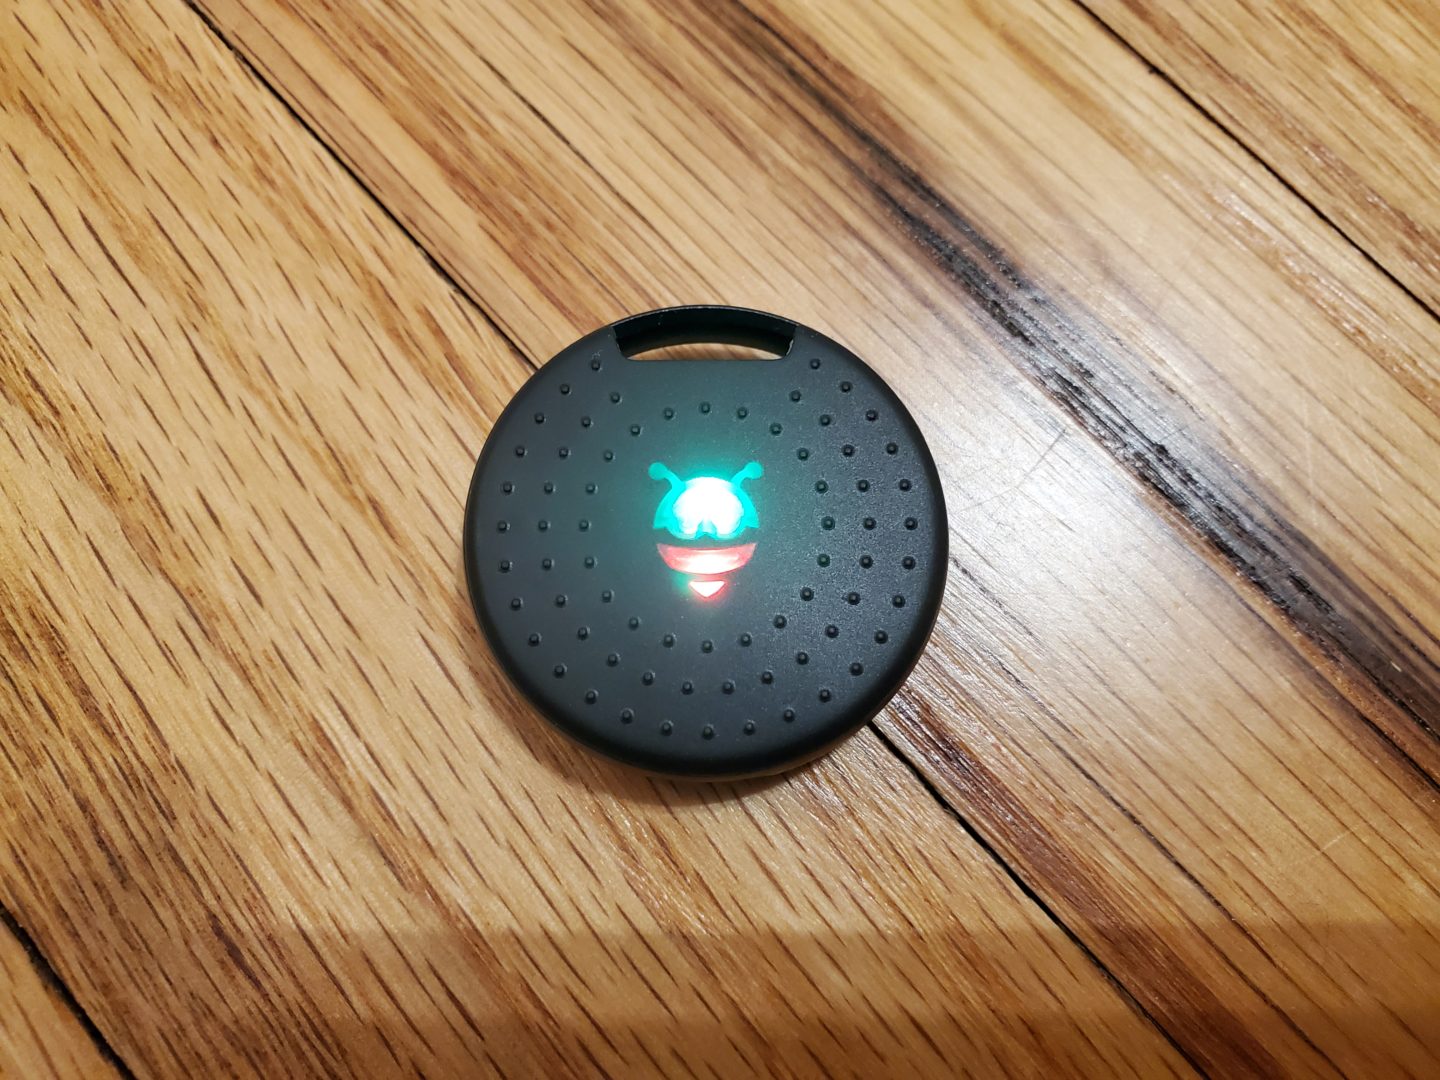
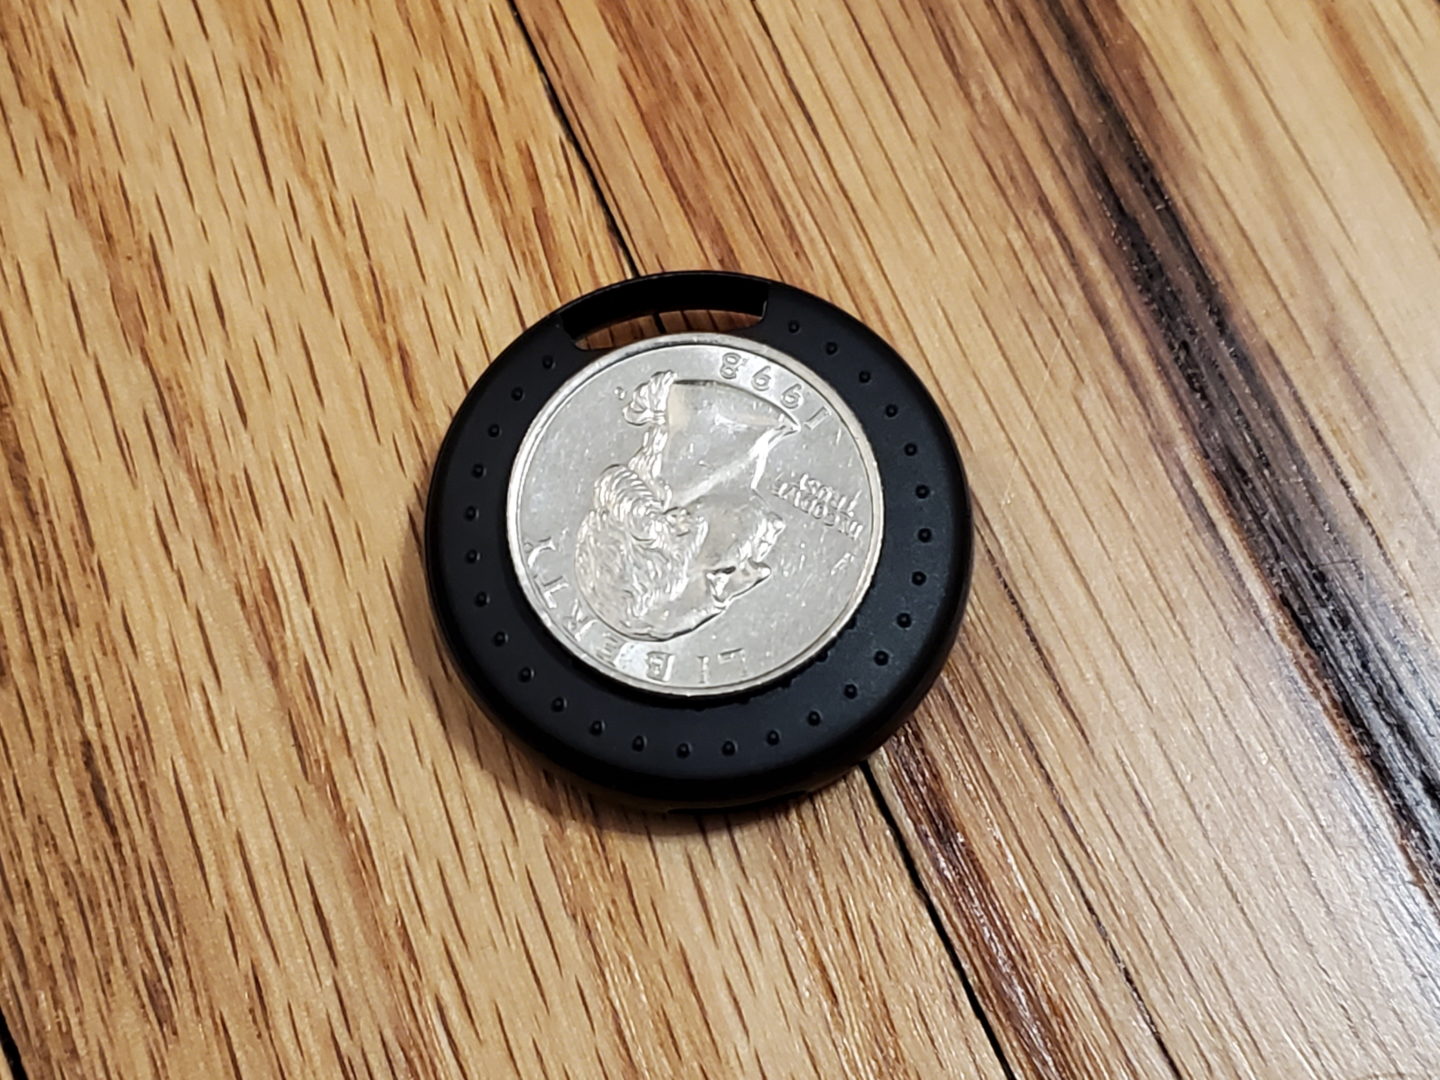
The PebbleBee Finder 2.0 is the second iteration of their token-style bluetooth finder. It has a built in key loop, speaker, button, LED, and a USB-C port for charging the built-in battery. Measuring in at 35mm x 9mm (1.38in x 0.35in), it’s about the same size as a Tile Mate (2018), but it’s round instead of square, and is about as thick as 5 stacked quarters (which is slightly thicker than a Tile Mate).
On one side, you have the button and LED lights (green and red) that flash when it’s ringing:
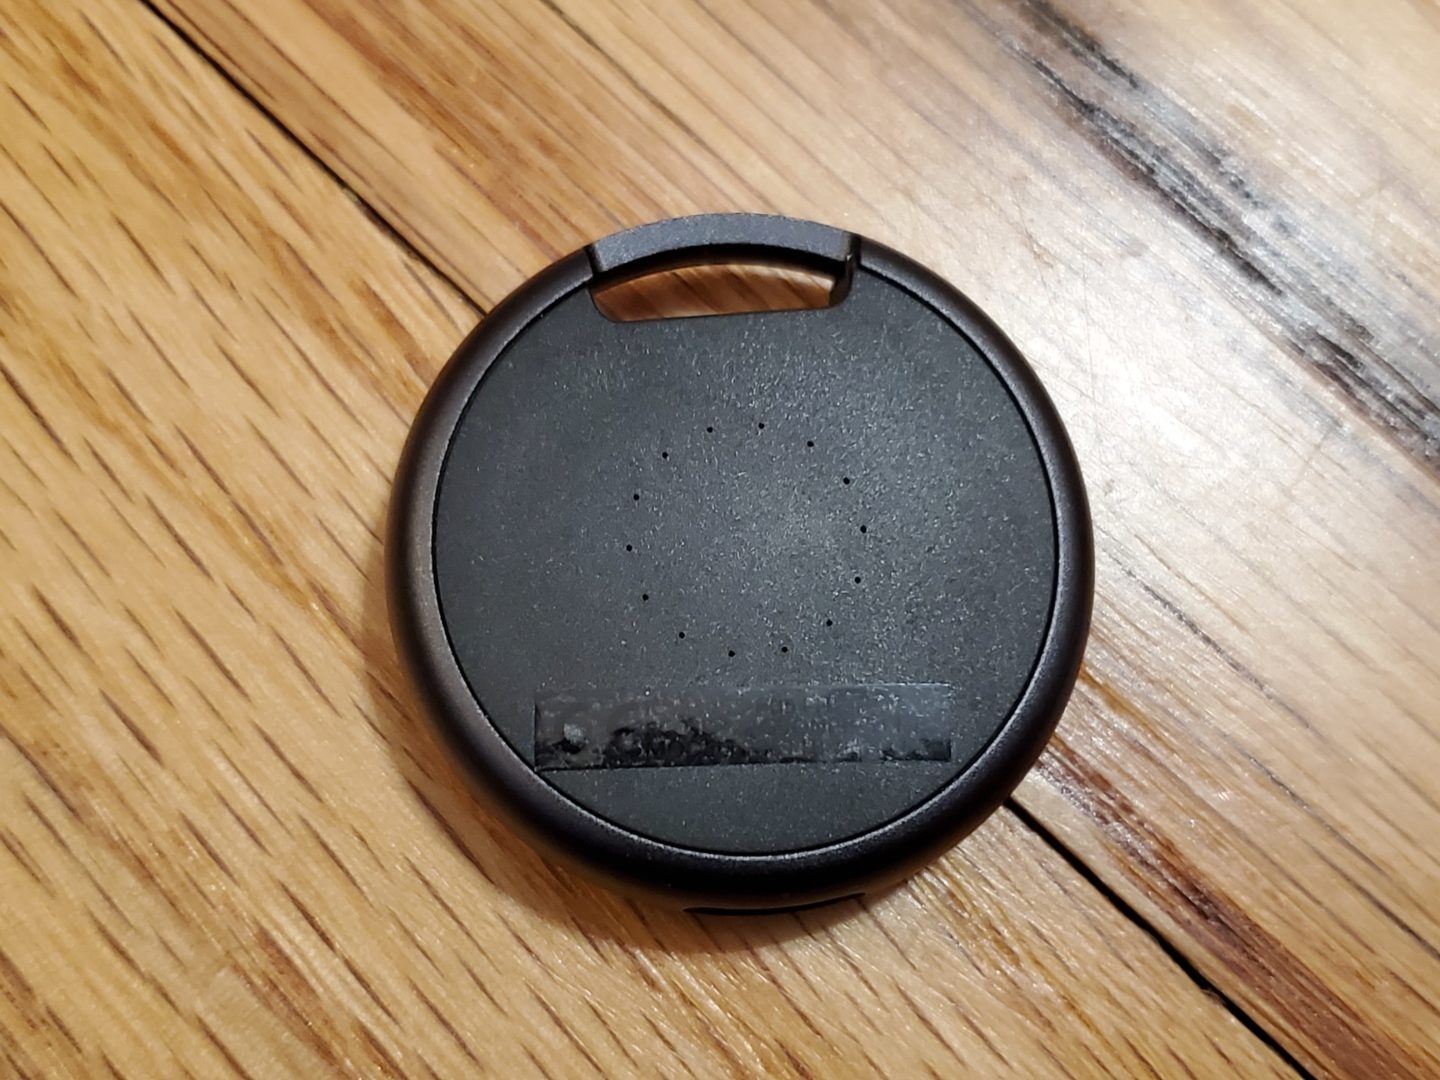
Flip to other side and you will find the speaker:
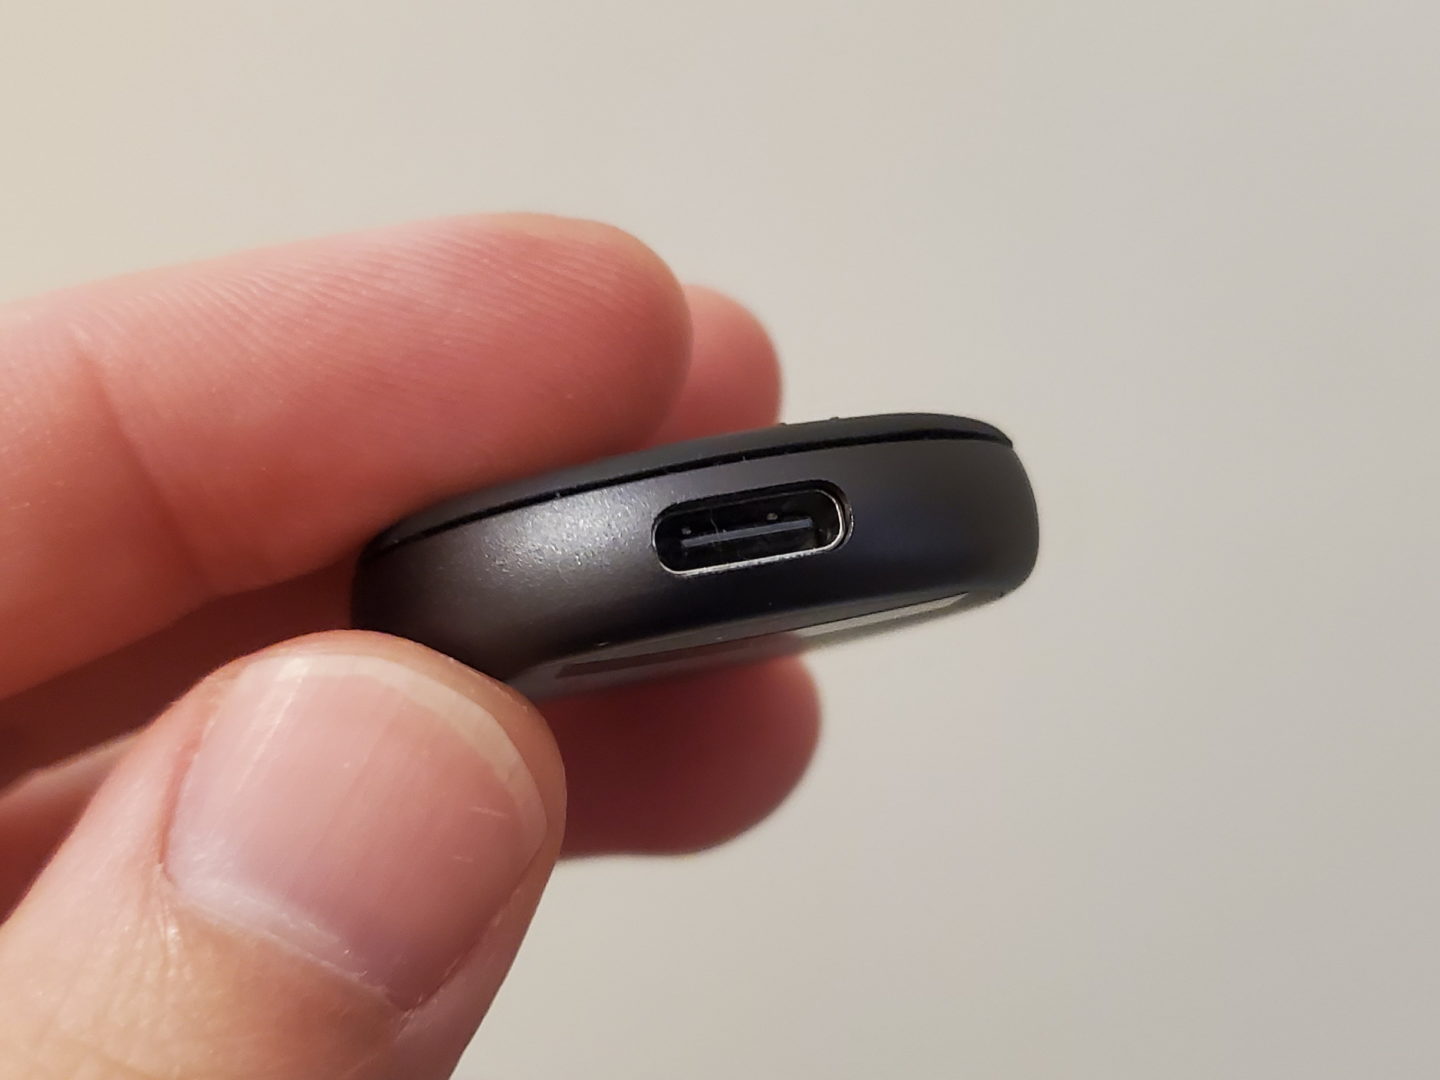
Then on top is the metal key loop, and on the bottom is the USB-C port for charging the internal battery:
PebbleBee BlackCard
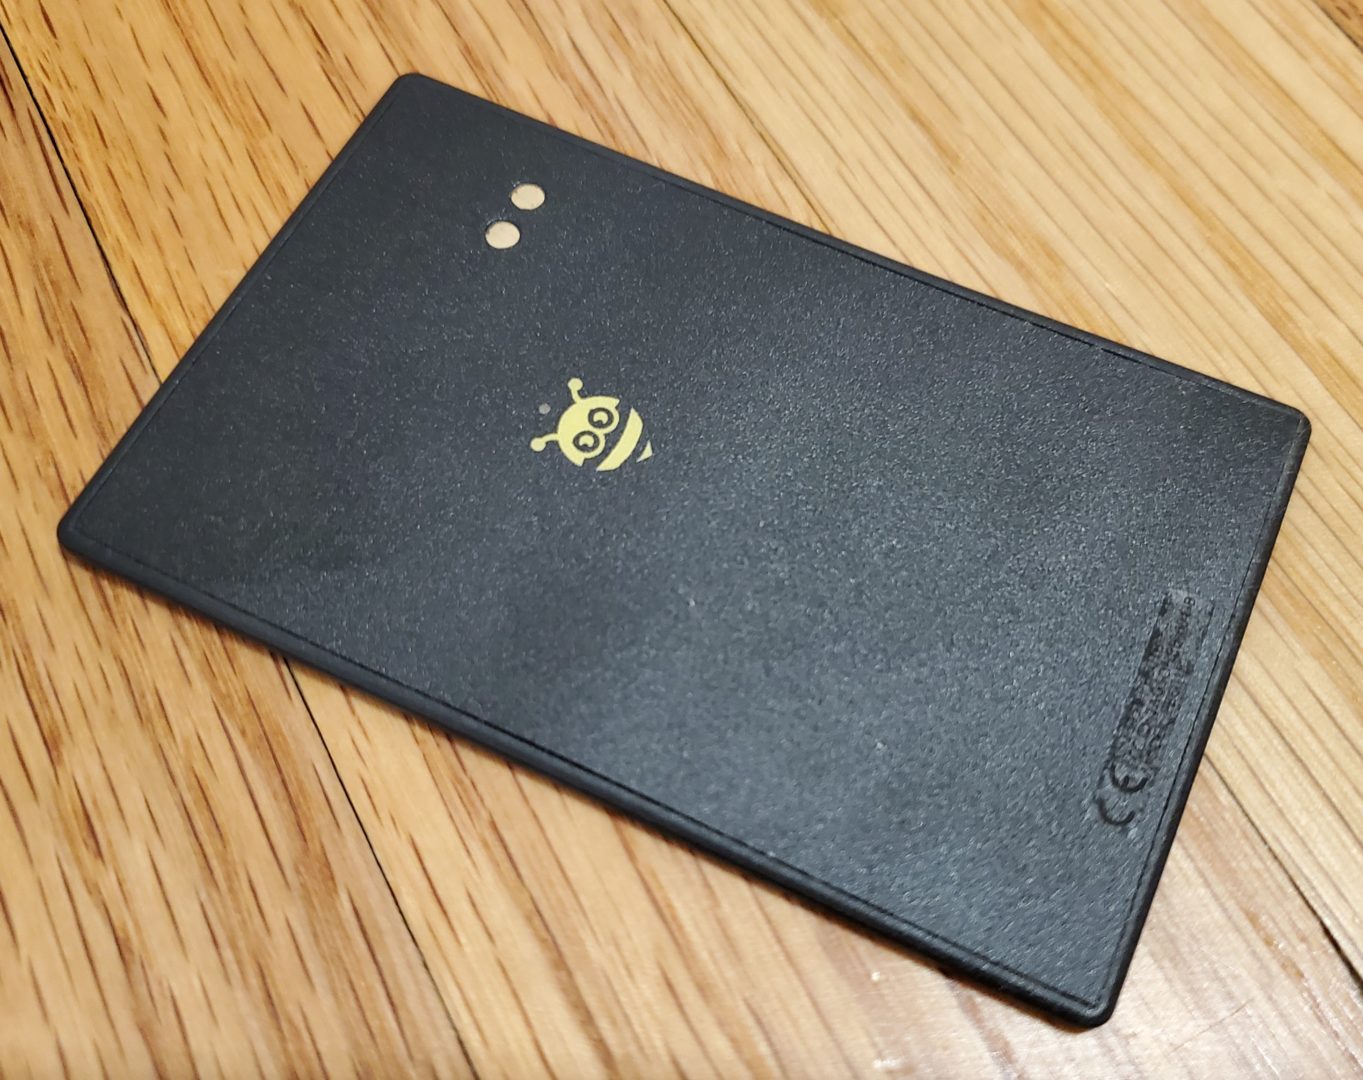
The BlackCard, measuring in at 85 x 54 x 2mm (or 3.35 x 2.13 x 0.79in), is a credit card sized version of their bluetooth tracker, which has a button, LED light, speaker, and rechargeable battery (along with a custom charging cradle).
First off it’s size: it really is the size of a credit card:

Same width, height, and shape as a credit card 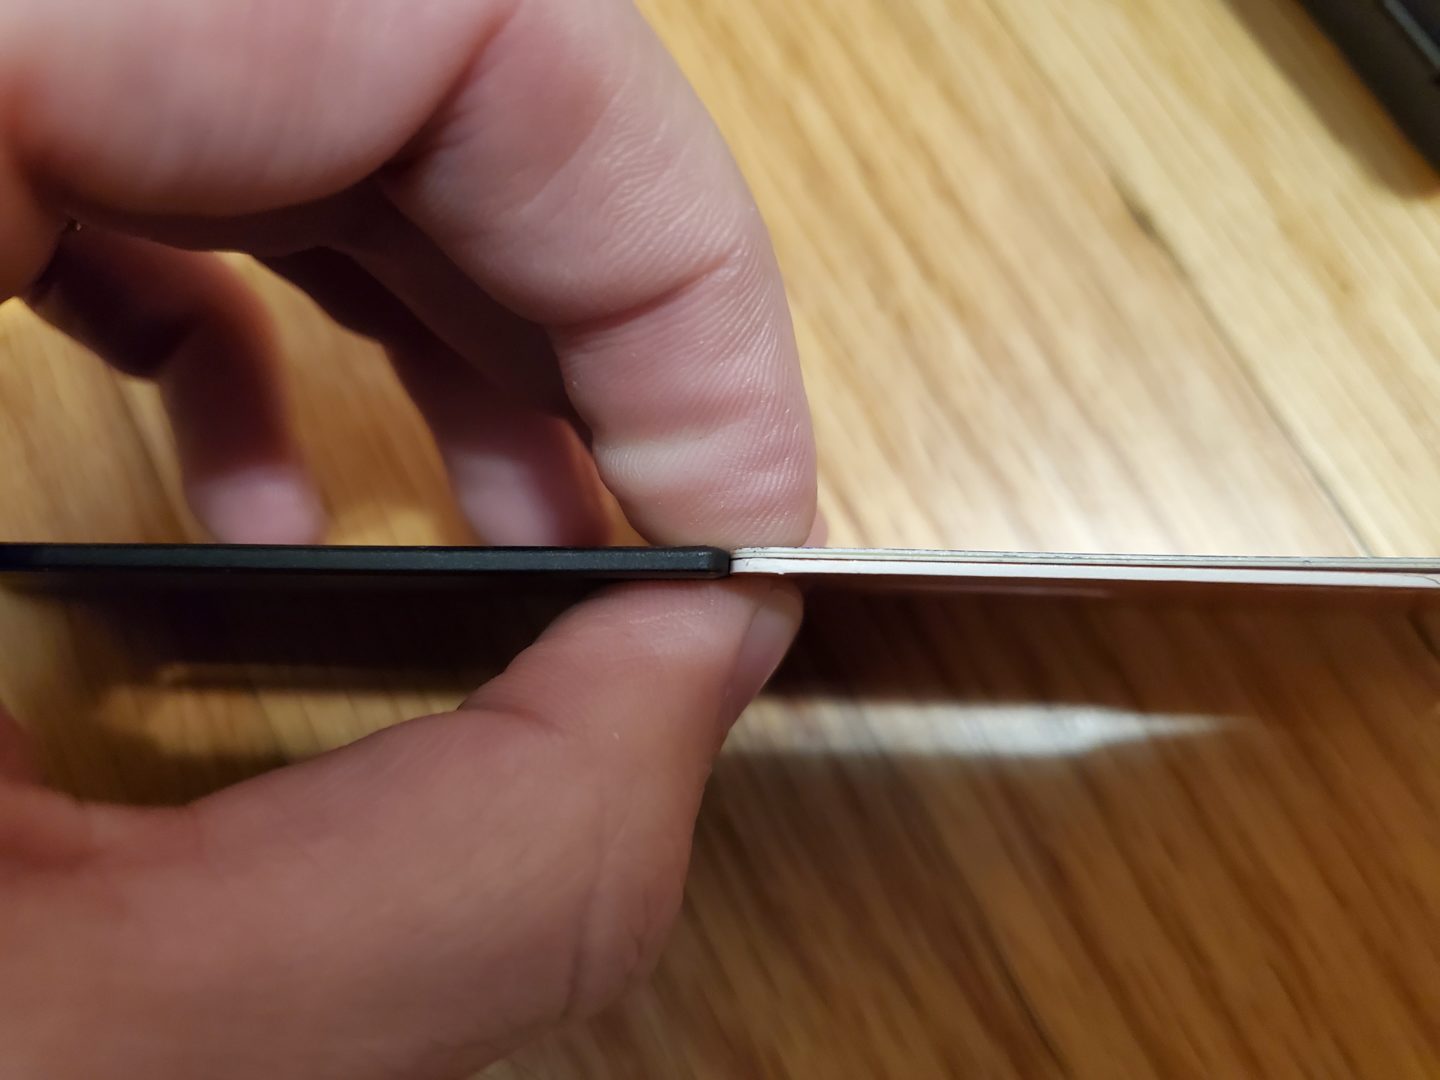
About as thick as two stacked credit cards
On one side of the BlackCard, you have the button (the PebbleBee logo) to either turn off the beeping (if you have directed the app to find it), or to find your phone (double press the button and your phone is supposed to ring).
Above this logo is also where the LED resides, which blinks anytime you press the button, and pulsates between bright and dim when the tracker is ringing:

LED off 
LED dim 
LED bright
Then you have the two metal contacts which serve as the method of charging the internal battery. To charge it, you need to use the USB-C powered charging cradle that has two metal prongs which touch those contacts when you slide the card into the cradle:
One issue I have with the BlackCard is that it doesn’t seem like it’s going to hold up well by being kept in a wallet. For the past few weeks, I’ve had it in a credit card slot in my wallet, specifically the one closest to the “outside” (in an attempt to assist the speaker having the least amount of material to get through):
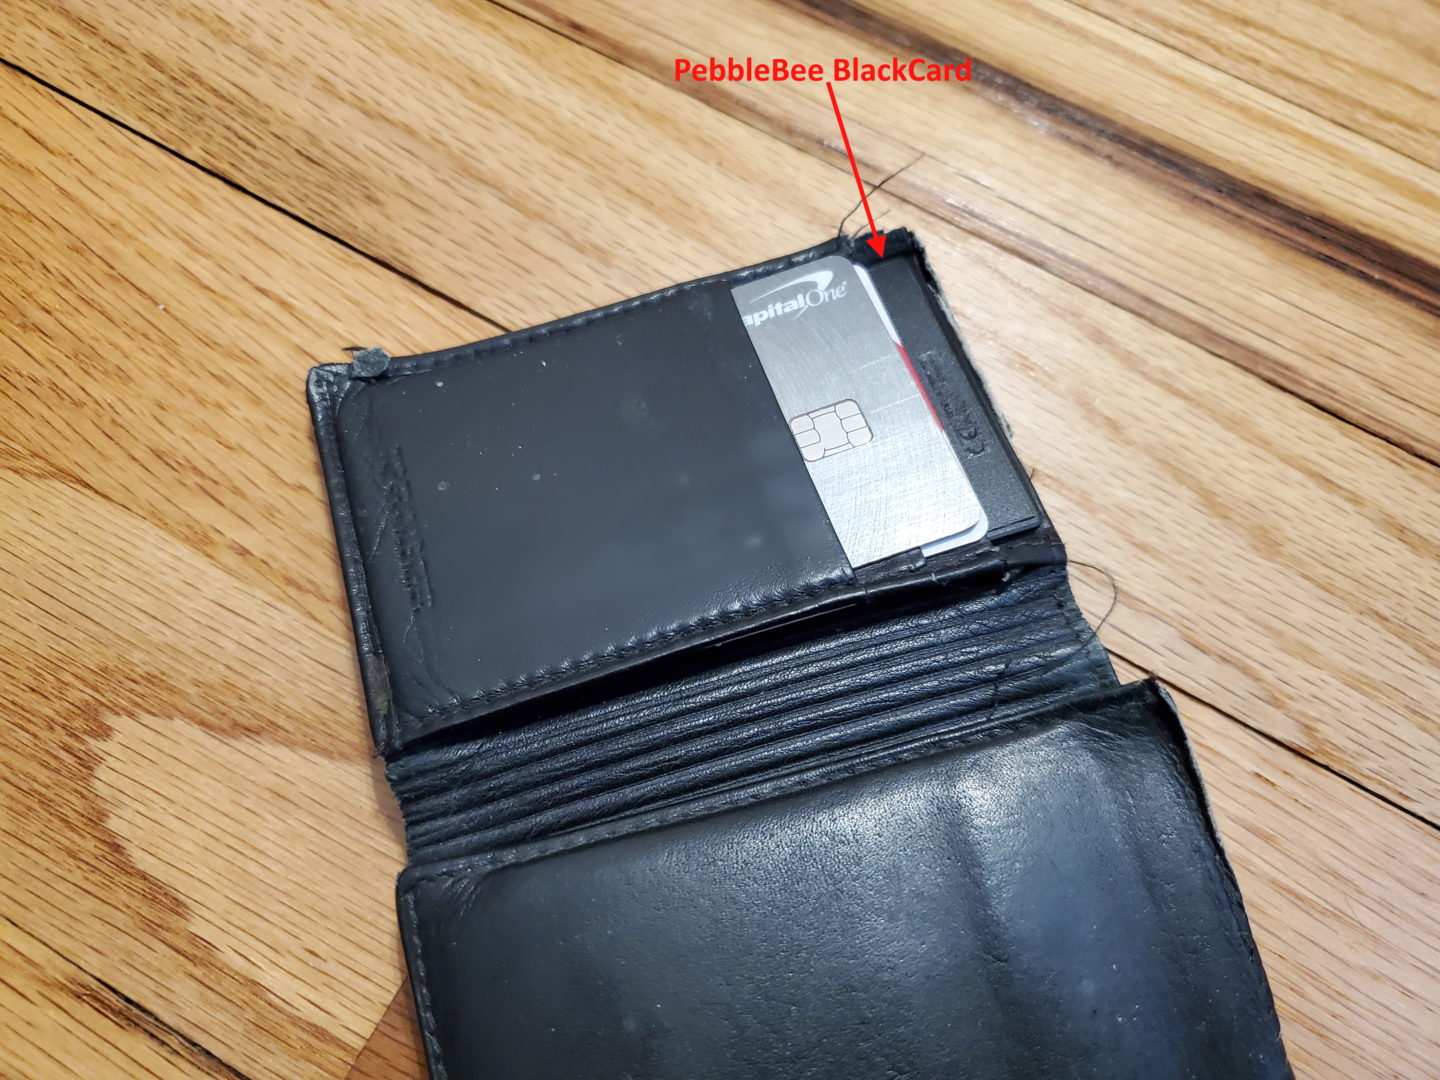
The problem is that what looks to be a plastic “cover” is starting to peel off at the edge, which you can see in the photos below:
I’m guessing that the uneven pressure of sitting on the wallet, and the fact that a wallet isn’t rigid and flat, is causing the BlackCard to bend a bit, thus, making the two layers separate. That top piece is like a hard plastic sticker, which I assume is what holds all the internal components together. Overtime, I suspect that as more dirt/dust sneak in that gap, and more bending occurs from normal wallet use, that plastic cover will separate even more.
Distance Tests
Open Field Distance Test
In an attempt to test the maximum real world distance the PebbleBee trackers can reach, I took my Samsung Galaxy Note 10+ out to an open field to see how far I could go before they’d no longer connect. The field is in a neighborhood, so while there wasn’t a complete lack of potentially interfering signals, I figured it was good enough. I had my wife hold up each tracker, one in each hand, while I started at about 100 feet away and would walk back about 20 steps at a time until neither could be found by my phone. The results:
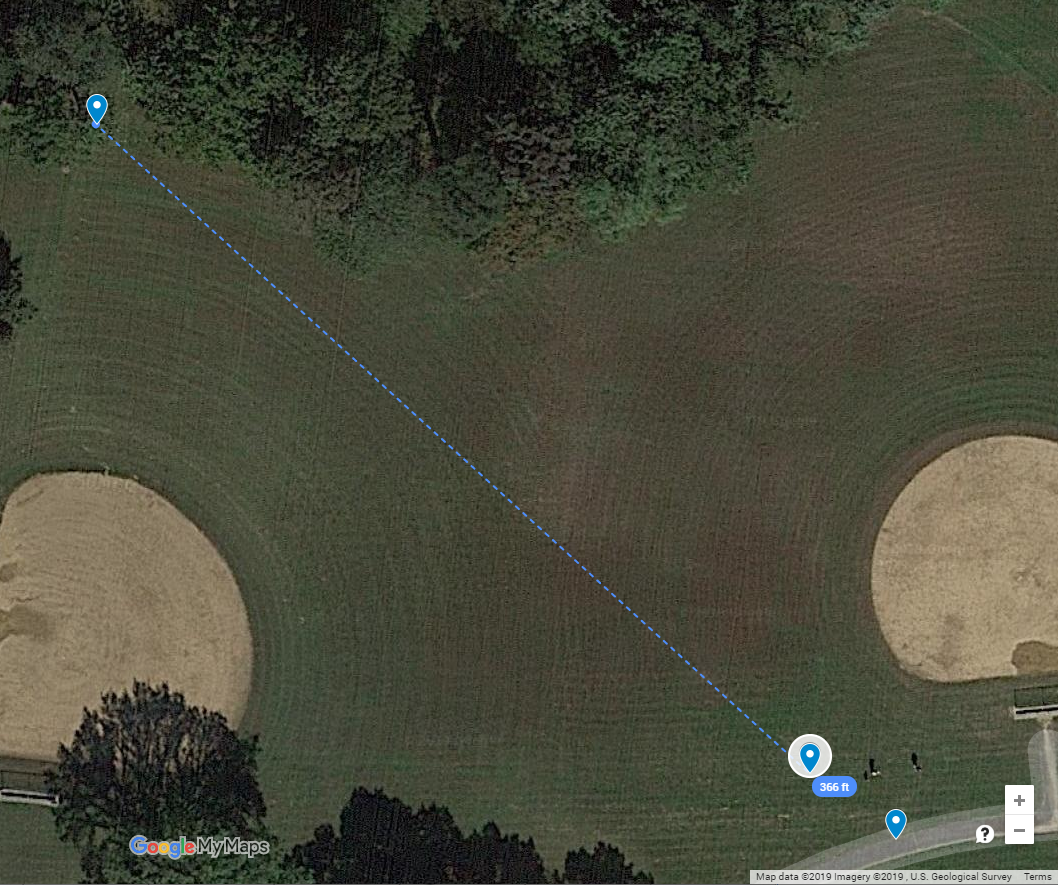
The Finder 2.0 token reached about 366 feet
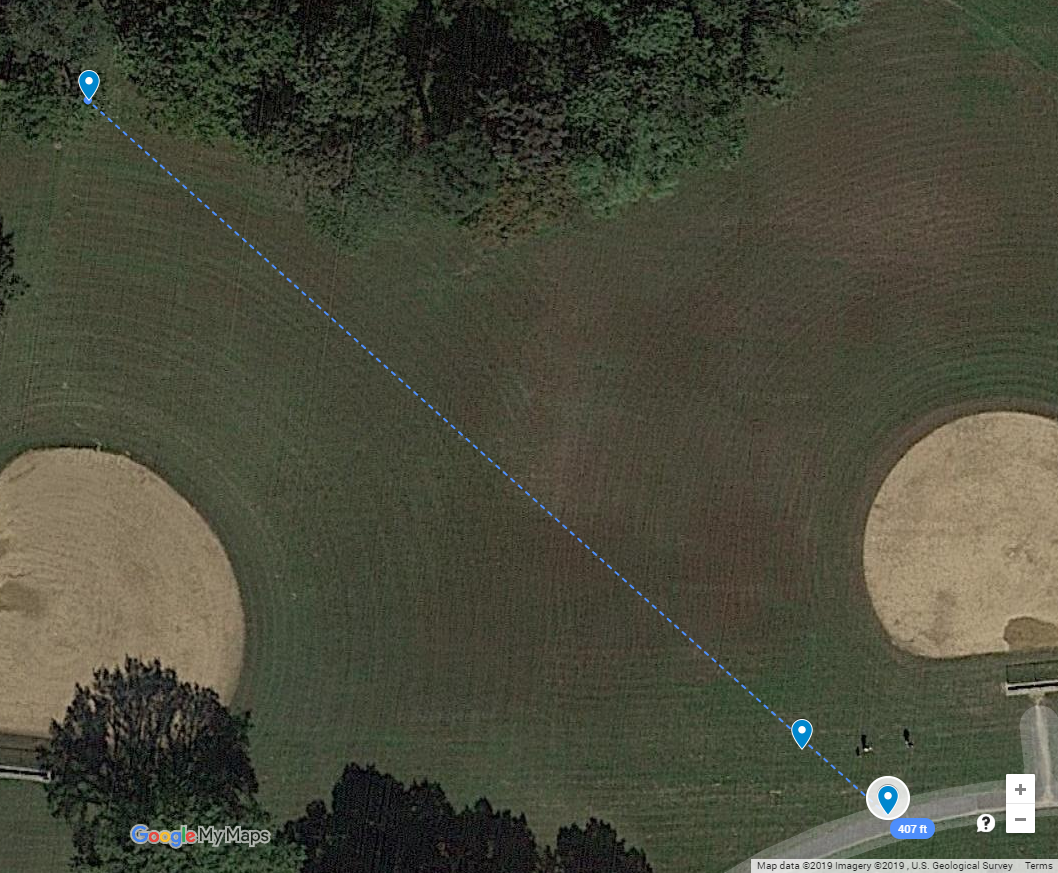
and the BlackCard reached about 407 feet
While neither reached 500 feet, I’d say that’s well within the range where you’d actually be able to hear them going off if you were actually trying to find them. One caveat during the testing, however, is that at these distances, I had to let them both go through a few attempts to find each device – it wasn’t as simple as pressing FIND and having them ring; I pressed find, waited for it to time out, and tried one or two more times before they started beeping.
In House Distance Test
Okay, so a “maximum distance” test is fine and all, but how does each tracker perform in one’s house, such as trying to find your keys or wallet when leaving for the day? To test this, I placed both trackers on top of a towel track in the far corner of a bathroom in our 2nd story, and then tried finding the trackers in various locations around the house, all the way to the opposite corner in our basement (about 37 feet through walls, floors, electronics, toys, etc):
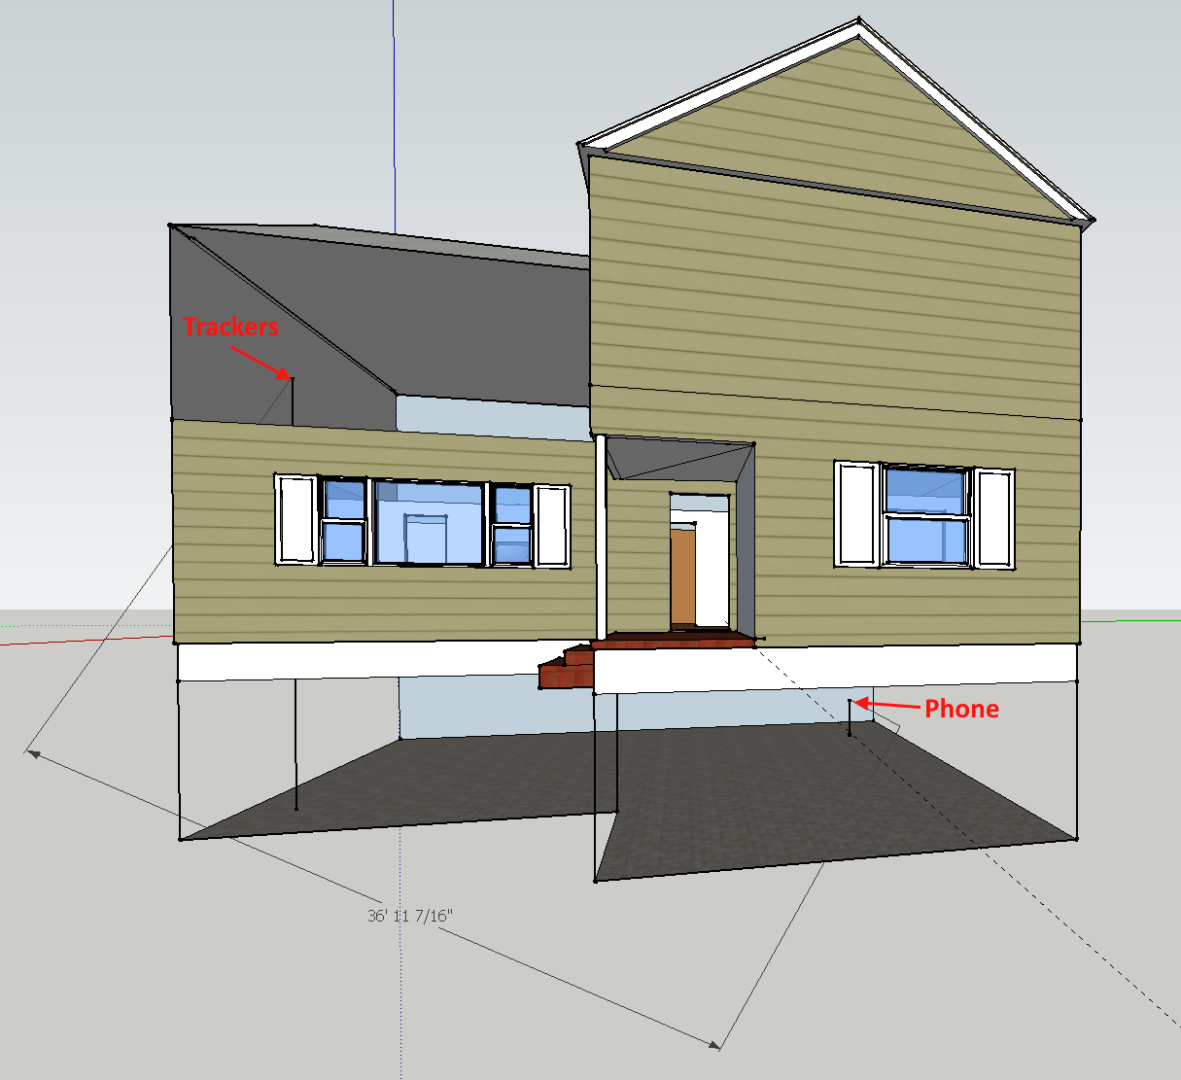
Surprisingly, no matter where in my house I went, both the Tracker 2.0 token and the BlackCard were able to be pinged, though a few times it took a good 10 seconds before they started ringing, and a couple times I had to let it time out and try again (similar to when I was far away in the open field).
The PebbleBee App
The app itself is relatively basic and straight forward – you tap the PebbleBee icon at the top-center to show a list of your added trackers, as well as to add any new ones (which itself is easy, just follow the directions it presents you). When you have a selcted tracker, it shows you it’s last known location on Google Maps at the bottom.
To find the selected tracker, you simply tap the “FIND” button and wait; First it starts with “TRYING(##)” and starts a count down, then if it finds it, it changes to “BUZZING(##)” with another countdown:
It’s unclear why the count down timers start where they do – the TRYING timer starts at 17 seconds and the BUZZING timer starts at 26 seconds. Also, there is no way to stop the buzzing from the app and therefore it can only be stopped by either waiting for the BUZZING timer to end (so waiting 26 seconds), or, by pressing the button on the tracker itself.
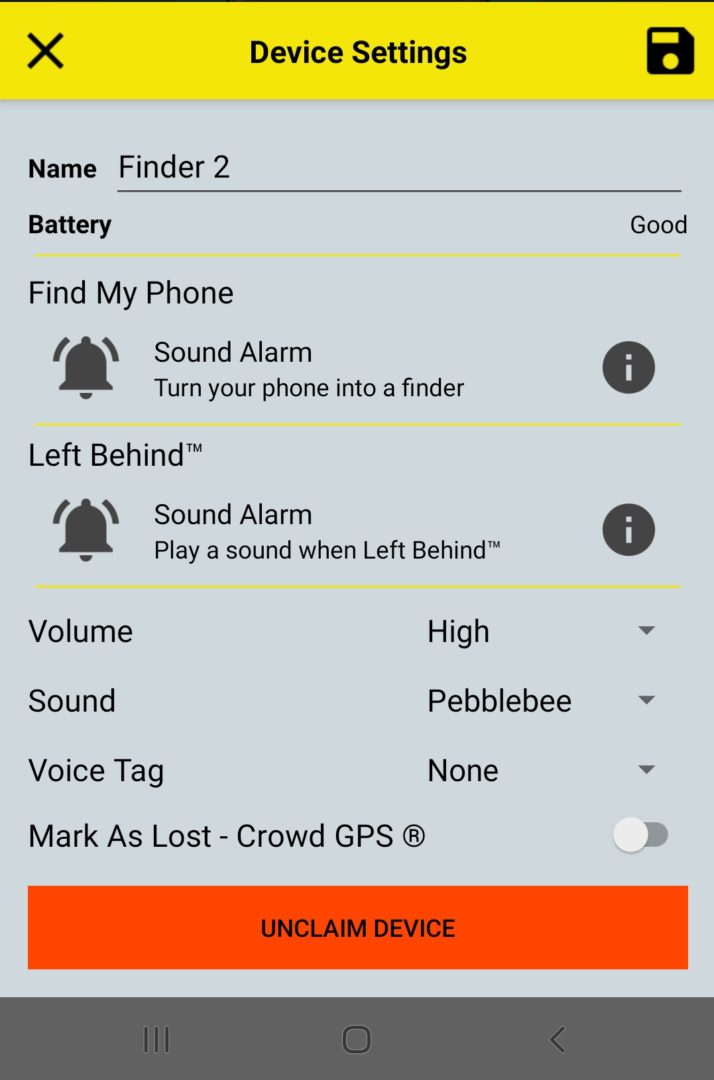
Each tracker also has it’s own set of options, such as giving it a name, it’s battery status, Voice Tag (which is how you reference it when using Alexa or Google Assistant), a toggle to Mark As Lost, and then changing some sound options:
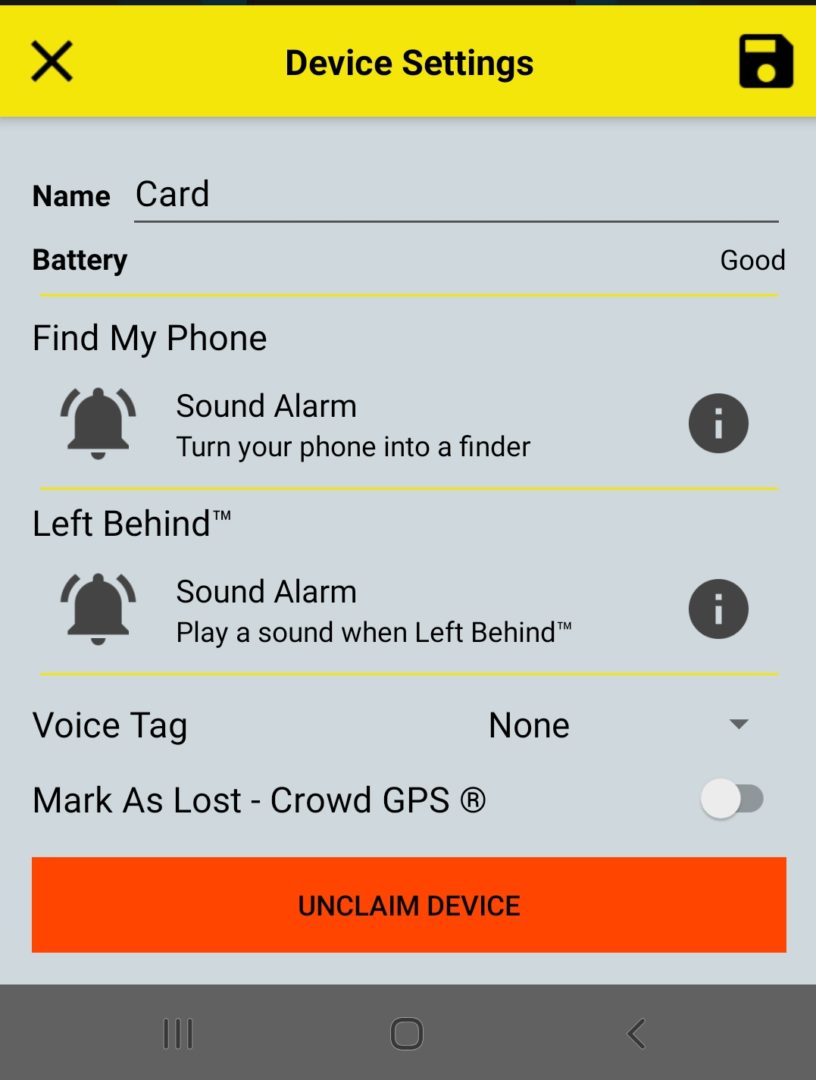
Note that the above is the setting list for the BlackCard; the Finder 2.0 has a couple more sound options which allows you to choose the volume of the beep, as well as the tone – but just two tones, “alarm” and “PebbleBee” (which is the short jingle that is the only option on the BlackCard):
Wrap Up
The PebbleBee Finder 2.0 and BlackCard are the latest versions of PebbleBee’s lineup of bluetooth trackers, and are just a couple of the many different bluetooth trackers available on the market today. Both trackers came in a single package for $30 at my local Costco when I first bought them, but are now in 3 packs for $40 each. When testing the Finder 2.0 and BlackCard for this review, I was generally hard pressed to have my phone unable to find them. However, at longer distances, I did have to make the attempt 2-3 times; I don’t know why it would find it on the third attempt in those cases, but not the first two).
The app to control the trackers is quite plain and simple – you add your trackers, you can tap the button to “FIND” them, you can see where they were last located, and you can set the various sounds, voice tag, and volume. One annoyance with the app is that there’s no way to stop the device from beeping, once it’s been found; you must press the button on the device itself to stop beeping, or wait the up to 26 second until it times out. The BlackCard was able to be found a bit further away than the Finder 2.0 at 407ft vs 366ft. After using the BlackCard a few weeks in my wallet, the plastic cover is starting to peel off at the edge and I fear it may not hold up to prolonged use.
Since both have a built in rechargeable battery (chargeable via USB-C too), I see that as a very good cost benefit when comparing against Tile’s new credit card sized tracker, the Slim (2020), or their stick on Tile Sticker, which have non-replaceable batteries.
Pros
- Both have built in rechargeable batteries and charge via USB-C, with reported 4 month battery lives
- The BlackCard is literally the size of a credit card and only about 2 credit cards thick
- Both have good range (350+ feet in a real world test and were discoverable all around my house)
Cons
- The BlackCard has a plastic cover (hard sticker?) that is starting to peel off after being used in a wallet for a few weeks
- The chirping, once found, can only be turned off by pressing the tracker’s button or waiting for the timeout
- There’s only one available “ringtone” for the BlackCard, and two for the Finder 2.0


Thorough review. Thanks!
I purchased the black wallet card. Charged at 100% but can’t get the software to see it. Any help would be appreciated.